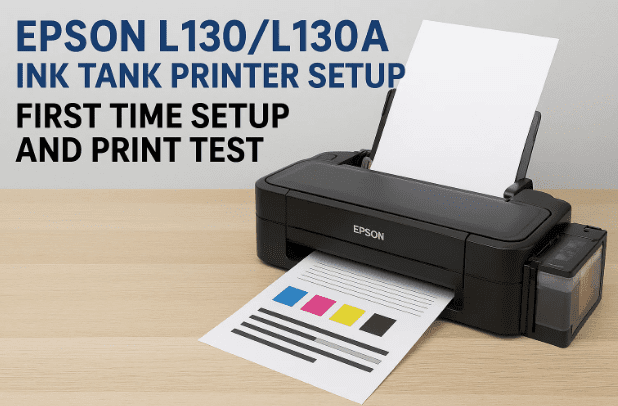
Buying a new printer is exciting—until the moment you have to set it up. Where do those tapes go? Should you power it on first or fill the ink first? And why are there so many little caps on the bottles? Take a breath—we’ll walk through everything you need, step by step.
This guide converts a raw installation walkthrough (originally in Hindi) into a clear, detailed English article for setting up the Epson L130 or L130A single-function ink tank printer at home. We’ll cover unboxing, ink filling (664 series), the 10-second priming step, printing a test page without a computer, and installing drivers on Windows. We’ll also add troubleshooting tips, a quick maintenance checklist, and a helpful FAQ at the end.
Important upfront notes
Model: Epson L130/L130A is a single-function printer (print-only). It does not have a built-in scanner or copier.
Connectivity: USB-only (no Wi-Fi). You’ll print via a USB cable to your PC/laptop.
Ink: Uses Epson 664 series bottles—Black, Cyan, Magenta, Yellow.
Yields (approx.): Up to 4,500 pages (Black) and 7,500 pages (Color) per refill under ideal conditions.
What this article includes: Full installation, priming, test print, driver setup, and care.
Where to buy: If you want to check availability, here’s the Amazon link the user asked to include: Buy Epson L130 on Amazon.
1) 🎯 Why Choose Epson L130/L130A (Who It’s For)
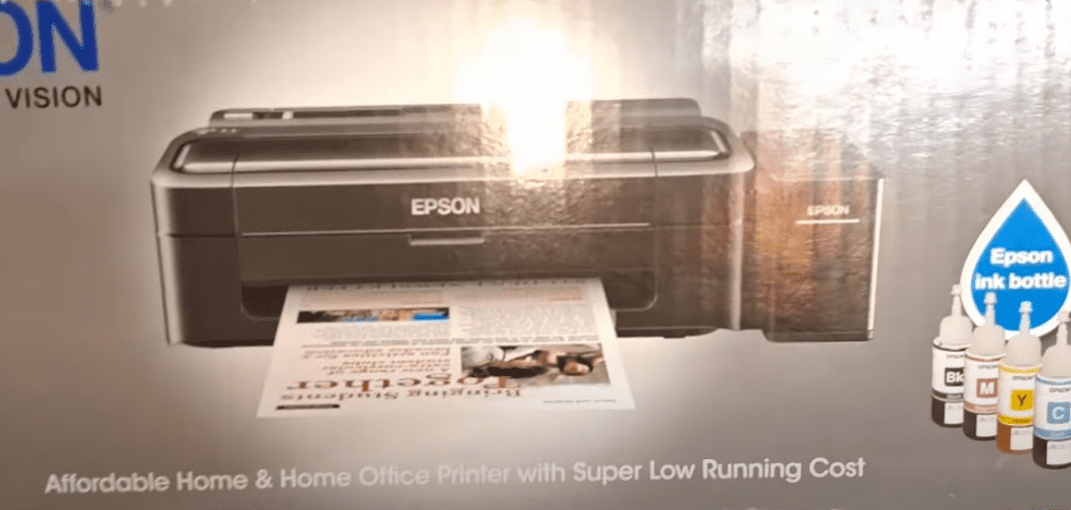
Let’s start with expectations. The L130/L130A was built for reliable, low-cost printing—not for scanning, copying, or wireless printing. If your daily routine is documents, invoices, simple charts, school assignments, or frequent drafts, this little workhorse shines.
Before we jump to the steps, here’s the vibe: we’re setting up once, then printing for months with minimal cost per page. If that’s your goal, you picked the right device.
2) 📦 What’s in the Box
It’s always reassuring to know every piece has a purpose. Lay everything out on a table:
Epson L130/L130A printer unit
Power cable
USB printer cable (often included; if not, you can use a standard USB-A to USB-B cable)
User guide/quick start sheet
CD/DVD with drivers (you can also download drivers online)
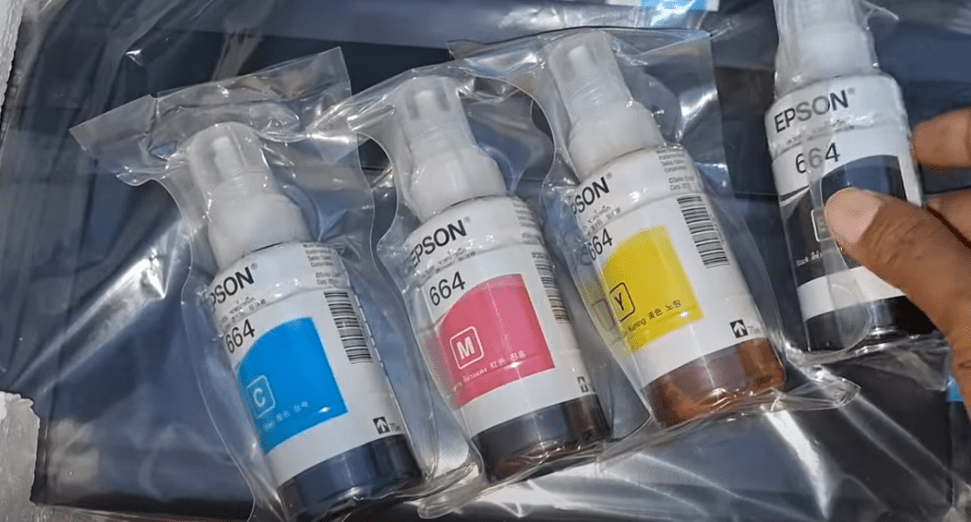
Epson 664 ink bottles:
Black (664)
Cyan (664)
Magenta (664)
Yellow (664)
If any bottle looks tampered with or missing its inner seal, don’t use it—contact your seller.
3) 🧭 Before You Begin (Read This First)
Let’s set ourselves up for success.
Place the printer on a flat, stable surface. Keep the space dust-free.
Do not power ON the printer before filling the ink tanks. Ink priming works best when tanks are filled first.
Keep tissues/paper towels handy. Ink is washable but messy.
Identify the tank labels and bottle colors. Never fill the wrong color into the wrong tank—this can permanently damage the print head.
Keep children/pets away during filling.
So far, so good. Now, let’s get the wraps off safely.
4) 📭 Unboxing and Removing All Transit Materials
This is one of those “slow is smooth, smooth is fast” moments. Printer shipments use a surprising amount of blue tapes, orange locks, and foam to protect delicate parts.
Remove outer plastic and foams gently.
Open any covers/lids the quick start sheet shows and remove all blue tapes.
Pay special attention to the print head carriage area; some models include head locks or protective pads you must remove.
Confirm that the paper path is clear (no foam or tape in the output tray or rear feed).
Close everything back properly.
You should now see a clean, ready-to-fill ink tank cluster on the side.
Power OFF the printer (keep it unplugged during filling).
Open the ink tank lid/cover and then each tank’s rubber cap.
Prepare each bottle:
Unscrew the cap.
Remove the inner seal/plug (if present).
Re-attach the pour cap firmly.
Match color to color. Always pour Cyan into C, Magenta into M, Yellow into Y, and Black into BK.
Tilt and pour slowly to avoid bubbles. Stop at (or slightly below) the arrow indicator.
Wipe any drips. Seal each tank with its rubber cap and close the tank lid.
Tip: If a bottle doesn’t pour, it may still have a tiny inner seal or air vent lock intact—check and remove it. Some users miss this on first fill.
When all four tanks are filled properly, we’re ready for the priming routine.
6) ⚙️ Priming the Ink System (10-Second Press)
Priming pulls ink from the tanks through the tubes into the print head. It’s essential the first time after filling (and after any deep maintenance).
Connect the power cable to the printer and wall socket.
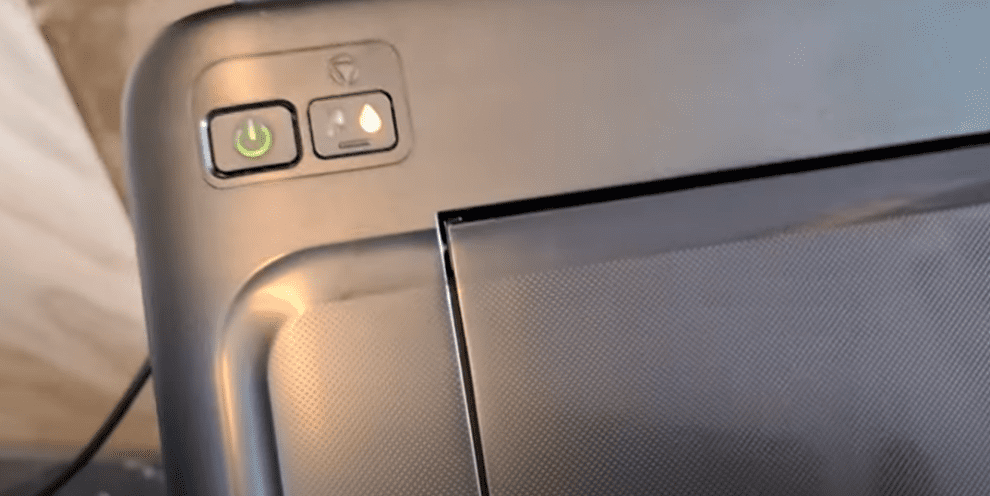
Power ON the printer.
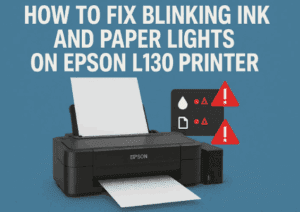
Wait for the indicator lights to stabilize; you may see the ink light blinking (that’s okay—there’s no ink in the head yet).
Press and hold the “Stop/Cancel/Ink” button for ~10 seconds, then release.
You’ll hear the printer whirr and click. The print head will move, and the pump will begin drawing ink.
Do not power off during this process.
Initial priming can take 15–20 minutes on first setup. The ink light should stop blinking when done.
Don’t worry about the sounds. During priming, the printer makes a mechanical pumping noise—that’s normal.
Once the light is steady (not blinking), the printer’s ink system is primed and ready.
7) 🧪 Print a Test Page Without a Computer (Button Combo)
Before installing drivers, it’s smart to confirm the hardware is healthy. The L130/L130A supports a standalone test print using the front buttons.
Load paper (A4 recommended) into the rear tray.
Make sure the printer is ON and ready (no blinking ink light).
Press and hold both Power and Cancel/Stop together for ~10 seconds, then release.
The printer should feed paper and print a test pattern/nozzle check.
Verify:
Black grid is solid, no large gaps.
Cyan/Magenta/Yellow color blocks look even.
If it looks good, the mechanics and ink flow are healthy. If not, see Troubleshooting below.
8) 💾 Driver & Software Installation on Windows
Even though you can do a hardware test without a PC, you’ll want proper drivers for everyday printing. You can use the included CD, but we recommend downloading the latest software.
Download the printer driver and (optionally) utility/maintenance software.
Steps (Windows):
Do not connect the USB cable yet (unless installer asks).
Run the downloaded Epson installer (or use the CD if offline).
Accept license terms; choose USB connection when prompted.
When the installer asks, connect the USB cable from printer to PC.
Wait for Windows to finish detecting the device.
Print a Windows test page from Devices & Printers to confirm.
Tip: On older Windows builds, install the .NET Framework if prompted by the setup—this enables certain utility features.
9) 📄 Paper Loading, Sizes & First Real Print
You can start simple with an A4 document from Word or a PDF.
Supported sizes commonly include 4×6 photo, Letter, and A4.
Adjust the paper guides snugly—neither too loose (skew) nor too tight (jam).
In Print Settings:
Choose Plain Paper for documents.
Select Color or Black & White as needed.
For best quality on text, set High quality; for drafts, use Draft to save ink.
Go ahead and print a one-page doc. If it comes out straight and crisp, you’re golden.
10) 🧰 Troubleshooting Common Issues
A few bumps are normal on first installations. Here’s how to fix the most common ones.
A) Ink light keeps blinking after priming
Ensure all four tanks are above minimum level.
Repeat the 10-second Stop/Cancel hold to re-prime.
Do not power off mid-prime.
B) Colors are missing or streaky on test print
Run Nozzle Check from the Windows Epson utility.
If gaps appear, run Head Cleaning (utility) once.
Wait 5–10 minutes and run Nozzle Check again.
Avoid doing more than 2–3 cleanings back-to-back (it consumes a lot of ink).
C) Printer not detected by PC
Use a known-good USB cable and try a different USB port.
Reinstall the Epson driver; avoid generic Windows class drivers.
Disable third-party USB “power saver” apps.
D) Paper jams or skew
Remove paper gently from the direction of feed—don’t yank backward.
Fan the stack, reload, and align guides properly.
E) Ink spilled during filling
Wipe with a dry paper towel, then a damp microfiber.
Keep the tank area clean; never leave caps open.
11) 🧼 Care, Maintenance & Best Practices
Think of this as your printer’s “daily vitamins.” Little habits keep it healthy.
Print a page every week (even a small color logo) to keep nozzles wet.
Keep tanks capped and close the ink cover when not filling.
Store bottles upright, away from direct sunlight and heat.
Avoid dusty environments; dust can stick to the paper path and rollers.
Use genuine Epson 664 ink when possible. Third-party inks vary in viscosity, which can impact head life and color accuracy.
If the printer sits unused for months, expect to run 1–2 cleanings when you return.
Quick maintenance checklist (monthly):
Print a nozzle check.
Wipe exterior and examine paper feed area.
Check ink levels; top up before tanks reach the very bottom.
Keep firmware/drivers up to date (if updates are provided for your region).
12) ❓ Frequently Asked Questions (Quick Answers)
Q1. Does the Epson L130/L130A have Wi-Fi? No. It is USB-only. You’ll need a PC connected via USB to print.
Q2. Can I scan or make photocopies with this model? No. The L130 series is single-function (print-only). If you need scanning/copying, consider an Epson L3xx/L4xx/L5xx series All-in-One instead.
Q3. Can I print a test page without connecting to a computer? Yes. Load paper, turn the printer ON, then press and hold Power + Cancel/Stop for ~10 seconds, release, and the printer will print a test/nozzle pattern.
Q4. The first priming took 15–20 minutes. Is that normal? Yes. The initial fill pushes ink through empty tubes to the head. Subsequent use won’t take that long.
Q5. What ink does this printer use? Epson 664 series inks: Black, Cyan, Magenta, Yellow.
Q6. My colors look dull or one color is missing. Run Nozzle Check, then Head Cleaning if needed. Avoid running cleaning repeatedly in a row; give the printer a few minutes between cycles.
Q7. Can I use third-party ink? It’s possible, but not recommended. Non-genuine inks can cause clogging, color shifts, and may void warranty. Use Epson 664 for best reliability.
Q8. Do I need the CD to install drivers? No. You can download the latest drivers from Epson Support websites:
Q9. What paper should I use? Plain A4 for documents. For photos, use Epson photo paper and choose the correct paper type in the driver.
Q10. Can I share this USB printer over my home network? Yes—by keeping it connected to a Windows PC and enabling Printer Sharing in Windows. But that PC must be ON for others to print.
13) ✅ Wrapping Up
If you followed along, you’ve:
Unboxed and removed all packing materials,
Filled the ink tanks (664 series),
Primed the ink (the 10-second press),
Printed a standalone test page,
Installed Windows drivers, and
Learned how to maintain and troubleshoot your L130/L130A.
That’s a job well done. From here, the L130/L130A should deliver months of economical printing with minimal fuss. If you’re comparing prices or availability, here’s the link that was requested for convenience: Buy Epson L130 on Amazon.
⚠️ Disclaimer
The Epson L130/L130A is a USB, single-function ink tank printer (no Wi-Fi, no scanner).
Always match ink colors to the correct tanks. Filling the wrong color can permanently damage the print head.
Priming and cleaning procedures consume ink. Use them judiciously.
Page yield figures (4,500 black / 7,500 color) are approximate and depend on coverage, paper type, and settings.
Follow safety and handling instructions from Epson’s official documentation for your region.
Tags
epson l130 installation, epson l130a setup, epson 664 ink refill, epson nozzle check, epson head cleaning, ink tank printer setup, print only usb printer, epson driver download, home office printer guide, printer troubleshooting
Sneha is a hardware reviewer and technology journalist. She has reviewed laptops and desktops for over 6 years, focusing on performance, design, and user experience. Previously working with a consumer tech magazine, she now brings her expertise to in-depth product reviews and comparisons.