Introduction
Want to experience Android 16 on your Windows PC or laptop? With Android Studio’s emulator, you can run the latest Android version without needing a physical device. This guide will walk you through the step-by-step process to install Android 16 on your PC for free—perfect for developers, testers, or Android enthusiasts.
Prerequisites
✔ Windows 10/11 PC (64-bit recommended)
✔ At least 8GB RAM (16GB for better performance)
✔ 20GB free storage (for Android Studio & emulator)
✔ Stable internet connection
Step-by-Step Guide to Install Android 16
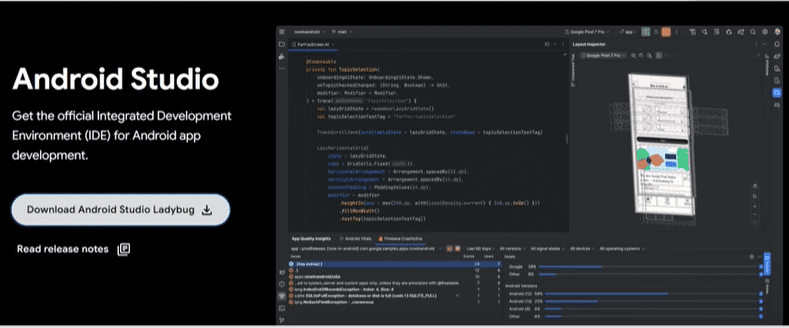
Step 1: Download & Install Android Studio
- Go to the official Android Studio website.
- Click Download Android Studio (approx. 1.1GB).
- Run the installer and follow the setup:
- Accept terms → Select components → Choose installation path.
- Click Next until installation completes.
Step 2: Set Up Android Emulator
- Open Android Studio → Go to More Actions → SDK Manager.
- Under SDK Platforms, check:
- Android 16 (or latest available)
- Google APIs Intel x86_64 System Image (for emulator).
- Click Apply → Wait for download (~1.7GB).
Step 3: Create a Virtual Device
- Go to More Actions → Virtual Device Manager (AVD).
- Click Create Device → Select Pixel 6 Pro (or latest model).
- Choose Android 16 as the system image.
- Configure RAM (4GB recommended) and storage → Click Finish.
Step 4: Run Android 16 on PC
- Select your virtual device → Click Start.
- The emulator will boot up (first launch may take 5-10 mins).
- Once loaded, use it like a real Android device!
Troubleshooting Tips
🔹 Emulator too slow?
- Enable VT-x in BIOS (for Intel CPUs).
- Use “Quickboot” mode in AVD settings.
🔹 Not detecting Android 16?
- Update Android Studio to the latest version.
- Reinstall the system image from SDK Manager.
🔹 Black screen on launch?
- Increase RAM allocation in AVD settings.
- Use Software Graphics instead of Hardware (if GPU issues).
Alternative Method: Prebuilt Android 16 ISO
If Android Studio is too heavy, try:
✔ Bliss OS (Android-x86 based) – Install via USB.
✔ PrimeOS – Dual-boot Android on PC.
Conclusion
Now you can test Android 16 apps, games, and features right on your Windows PC! This method is great for developers and anyone who wants to explore Android without buying a new device.
🚀 Pro Tip: For better performance, assign more CPU cores in AVD settings.
Tags & Hashtags
Tags:
Android 16 on PC, Android emulator, Android Studio, Android 16 installation, run Android on Windows, Android development, virtual device
Hashtags:
#Android16 #AndroidOnPC #AndroidStudio #AndroidEmulator #TechGuide #AndroidDevelopment #Windows10 #Windows11 #MobileTech