MySQL is one of the most popular open-source relational database management systems, widely used in web development, data science, and enterprise software applications. Whether you’re a student, a developer, or a data enthusiast, having MySQL installed on your local machine is essential for hands-on practice and development.
In this guide, you’ll learn how to download, install, and configure MySQL Server and MySQL Workbench on your Windows computer. The tutorial covers everything—from downloading the right installer to verifying the installation via the command line.
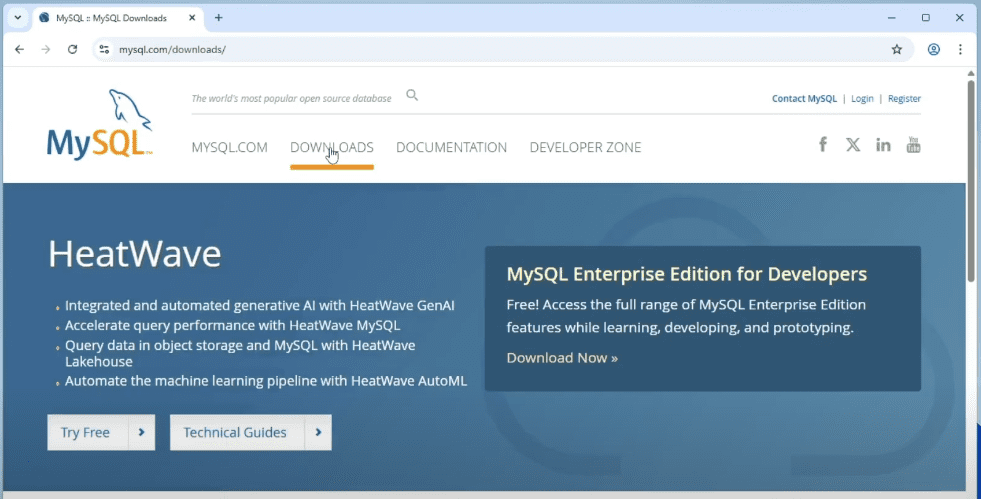
Step 1: Download the MySQL Installer
- Open your preferred web browser (e.g., Google Chrome).
- Go to the official MySQL website: https://www.mysql.com
- Hover over the Downloads menu and scroll down to find MySQL Community (GPL) Downloads.
- Click on it, then select MySQL Installer for Windows.
- You will see two options:
- Web Installer (smaller in size, downloads components during setup)
- Full Installer (includes all components, around 353MB)
👉 Recommended: Download the Full Installer to ensure all necessary components are available offline.
- Click the Download button.
- On the login page, click “No thanks, just start my download” to skip Oracle sign-in.
Step 2: Run the Installer
- Once downloaded, go to your Downloads folder and double-click the installer
.exefile. - Windows may ask for permission to make changes. Click Yes to proceed.
Step 3: Choose the Setup Type
You’ll be presented with several setup types:
- Developer Default: Installs all necessary components.
- Server Only: Installs just the MySQL server.
- Client Only: Installs only client tools like Workbench and Shell.
- Full: Installs everything including documentation and sample databases.
- Custom: Lets you manually select components.
🔹 Recommended: Choose the Full setup to get everything you might need.
Click Next to proceed.
Step 4: Execute the Installation
- A list of components (MySQL Server, Workbench, Shell, Router, Documentation, etc.) will appear.
- Click Execute to begin installing each feature one-by-one.
- Wait for the process to complete and then click Next.
Step 5: Configure MySQL Server
You’ll now go through the server configuration steps:
- Config Type: Choose Development Computer (default).
- Connectivity: Default port is 3306. Leave as is unless you have a specific requirement.
- Click Next.
Step 6: Set Root Password
- The installer will ask you to choose an Authentication Method.
- Keep the recommended default and proceed.
- Set a strong password for the root user. Make sure to include:
- One uppercase letter
- One number
- One special character
- Confirm the password and click Next.
Step 7: Configure Windows Service
- Accept the default service settings.
- On the file permissions screen, choose “Grant full access to the user running Windows Services”.
- Click Next and then Execute to apply the configuration.
Once done, click Finish.
Step 8: Product Configuration and Server Connection
- Click Next through the Product Configuration steps.
- On the Connect to Server screen:
- Enter the root password you set earlier.
- Click Check to test the connection.
- If successful, click Next, then Execute, and finally Finish to complete the setup.
Step 9: Add MySQL to Environment Variables
To use MySQL commands globally in the command prompt:
- Open File Explorer and navigate to:
C:\Program Files\MySQL\MySQL Server <version>\bin - Copy the full path from the address bar.
- Open Start Menu, search for “Edit the system environment variables”, and open it.
- In the System Properties window:
- Click Environment Variables.
- In System variables, select the Path variable and click Edit.
- Click New, paste the copied path, and click OK on all windows.
Step 10: Verify MySQL Installation
- Open Command Prompt by typing
cmdin Start Menu. - Run the following command to check if MySQL is installed:
mysql --version✅ If the version number appears, MySQL is correctly installed.
Step 11: Log in to MySQL via Terminal
Use the following command to log in:
mysql -u root -p
Enter your root password when prompted. If successful, you’ll enter the MySQL command-line interface. Your setup is now complete!


Final Thoughts
Installing MySQL on Windows is simple if you follow the steps carefully. From setting up the server to verifying installation via terminal, this process ensures you have a fully functional MySQL environment for local development.
MySQL Workbench and Server will now be available for you to use in developing databases, running queries, and learning SQL.
Helpful Commands Summary
| Command | Purpose |
|---|---|
mysql --version | Check installed MySQL version |
mysql -u root -p | Log in to MySQL using root account |
Official Link
Tags
MySQL, install MySQL on Windows, MySQL server, MySQL Workbench, database setup, MySQL configuration, environment variables, developer tools, open-source database, Windows database installation
Hashtags
#MySQL #DatabaseSetup #WindowsInstall #MySQLWorkbench #SQL #TechGuide #DeveloperTools #OpenSource #WebDevelopment #CommandPrompt
Disclaimer
This article is intended for educational purposes only. While every effort has been made to ensure the accuracy of the installation steps, always refer to the official MySQL documentation for the latest instructions and updates. Use strong passwords and ensure your system is protected when working with databases.


