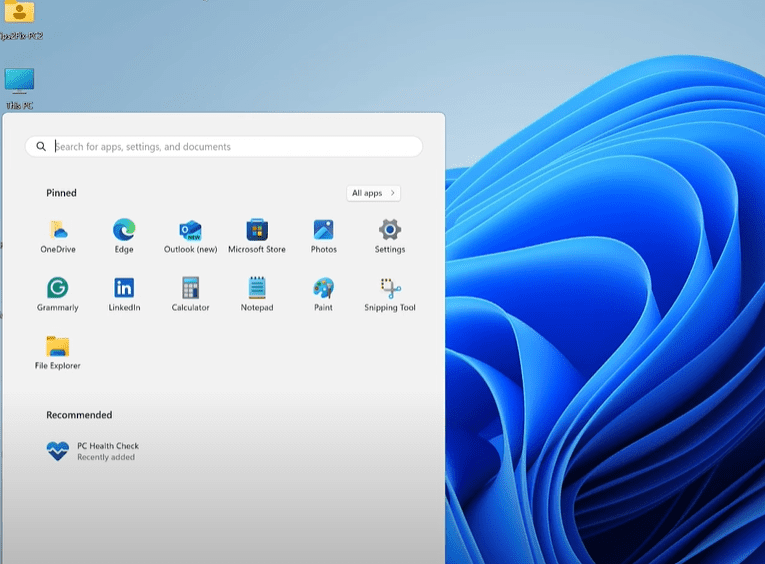
Are you planning to install Windows 11 on an old or unsupported computer? Or maybe you’re just tired of all the pre-installed apps and background processes slowing down your system? If so, there’s a better way to install Windows 11: a clean, fast, and lightweight version—without any bloatware or unnecessary Microsoft apps.
In this article, we’ll walk you through how to perform a clean installation of Windows 11 using an unattended XML setup file. This process allows you to install Windows with a completely stripped-down configuration while using the official Microsoft ISO—no cracked versions or shady software involved.
Why This Method?
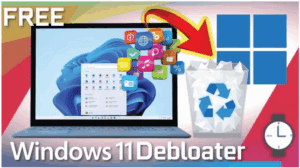
When you buy a new PC or install Windows using the standard method, you get dozens of pre-installed apps—many of which you’ll never use. These apps consume RAM and slow down performance, especially on older systems. With the method shared here, you can:
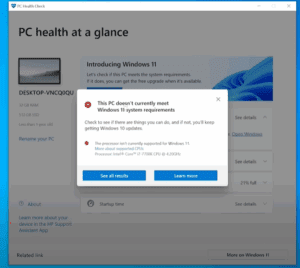
- Bypass Windows 11 hardware requirements (TPM, Secure Boot, RAM, etc.)
- Remove all unwanted Microsoft apps
- Create a system similar to LTSC (Long-Term Servicing Channel) versions, which are built to run lean and fast
- Enjoy a clean, fast, and clutter-free Windows 11 experience
Step-by-Step Guide
1. Download Windows 11 ISO (Official)
Visit the official Microsoft website and download the Windows 11 ISO. Choose the “multi-edition ISO” and select your preferred language (e.g., English International).
2. Download Rufus to Create a Bootable USB Drive
Go to Rufus and download the latest version. Use this tool to burn the Windows 11 ISO to a USB drive.
- Launch Rufus
- Select your USB drive
- Choose the downloaded ISO
- Select
GPT (UEFI)orMBRdepending on your system - Click Start
3. Get the Unattended XML File
The magic behind this clean install lies in the unattended XML file. This file bypasses installation prompts, disables unnecessary features, and removes pre-installed software.
You can either:
- Use a prebuilt XML file (available from GitHub contributors like M’s Tech Tips), or
- Create your own at windowsafg.no-ip.org
What does the XML file do?
- Bypasses TPM and CPU checks
- Installs without an internet connection
- Removes bloatware (like Xbox, OneNote, Cortana, etc.)
- Allows you to keep essential tools (like Notepad, Paint, and Calculator) or remove them too
4. Add the XML File to Your USB Drive
After preparing your bootable USB with Windows 11:
- Copy the
AutoUnattend.xmlfile - Paste it into the root directory of the USB drive (not inside any folder)
5. Boot From the USB Drive
- Insert the USB into the computer you want to install Windows on
- Enter the Boot Menu (usually by pressing Esc, F12, or F2 depending on your system)
- Select the USB drive to boot from
The installation process will begin automatically and complete without prompting you to select features, agree to terms, or input settings.
6. Wait for the Installation to Complete
Windows 11 will now install with no interruptions. The system will:


- Automatically bypass hardware checks
- Skip network requirements
- Exclude Microsoft Edge, Cortana, and all pre-installed apps
You’ll be left with a clean version of Windows 11—just the essentials.
Optional: Use PowerShell Script to Fine-Tune Windows 11
If you’d like to further tweak or debloat your system:
- Right-click on the cleanup script (e.g., a PowerShell file from GitHub)
- Choose Run as Administrator
- Use the included Windows Utility GUI to install only the apps you want (Edge, Chrome, Notepad, etc.)
You can even install Microsoft Edge and Google Chrome directly through the script interface if needed.
Final Thoughts
This installation method is perfect for:
- Users with old or unsupported PCs
- Tech enthusiasts who want full control over what’s installed
- People who just want a faster, leaner Windows experience
By using the unattended XML method, you’ll gain a much smoother and optimized Windows 11 install—without sacrificing performance or stability.
If you want to go a step further, consider post-installation tweaks such as:
- Installing lightweight software alternatives
- Disabling startup apps
- Adjusting privacy and telemetry settings
With a clean start, your PC will feel brand new—even if it’s several years old.
Tags: clean install, Windows 11, Windows setup, bloatware removal, Windows optimization, XML unattended install, LTSC alternative, lightweight Windows, unsupported PC Windows install
Hashtags:
#Windows11 #CleanInstall #DebloatWindows #LightweightWindows #LTSCAlternative #UnattendedInstall #WindowsOptimization #OldPCUpgrade #TechTips #MicrosoftWindows


