Page numbering is an essential aspect of designing documents like magazines, brochures, or booklets in CorelDRAW. Whether you’re working on a small or large project, CorelDRAW offers both automatic and manual methods to insert page numbers. In this guide, I will walk you through both methods step by step, so you can choose the one that best fits your needs. Let’s dive into the details of how you can easily number pages in CorelDRAW.
Automatic Page Numbering in CorelDRAW
Using the automatic page numbering feature in CorelDRAW is quick and efficient, especially if you have multiple pages to number. Here’s how you can insert page numbers automatically:
Step 1: Open Your Document
First, open your document in CorelDRAW. Whether you’re working on a booklet, magazine, or any multi-page document, ensure that all your pages are properly set up.
Step 2: Access the Layout Menu
To insert page numbers, go to the “Layout” menu in the top toolbar. Under this menu, you will find the option to “Insert Page Number”.
Step 3: Configure Page Numbering Settings
Before inserting the page numbers, it’s important to set up your page numbering preferences. To do this:
- Go to “Page Numbering Settings” under the Layout menu.
- Here, you can choose which page you want the numbering to start from. For instance, if your document has a cover page that you don’t want numbered, you can set the numbering to start from the second page (usually labeled as page 2).
- You can also select the starting number (e.g., starting from page 2 or any other number), as well as whether you’d like to use numbers, letters, or Roman numerals for your page numbers.
Step 4: Insert Page Numbers on All Pages
Once you’ve configured the settings, go back to the “Insert Page Number” option, and choose “On All Pages” to apply page numbers across your entire document. The numbers will automatically appear in the location specified in the settings.
Step 5: Adjust Page Number Style
After inserting the page numbers, you can customize their appearance to fit your design:
- Change the font or size by selecting the page numbers and applying your preferred styles.
- Align the numbers based on your design preference.
- Any changes you make to one page number will automatically be applied to all pages.
For example, if you reduce the font size on page one, the same change will be reflected on all pages. Similarly, you can apply different fonts, alignments, or styles to match your document’s theme.
Manual Page Numbering in CorelDRAW
If you have a small document or prefer more control over the placement of page numbers, you may want to manually add page numbers. Here’s how you can manually insert page numbers:
Step 1: Select the Text Tool
Open your document and select the “Text Tool” from the left toolbar.
Step 2: Insert Page Numbers
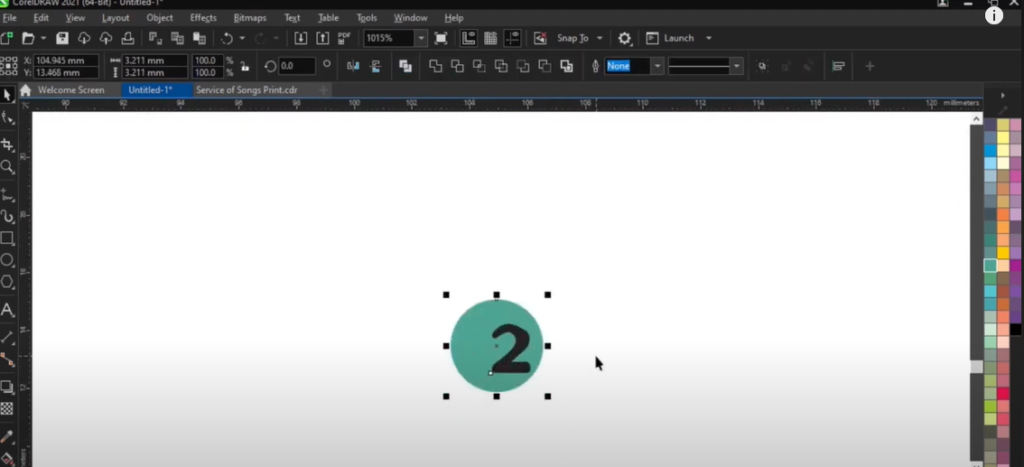
Click on the first page where you want the page number to appear, and type “1”. Adjust the font, size, and positioning according to your design preferences.
Step 3: Copy and Paste for Other Pages
Once you’ve added the page number to the first page, copy it and paste it on the second page. Then, change the number to “2”. Repeat this process for all the subsequent pages, adjusting the number as needed.
This method gives you full control over the positioning and style of each page number but can be time-consuming for larger documents.
Step 4: Customize Each Number
Since you’re manually inserting the numbers, you can individually customize each one by changing the font, color, or size without affecting the other page numbers. This flexibility can be useful for designs that require distinct styles on different pages.
When to Use Automatic or Manual Page Numbering
- Automatic Page Numbering: Ideal for documents with multiple pages (e.g., booklets, magazines, or catalogs) where consistent and uniform numbering is needed.
- Manual Page Numbering: Useful for smaller projects or when you need specific control over the placement and style of each page number.
If you’re working on a large project with numerous pages, it’s recommended to use the automatic method to save time and avoid errors. However, for shorter documents or specific design needs, manual numbering can give you more creative freedom.
Conclusion
Page numbering in CorelDRAW is a straightforward process, and you can choose between automatic and manual methods depending on your project size and design needs. By following the steps outlined in this article, you can ensure that your document looks professional and well-organized. Whether you’re numbering a multi-page magazine or a small brochure, CorelDRAW’s features allow you to create beautifully numbered pages with ease.
For any further questions or help, feel free to leave a comment below. Happy designing!


