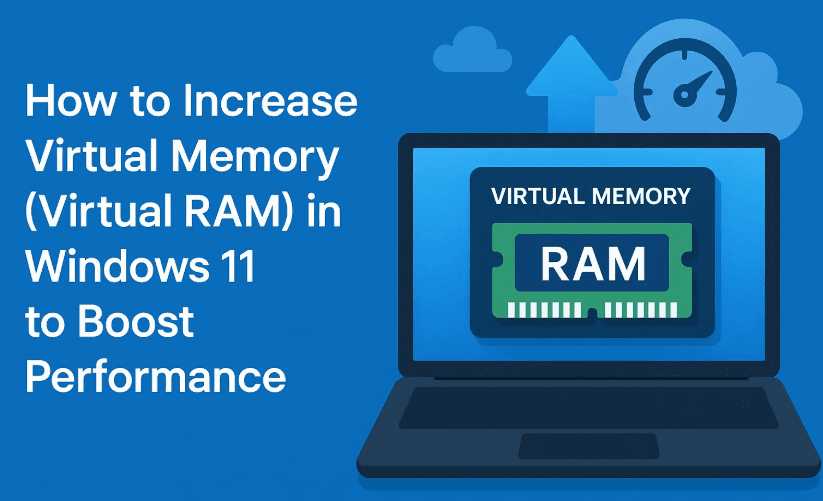
If your system is slowing down while running heavy software or games, and you’re tired of frequent buffering or lag, increasing your virtual memory (also known as virtual RAM) in Windows 11 can offer a significant performance boost — without installing any additional software.
In this article, we’ll explain what virtual memory is, how it works, and how you can safely increase it from 4GB to 12GB or more using just system settings.
🧠 What Is Virtual Memory?
Virtual Memory, often referred to as virtual RAM, is a feature of Windows that uses a portion of your hard disk as additional memory (RAM). It helps your computer run large programs or multiple applications at once, especially when your physical RAM (hardware) is full.
Technically, virtual memory uses a paging file (also called a swap file) stored on your hard drive or SSD.
If your system has limited RAM, increasing virtual memory can drastically improve performance and reduce system lag during heavy multitasking.
⚙️ Benefits of Increasing Virtual Memory
- ✅ Faster software loading
- ✅ Less freezing and lag
- ✅ Smoother gaming and multitasking
- ✅ Better performance on low-RAM devices (especially 4GB or 8GB)
🧭 Step-by-Step Guide to Increase Virtual Memory in Windows 11
🔹 Step 1: Open System Properties
- Right-click on “This PC” on your desktop or File Explorer.
- Click on Properties.
- In the window that opens, select Advanced system settings from the right sidebar.
💡 Alternatively, open the Start Menu and search for “Advanced System Settings”, then click on “View Advanced System Settings.”
🔹 Step 2: Access Performance Settings
- Under the System Properties window, click the “Settings” button under the Performance section.
- Go to the Advanced tab in the Performance Options window.
- Click on the Change button under Virtual memory.
🔹 Step 3: Configure Virtual Memory Size
- Uncheck the box that says “Automatically manage paging file size for all drives.”
- Select Custom size, then enter the values for:
- Initial size (MB)
- Maximum size (MB)
📏 How to Calculate in MB
Use this formula:
1 GB = 1024 MB
Example for 12GB virtual memory:
1024 × 12 = 12288 MB
So, set both Initial size and Maximum size to 12288.
Use Windows Calculator for conversion if needed.
If you want 8GB, use 8192 MB.
For 16GB, use 16384 MB.
🔹 Step 4: Apply and Restart
- Click Set, then click OK.
- Restart your PC when prompted, or manually restart it once changes are applied.
After restarting, the system will start using the newly allocated virtual RAM size.


📊 How to Verify the Virtual Memory Size
Once your PC restarts:
- Open Settings > System > Storage.
- Go to Advanced storage settings > Storage used on other drives.
- Click on C: Drive > System Reserved and scroll to see the allocated paging file size.
✅ You should now see your updated virtual memory size — e.g., 12GB, instead of the previous 4GB.
💡 Tips for Best Performance
- Preferably use SSD over HDD for faster virtual RAM speed.
- Avoid setting extremely high values unless you have sufficient disk space.
- Make sure your physical RAM and virtual memory complement each other — don’t over-rely on virtual RAM if you’re running very demanding software.
❓ FAQs
Q1: Will increasing virtual memory damage my SSD or hard disk?
No, but frequent read/write operations may cause wear on SSDs over long periods. Keep it within a moderate range.
Q2: Should I increase virtual memory if I already have 16GB of RAM?
You can, but it likely won’t make a noticeable difference unless you’re using memory-heavy applications like VMs or large video editing software.
Q3: Can I use this on a low-end laptop with only 4GB RAM?
Absolutely. This tweak is especially useful for low-end laptops with limited physical RAM.
⚠️ Disclaimer:
Increasing virtual memory helps only up to a point. It is not a replacement for physical RAM, and won’t perform as fast as actual RAM chips. For heavy usage like video editing, virtual machines, or modern gaming, consider upgrading your hardware if possible.
🛍️ Recommended Tools to Enhance Your Windows PC Affiliate links:
💾 Get a fast SSD for virtual RAM boost – https://amzn.to/4nHdjo0
🧠 Upgrade your RAM for ultimate performance – https://amzn.to/4nBEHUp
🏷️ Tags:
virtual memory windows 11, increase virtual ram, windows 11 speed up, performance boost pc, how to change paging file, swap file settings, windows tips, low ram pc fix, windows virtual ram increase
📢 Hashtags:
#Windows11Tips #VirtualMemory #VirtualRAM #PagingFile #SSDPerformance #SpeedUpPC #WindowsOptimization #LowRAMFix #PCPerformanceBoost #WindowsSettings


