Adobe InDesign is a versatile tool that allows designers to create stunning layouts with ease. A key feature of InDesign is the ability to reuse paragraph and character styles from one document in another, saving time and ensuring consistency. In this article, we’ll walk you through the detailed steps to import these styles from one InDesign document to another.

Step-by-Step Guide to Import Styles
1. Prepare the Source Document
Ensure you have a source document that contains the paragraph and/or character styles you want to reuse. These styles can also include object styles, which follow a similar process.
2. Create a New Document
- Open InDesign and create a new document by navigating to File > New > Document.
- Set up your document preferences as needed.
- Once the new document opens, check the Styles panel. You’ll notice that it doesn’t contain the styles from your source document yet.
3. Save the Source Document
- Open the source document that contains the desired styles.
- Save the document to your computer by going to File > Save As.
- Choose an appropriate location and name for the file, such as “Style Document.” Click Save.
4. Access the Styles Panel in the New Document
- Switch back to your new document.
- Open the Styles panel by navigating to Window > Styles. This will give you access to Paragraph Styles, Character Styles, and Object Styles.
5. Load Styles from the Source Document
- In the Styles panel (e.g., Paragraph Styles), click the three horizontal lines in the upper-right corner to open the menu.
- Select Load All Text Styles if you want to import both paragraph and character styles. Alternatively, select Load Paragraph Styles or Load Character Styles to import specific styles.
6. Select the Source Document
- A dialog box will appear prompting you to locate the source document. Navigate to the file you saved earlier (e.g., “Style Document”) and click Open.
7. Review and Import Styles
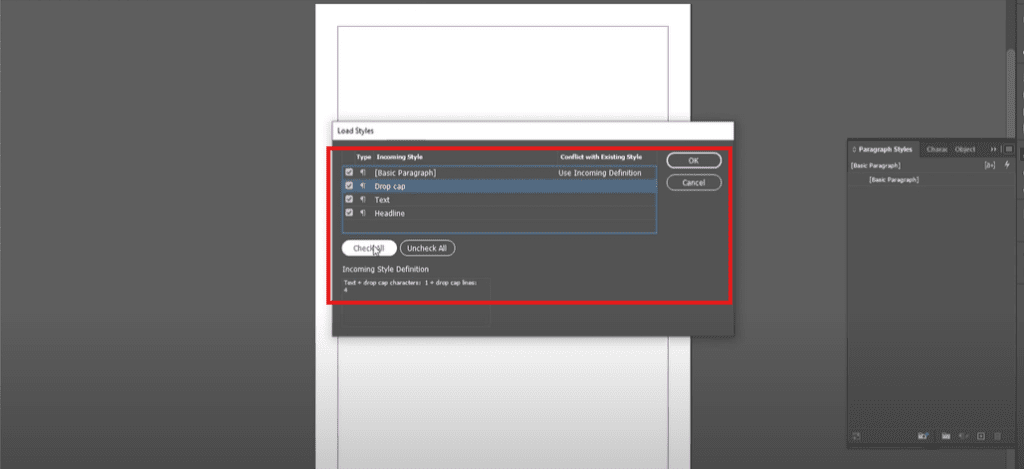
- The Load Styles dialog box will display all the styles from the source document.
- Check or uncheck the styles you want to import. You can also use Check All or Uncheck All to manage the selection quickly.
- Once you’ve made your selections, click OK.
8. Apply Imported Styles
- The imported styles will now appear in your new document’s Styles panel.
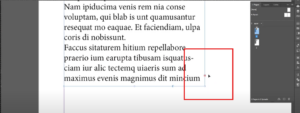
- To apply a style, create a text box, add placeholder text, and select the desired style from the Styles panel.
- Note that any changes made to these styles in the new document will not affect the original source document.
Benefits of Using Style Importing
- Consistency: Ensures a uniform look across different projects.
- Efficiency: Saves time by reusing pre-defined styles instead of recreating them from scratch.
- Flexibility: Allows you to selectively import styles based on your project needs.
By following these steps, you can easily transfer paragraph and character styles between documents in Adobe InDesign. This process is a great way to maintain design consistency and streamline your workflow.
Tags: Adobe InDesign, paragraph styles, character styles, InDesign tips, graphic design workflow, importing styles, InDesign tutorials, design consistency, object styles, text formatting
Hashtags: #AdobeInDesign #GraphicDesign #DesignTips #InDesignTutorials #ParagraphStyles #CharacterStyles #WorkflowEfficiency #DesignConsistency #InDesignTips


