Adobe InDesign is a powerful tool for creating and editing professional layouts. A common task for designers is importing a PDF into an InDesign document for further editing or integration. This guide will walk you through the process, ensuring a smooth import experience with the appropriate settings.
Step 1: Open Your Adobe InDesign Project
Before you can import a PDF, ensure your InDesign project is open:
- Launch Adobe InDesign.
- Open an existing document or create a new one by selecting File > New > Document.
Step 2: Access the Place Command
The Place command is used to import external files, including PDFs:
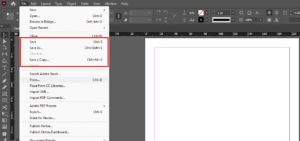
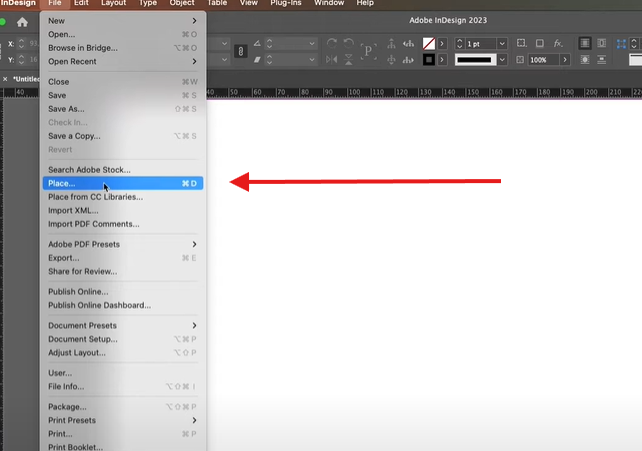
- Go to the File menu at the top of the screen.
- Select Place from the dropdown menu. Alternatively, use the shortcut Cmd+D (Mac) or Ctrl+D (Windows).
Step 3: Locate and Select the PDF
- A file browser window will appear. Navigate to the location of the PDF file you want to import.
- Click on the PDF to select it.
Step 4: Enable Show Import Options
Before opening the file, ensure you enable the Show Import Options checkbox in the dialog box. This step is crucial as it allows you to customize how the PDF is imported into InDesign.
Step 5: Configure Import Options
Once you click Open, the PDF Import Options window will appear:
- Select Pages to Import:
- You can choose to import all pages or a specific range.
- For example, if you want the first and second pages, select the Range option and input “1-2”.
- Transparent Background (Optional):
- If you prefer the imported PDF pages to have a transparent background, enable the Transparent Background option.
- Other Settings:
- Review other available settings, such as crop options or scaling, to match your design requirements.
Once configured, click OK to proceed.
Step 6: Place the PDF in Your Document
- After confirming the import options, your cursor will turn into a loaded icon, indicating the PDF is ready to be placed.
- Click on the desired location in your document to place the PDF. If you’ve imported multiple pages, InDesign will sequentially insert them into your document.
Step 7: Adjust the Imported PDF
Once the PDF is placed:
- Use the Selection Tool (shortcut:
V) to move or resize the PDF. - If necessary, modify the frame or layout to integrate the PDF seamlessly with your design.
Tips for Working with Imported PDFs
- Editability: Imported PDFs are not directly editable in InDesign. If you need to make changes, consider editing the PDF in Adobe Acrobat or Illustrator before importing.
- High Resolution: Ensure the PDF is of high resolution for optimal print and display quality.
- Layer Management: Use InDesign’s layers to manage and organize imported content.
Conclusion
Importing PDFs into Adobe InDesign is a straightforward process, but attention to detail in the import options ensures the best results. Whether you’re integrating a multi-page PDF or just a single page, following these steps will help you maintain a professional workflow.
Tags
Adobe InDesign, import PDF, place PDF, InDesign tutorial, graphic design, document layout, page design, professional workflow, PDF integration
Hashtags
#AdobeInDesign #ImportPDF #InDesignTutorial #GraphicDesign #DesignWorkflow #PageLayout #PDFIntegration

