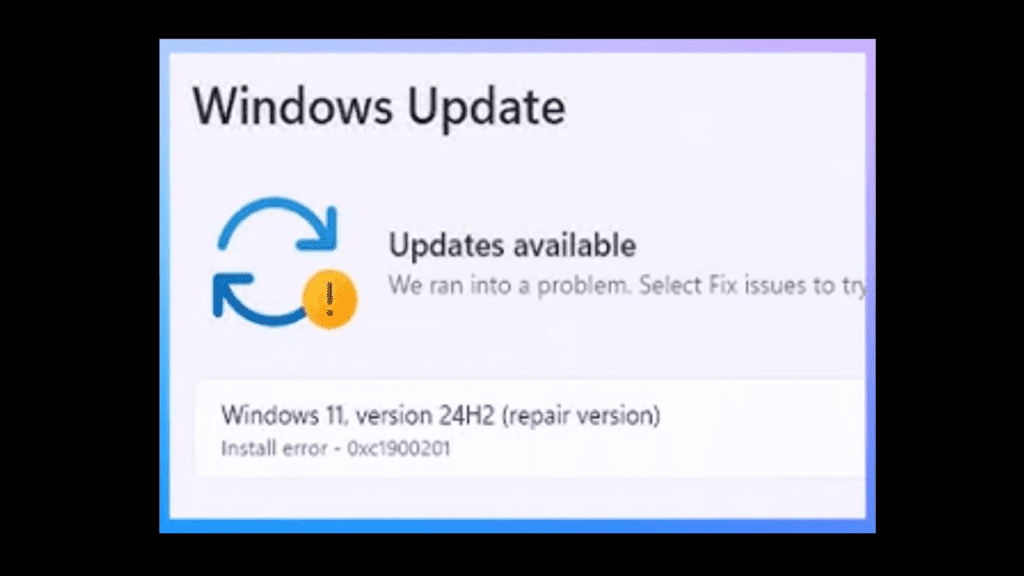
Windows update errors can be frustrating, and error code 0xC1900101 is one of the most common. If you’re stuck trying to install an update, this guide provides detailed, step-by-step solutions to help you troubleshoot and resolve the issue.
Step 1: Use Windows Update Troubleshooter
- Open the Start Menu and type troubleshoot settings in the search bar.
- Click Troubleshoot settings from the search results.
- Scroll down and click Other troubleshooters.
- Find Windows Update and click Run.
The troubleshooter will scan your system for issues related to Windows Update and attempt to fix them automatically.
Step 2: Restart and Configure Windows Update Service
- Open the Start Menu and type services.
- Select Services from the search results.
- Scroll down to find Windows Update.
- Double-click Windows Update to open its properties window.
- Click Stop to halt the service temporarily.
- Set the Startup type to Automatic.
- Go to the Recovery tab:
- Set First failure to Restart the Service.
- Set Second failure to Restart the Service.
- Click OK to save your changes.
- Click Start to restart the service.
This step ensures the Windows Update service runs with optimal settings to avoid further interruptions.
Step 3: Run a Script to Reset Windows Update Components
- Open Notepad.
- Copy the list of Windows Update reset commands (listed below):
net stop wuauserv
net stop cryptSvc
net stop bits
net stop msiserver
ren C:\Windows\SoftwareDistribution SoftwareDistribution.old
ren C:\Windows\System32\catroot2 catroot2.old
net start wuauserv
net start cryptSvc
net start bits
net start msiserver
- Save the file as update_reset.bat (ensure you select All Files as the file type).
- Locate the file, right-click, and choose Run as administrator.
- Follow any prompts by typing Y for yes if asked to confirm.
This script resets key components of the Windows Update process to eliminate possible corruption.
Step 4: Use Command Prompt to Scan and Repair Files
- Open the Start Menu, type CMD, and right-click Command Prompt.
- Select Run as administrator.
- Type and run the following commands:
sfc /scannow
dism /online /cleanup-image /restorehealth
These commands check for and repair corrupted system files and restore the health of your Windows installation. Allow them to complete, as they may take some time.
Step 5: Use the Media Creation Tool
If the previous steps do not resolve the issue, try upgrading using the Media Creation Tool.
- Go to the official Microsoft Windows 11 Download page.
- Click Download under Create Windows 11 Installation Media.
- Launch the Media Creation Tool and accept the terms.
- Choose your language and click Next.
- Select ISO file and specify a save location.
- Once the download completes, locate the ISO file and double-click it to start the setup.
- Follow the on-screen instructions:
- Click Next and accept the terms.
- Choose to keep personal files and apps.
- Click Install.
The Media Creation Tool will install the latest Windows version, resolving update-related issues.
Conclusion
These steps should help you fix error 0xC1900101 and complete your Windows update successfully. Regular maintenance, keeping drivers up-to-date, and ensuring sufficient disk space can help prevent future issues.
Tags
windows update error, error 0xC1900101 fix, troubleshoot windows update, sfc scannow, dism restore health, windows 11 update, windows media creation tool, reset windows update components
Hashtags
#WindowsUpdate #Error0xC1900101 #Troubleshooting #SFCScan #DISMCommand #MediaCreationTool #Windows11Update #TechTips
