Is your Windows 11 or Windows 10 computer freezing randomly or crashing? This step-by-step guide will help you fix the issue with just three simple steps. These methods work in 99% of cases, so follow along carefully to restore your computer’s performance.
Step 1: Check Your Hard Drive for Errors
Sometimes, Windows freezes or crashes due to errors in the hard drive, such as bad sectors. Here’s how to perform a basic error check:
- Open File Explorer:
- Press
Windows + Eto open File Explorer. - Click on This PC from the left panel.
- Press
- Select the System Drive (usually C:):
- Right-click on the C: drive (or the drive where Windows is installed).
- Select Properties from the context menu.
- Navigate to the Tools Tab:
- In the Properties window, click on the Tools tab.
- Under the Error Checking section, click on Check.
- Perform the Error Check:
- A new window will open, showing that Windows hasn’t detected any errors on the drive. However, click on Scan Drive to start the error-checking process.
- This scan could take anywhere between 2 to 10 minutes, depending on the size of the drive.
- Restart Your Computer:
- After the scan is complete, it’s essential to restart the computer, even if no errors are found.
Step 2: Run System File Checker (SFC)
Windows comes with a built-in tool called the System File Checker (SFC) that can scan and repair missing or corrupted system files. Here’s how to run it:
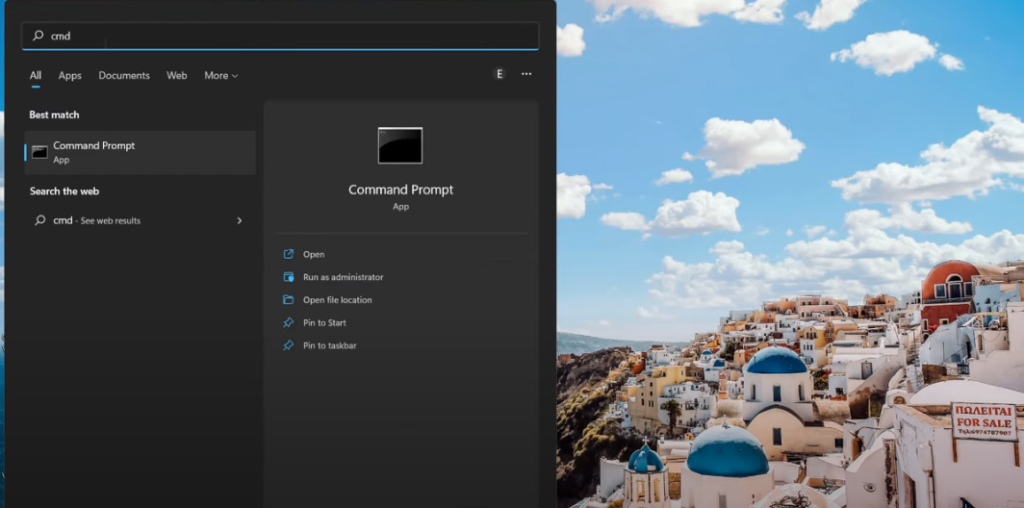
- Open Command Prompt as Administrator:
- Press
Windows + S, type cmd, and right-click Command Prompt. - Choose Run as Administrator.
- You should now see
C:\Windows\system32in the prompt. If you see something likeC:\Users\YourAccountName, you need to run the command as administrator.
- Press
- Run the SFC Command:
- In the Command Prompt window, type the following command:
sfc /scannow - Press Enter. This command will scan the system files for any corruption or issues and attempt to fix them automatically.
- In the Command Prompt window, type the following command:
- Wait for the Scan to Complete:
- The scan might take anywhere from 5 to 10 minutes.
- Once the scan is complete, restart your computer.
Step 3: Check for Windows Updates
Keeping your system up-to-date is essential to avoid bugs and improve performance. Here’s how to check for Windows updates:
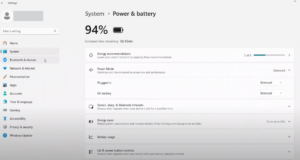
- Open Windows Update Settings:
- Press
Windows + S, type Windows Update, and select Windows Update Settings.
- Press
- Check for Updates:
- Click on Check for updates. If any updates are available, they will be downloaded and installed automatically.
- Restart After Update:
- If updates were installed, your computer might restart automatically. If not, restart manually to complete the update process.
Bonus Tip: Scan for Viruses and Malware
If your PC is still facing issues, there might be malware or viruses causing the problem. Here’s how to perform a quick scan using Windows Security:
- Open Windows Security:
- Press
Windows + S, type Windows Security, and open it.
- Press
- Run a Quick Scan:
- Go to Virus & threat protection and click Quick Scan to check for any malicious files or programs.
Conclusion
By following these three steps—checking the hard drive for errors, running the System File Checker, and updating Windows—you should be able to fix most freezing and crashing issues on your Windows computer. Don’t forget to run a virus scan for extra peace of mind. If this guide helped you, consider sharing it or subscribing to stay updated with more troubleshooting tips!
#Windows11 #Windows10 #PCFix #SystemErrors #TechTips #WindowsUpdate #VirusScan