If you are facing a blue screen asking for a BitLocker recovery key when trying to turn on your Windows computer, don’t worry. In this article, we will guide you step-by-step on how to fix the BitLocker recovery issue and recover your BitLocker key. This solution is compatible with Windows 10, Windows 11, and other versions.
Let’s dive right into it!
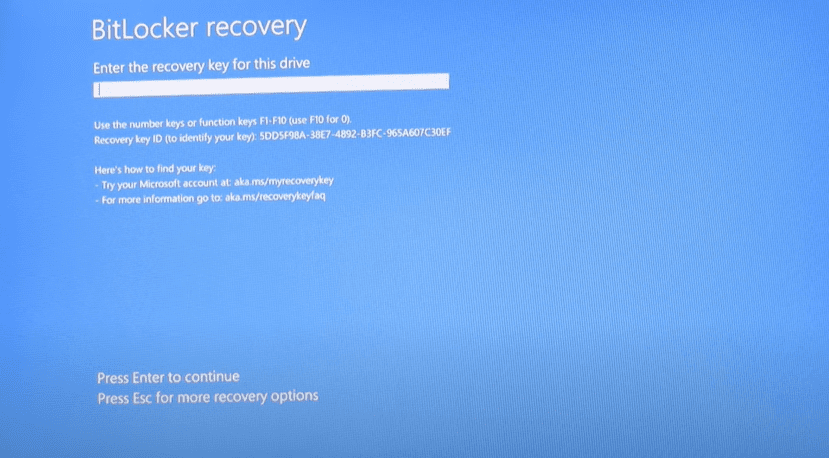
Why Does the BitLocker Recovery Screen Appear?
When BitLocker is enabled on your Windows system, it encrypts the drive for security. Sometimes, if there are hardware changes, BIOS updates, or system errors, BitLocker might ask for the recovery key to unlock the drive. Until you provide the correct recovery key, you won’t be able to access your Windows system.
How to Recover the BitLocker Key
Here’s the simple and clear process to retrieve your BitLocker recovery key:
Step 1: Open a Browser
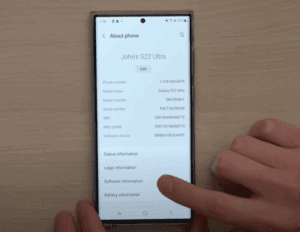
You can use either a PC or a mobile device — it works the same way. Open any browser like Chrome, Edge, or Safari.
Step 2: Visit the Recovery Key Website
In the browser’s address bar, type the following URL carefully:
aka.ms/myrecoverykey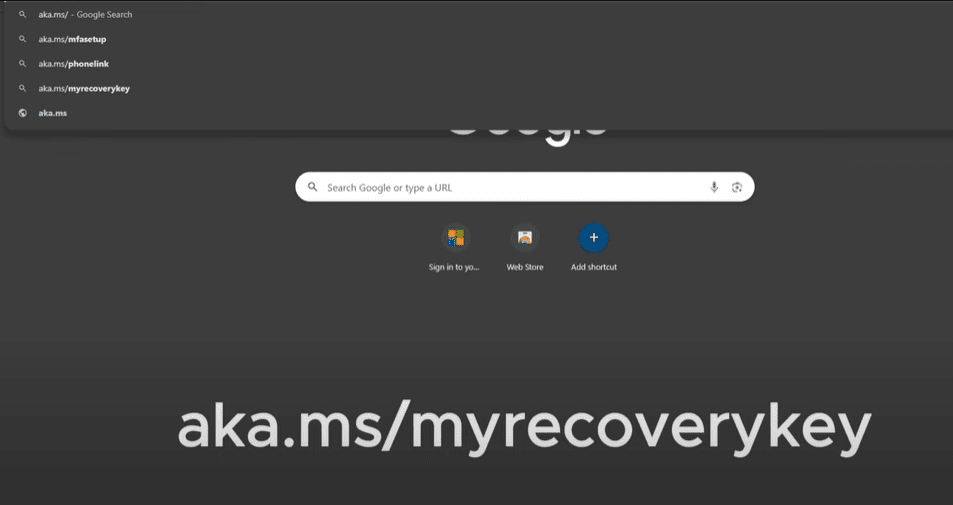
Make sure you type it exactly as shown, and then press Enter.
This will take you to the official Microsoft page where you can find your recovery keys.
Step 3: Log in to Your Microsoft Account
Once the page loads, you will need to log in with the Microsoft account that you used while setting up your Windows PC. Enter your email ID and password, then click Next.
After successful login, you will see a list of your BitLocker recovery keys associated with your devices.
Step 4: Choose the Correct Recovery Key
Now, you might see multiple recovery keys listed on the page. Important: Do not randomly pick any recovery key.


Look carefully at the recovery key entries — they are usually labeled with the device name and the date when the key was uploaded.
You must select the latest recovery key (the one with the most recent date) for your current device. Using an old or incorrect recovery key will not work.
For example, if you see keys dated like 12/24/2022, 01/10/2024, and 03/23/2025, choose the one from 2025 if that matches your system.
Step 5: Enter the Recovery Key
Once you find the correct latest recovery key, enter it on the blue recovery screen of your computer and press Enter.
If the key is correct, your Windows system should now boot normally.
Step 6: Turn Off BitLocker (Recommended)
To avoid facing the same problem again in the future, it is highly recommended to turn off BitLocker encryption after recovering your system.
Here’s how to do it:
- Open This PC on your computer.
- Right-click on the C drive (or the drive where Windows is installed).
- Click on Manage BitLocker.
- Find the option that says Turn Off BitLocker and click on it.
- Confirm when prompted.
BitLocker will now decrypt your drive, and you won’t be asked for a recovery key again while turning on your PC.
Final Tip
If you still face any recovery key request even after turning BitLocker off, repeat the above steps carefully. Always make sure your Microsoft account credentials are correct, and always use the latest recovery key.
Now you know exactly how to fix the BitLocker recovery problem in Windows and recover your BitLocker key without any hassle. Follow the steps in this article, and you will be back into your system in no time!
Tags: BitLocker, BitLocker recovery, BitLocker key, Windows 10, Windows 11, fix BitLocker problem, recover BitLocker key, Microsoft account, Windows recovery, turn off BitLocker
Hashtags: #BitLocker #Windows10 #Windows11 #BitLockerRecovery #MicrosoftAccount #WindowsRecovery #TechTips #ComputerFix #Troubleshooting


