Are you facing issues activating your Python virtual environment in PowerShell while using Visual Studio Code? This step-by-step guide walks you through the most common problems and their fixes. Whether you’re a beginner or setting up a fresh development environment, this article will help ensure your Python setup works smoothly in VS Code.
Let’s dive into the solution.
✅ Step 1: Ensure the Virtual Environment Folder Exists
Before trying to activate a virtual environment, make sure it’s created properly.
Instructions:
Open Visual Studio Code.
Navigate to the menu: Terminal > New Terminal.
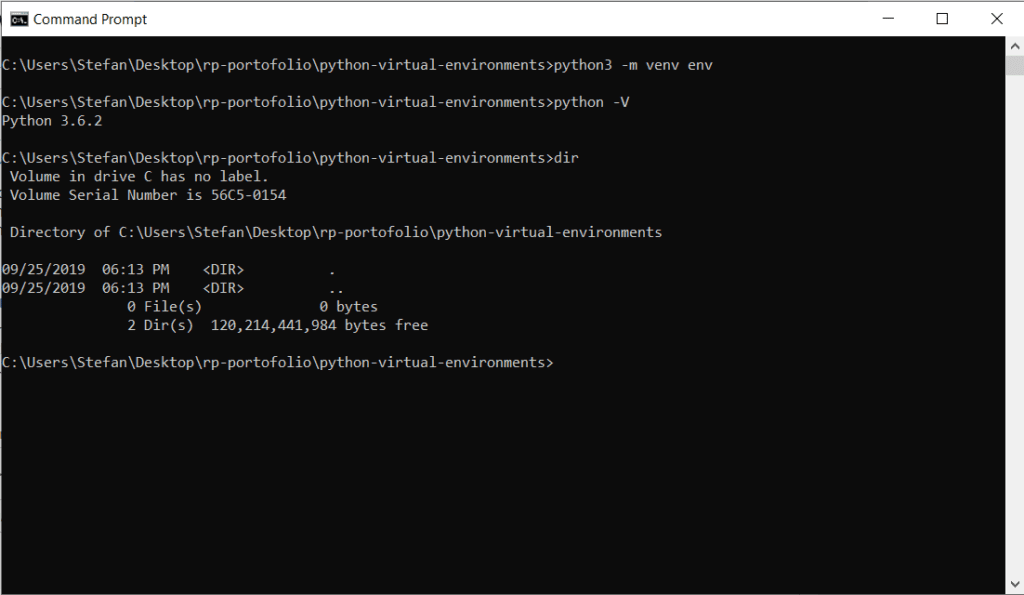
In the terminal, type the following command to create a new virtual environment: python -m venv venv
Press Enter and wait for the command to complete.
Once done, check that a new folder named venv (or the name you chose) appears in your project directory.
✅ Step 2: Activate the Virtual Environment in PowerShell


To activate the environment in PowerShell, run the correct command with proper syntax.
Command to run:
. .\venv\Scripts\Activate
Note:
The . and .\ at the beginning are essential in PowerShell. They ensure the script is run from the current directory.
If successful, your terminal prompt will change to show the virtual environment name, e.g., (venv).
✅ Step 3: Fix PowerShell Execution Policy Restrictions
If you encounter an error such as “script cannot be loaded because running scripts is disabled on this system,” it’s due to PowerShell’s execution policy.
Fix it temporarily by running:
Set-ExecutionPolicy Unrestricted -Scope Process
This command allows scripts to run only during your current session.
🛠️ If this command fails:
Close Visual Studio Code.
Right-click on PowerShell and select Run as administrator.
Retry the activation steps above in the elevated PowerShell terminal.
✅ Step 4: Confirm the Virtual Environment Is Active
To verify everything is set up correctly, run these checks:
Check Python version: python –version This should return the Python version tied to your virtual environment.
Check installed packages: pip list It should show minimal packages like pip, setuptools, and possibly wheel.
🚀 You’re Ready to Code in VS Code!
After completing these steps, your Python virtual environment should be fully activated and ready to use in Visual Studio Code.
You can now start coding, install project-specific dependencies, and work without interruptions!
Tags
Python virtual environment, VS Code Python setup, PowerShell script error, activate venv PowerShell, Python venv VSCode, execution policy error, Visual Studio Code Python, pip list, Python development setup, beginner Python tips
Hashtags
PythonTips #VenvActivation #VSCode #PowerShellFix #PythonSetup #PythonBeginners #CodingInVSCode #DevEnvironment #PythonDevelopment #FixPythonErrors
Disclaimer
Changing execution policies in PowerShell may have security implications. Always use the -Scope Process flag unless you are sure of the risks involved. Do not set execution policies to Unrestricted system-wide unless absolutely necessary.
Let me know if you’d like a printable PDF version or a version tailored for advanced users or Mac/Linux environments!