Introduction
Have you ever opened an InDesign document only to find that the images you inserted appear pixelated or blurry? This common issue often happens when you reopen a project after saving it, but the good news is that it’s simple to fix. This article provides a detailed guide on how to restore your images to their high-quality display in Adobe InDesign.
Step 1: Understanding Display Performance
InDesign uses different display settings for images to optimize performance when working on a document. These settings affect how images are displayed on your screen but do not change the actual quality of the image in your exported file. The three display performance options are:
- Fast Display: Shows only a placeholder for the image, improving speed.
- Typical Display: Displays a low-resolution version of the image.
- High-Quality Display: Displays the image in its full resolution.
Step 2: Inserting an Image
- Open your InDesign document or create a new one.
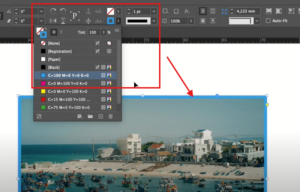
- Use the Rectangle Frame Tool (
F) to draw a frame on your page. - Insert an image into the frame by:
- Dragging and dropping the image into the frame, or
- Using File > Place (
Ctrl + Don Windows,Cmd + Don Mac).
Step 3: Identifying the Issue
When you reopen your InDesign document, you might notice that the inserted image appears pixelated or blurry. This happens because InDesign reverts to the Typical Display setting to improve performance, especially in documents with many images.
Step 4: Restoring High-Quality Display
To fix this issue, follow these steps:
- Select the Image
- Click on the image you want to display in high quality.
- Access Display Performance Options
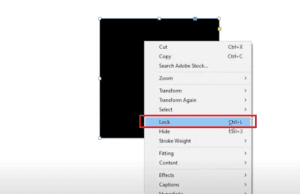
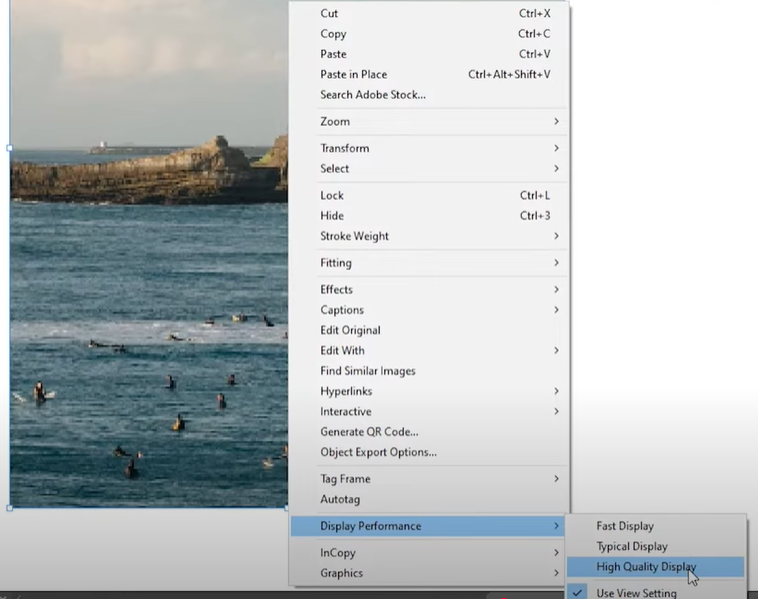
- Right-click on the image, and navigate to Display Performance.
- You will see three options:
- Fast Display
- Typical Display
- High-Quality Display
- Choose High-Quality Display
- Select High-Quality Display.
- The image will take a moment to refresh and will now appear in its original, high-quality resolution.
Step 5: Applying High-Quality Display to All Images
If your document contains multiple images, applying the high-quality setting to each image individually can be time-consuming. Instead, you can apply the setting to all images on the page at once:
- Use the keyboard shortcut
Ctrl + Alt + H(Windows) orCmd + Option + H(Mac). - All images on the current page will be displayed in high quality.
Additional Tips
- Performance Considerations:
- While the High-Quality Display setting improves the appearance of your images, it can slow down performance in large or image-heavy documents. Use this setting selectively when needed.
- Export Quality:
- Remember, the display setting affects only the on-screen appearance of images. The final quality of your exported PDF or print file will depend on the original image resolution and export settings.
Conclusion
Dealing with pixelated images in InDesign can be frustrating, but understanding and using the Display Performance settings makes it easy to restore high-quality visuals. Whether you’re working with a single image or a page full of them, this quick fix ensures your designs look sharp and professional.
#AdobeInDesign #InDesignTips #GraphicDesign #ImageQuality #HighResolution #CreativeDesign #InDesignTutorial


