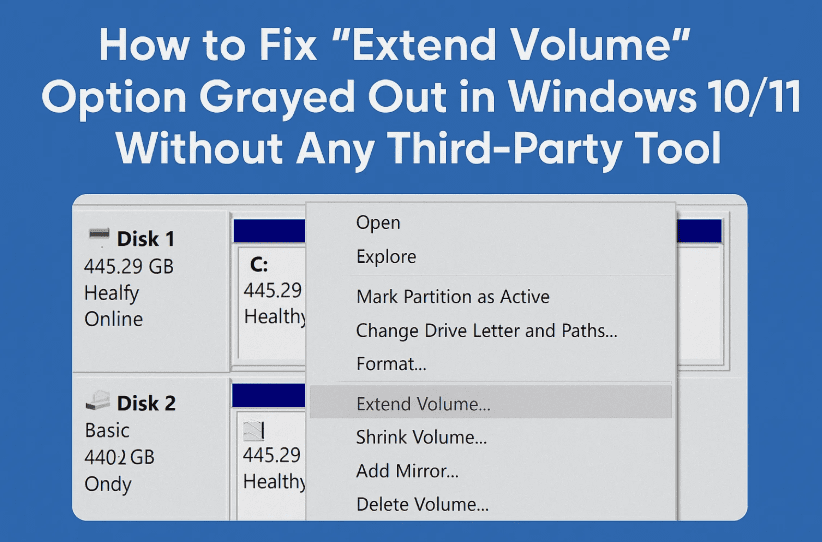
Have you ever tried to extend your C: drive from Disk Management in Windows 10 or 11, only to find that the “Extend Volume” option is grayed out—even though you have unallocated space next to it?
If yes, you’re not alone. This is a very common issue many users face, especially when a small Recovery Partition sits between the C: drive and the unallocated space. That tiny recovery partition becomes a big obstacle, stopping you from merging the unallocated space with your system partition.
But don’t worry! In this detailed guide, I’ll walk you through a manual and safe method—no third-party tools involved—that will help you:
- Extend your C: drive successfully
- Recreate the deleted recovery partition
- Restore the original recovery functionality
So far, so good? Let’s move to the actual step-by-step process. Make sure to follow each step carefully.
🧩 Why Is the “Extend Volume” Option Grayed Out?
When unallocated space is not directly next to the C: drive, Windows Disk Management will not allow you to extend it. Most of the time, this happens because there’s a “Healthy Recovery Partition” between your C: drive and the unallocated space.
This partition is:
- Small in size (around 600MB to 1GB)
- Used by Windows Recovery Environment (WinRE)
- Not directly removable via Disk Management
Now let’s fix this smartly.
🛠️ Step-by-Step: Extend C: Drive Without Third-Party Software
✅ Step 1: Open Command Prompt as Administrator
Let’s disable the Windows Recovery Environment temporarily.
- Click Start → Type cmd
- Right-click Command Prompt → Select Run as Administrator
Now type this command:
reagentc /disable
This disables the Windows Recovery Environment. You’ll get a success message.
✅ Step 2: Open DiskPart and Identify Partitions
Now we’ll manage disk partitions from the command line.


- In the same CMD window, type:
diskpart - List all disks:
list disk - Select the disk where your C: drive and unallocated space exist:
select disk 0
Replace
0with the actual disk number on your system.
- List all partitions on the selected disk:
list partition
You’ll now see all partitions including the Recovery Partition (usually 600–800MB).
✅ Step 3: Save Recovery Partition Details Before Deleting
You’ll need this info later to recreate it. Follow these steps:
- Select the Recovery Partition (e.g., partition 4):
select partition 4 - Display details:
detail partition
Copy or note down:
- Type
- ID
- GPT attributes
Tip: Paste this info in Notepad and minimize it for later use.
✅ Step 4: Delete Recovery Partition
Let’s now remove the partition that’s blocking the C: drive from extending.
Run this command:
delete partition override
You’ll see a success message.
Now check by opening Disk Management:
- Right-click Start Menu → Click Disk Management
- You should now see your C: drive next to unallocated space
Right-click C: drive → Extend Volume → Use the wizard to add all or some unallocated space → Click Finish
🎉 Success! Your C: drive is now extended.
🔁 Step 5: Recreate Recovery Partition After Extension
Let’s now bring back the deleted recovery partition.
A. Shrink Space from C: Drive
- In Disk Management, right-click C: Drive
- Select Shrink Volume
- Enter size as
1024(1GB) → Click Shrink
You’ll now see 1GB of unallocated space.
B. Create New Partition
- Right-click the 1GB unallocated space → Select New Simple Volume
- Go through the setup wizard and don’t assign a drive letter
- Click Finish
C. Set Partition as Recovery (with Attributes)
Now back to CMD:
- Go to the same elevated Command Prompt.
- Reopen diskpart:
diskpart - Select disk:
select disk 0 - List partitions again:
list partition
Find the new 1024MB partition (likely at the end), say partition 4:
select partition 4
- Set Partition ID:
set id=<paste the ID from earlier> override
- Set GPT Attributes:
gpt attributes=<paste the attributes>
Both commands will confirm with a success message.
D. Hide Recovery Partition from File Explorer
- Type:
list volume - Select the recovery volume (say volume 5):
select volume 5 - Remove drive letter (e.g., E):
remove letter=E
This hides the recovery partition from File Explorer.
✅ Final Step: Re-enable Windows Recovery Environment
Back in the CMD window, type:
reagentc /enable

You’re done! You’ve:- Extended your C: drive
- Recreated and re-registered the recovery partition
- Used zero third-party tools
❓Frequently Asked Questions (FAQs)
Q1: Why can’t I extend my C: drive even when there is unallocated space?
Most likely, there’s a small recovery partition between the C: drive and unallocated space.
Q2: Is it safe to delete the recovery partition?
Yes, temporarily—if you recreate it after extending the C: drive using the method above.
Q3: What happens if I don’t recreate the recovery partition?
You’ll lose access to Windows recovery tools (e.g., Reset this PC, Startup Repair).
Q4: Will this method work on laptops with pre-installed Windows?
Yes, just ensure you’re using the same disk (usually Disk 0) and note recovery partition details before deletion.
🛑 Disclaimer
This guide is for educational purposes. Follow steps carefully. Mistakes in diskpart can lead to data loss. Always back up important data before modifying partitions. We are not responsible for any accidental system changes.
🏷️ Tags & Hashtags
Tags:
extend c drive windows 11, disk management fix, recovery partition delete and restore, reagentc, diskpart tutorial, windows extend volume greyed out, fix unallocated space issue
Hashtags:
#WindowsTips #DiskManagement #PartitionFix #Windows10 #Windows11 #ExtendCDrive #RecoveryPartition #TechHelp
If this guide helped you solve the annoying “Extend Volume” issue, let us know in the comments! And don’t forget to share this article with friends who might be struggling with the same problem.
Till next time, take care and happy troubleshooting!


