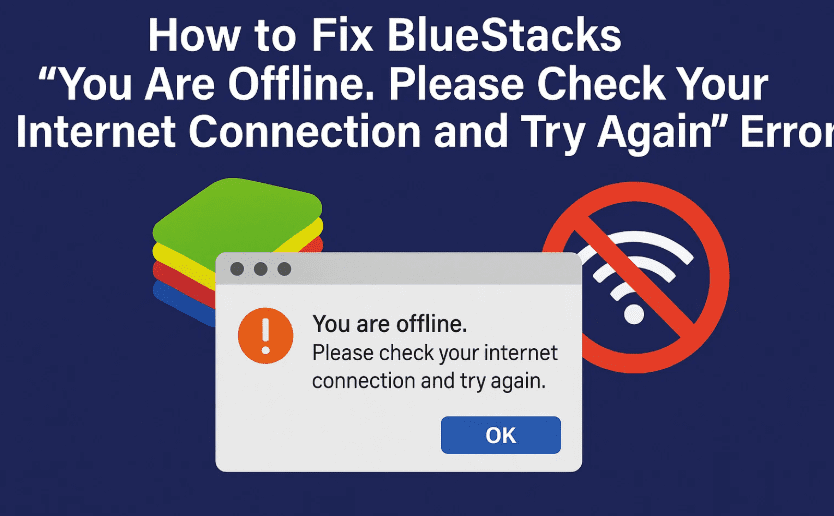
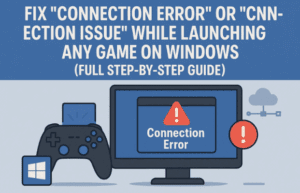
Are you seeing the frustrating “You are offline. Please check your internet connection and try again” message when launching BlueStacks? You’re not alone. Many users encounter this issue even when they have a perfectly working internet connection.
This problem is often related to system settings, proxy configuration, or firewall restrictions rather than BlueStacks itself.
In this article, we’ll walk you through three simple but effective methods to fix this BlueStacks connectivity error on Windows 11 or Windows 10.
⚠️ What Causes the “You Are Offline” Error in BlueStacks?
Some common reasons include:
- Incorrect proxy settings or use of a VPN
- Missing administrator privileges
- Overprotective Windows Firewall settings
- Antivirus or firewall software blocking BlueStacks’ internet access
Let’s fix it step by step.
🛠️ Method 1: Check Your Internet & Proxy Settings
This should always be your first step, especially if you’re using a shared or school/work network.
✅ Steps:
- Restart Your Router/Modem
- Unplug it for 10 seconds, then plug it back in.
- Wait until the connection is restored.
- Check Proxy Settings
- Press
Win + Ito open Settings. - Go to Network & Internet > Proxy.
- Make sure “Use a proxy server” is turned off.
- Press
📝 Proxy and VPN tools can interfere with BlueStacks’ connection, especially if they route traffic through restricted servers.
🔧 Method 2: Run BlueStacks as Administrator
Sometimes, BlueStacks doesn’t get the necessary permissions to connect to the internet unless run with admin rights.
✅ Steps:
- Right-click the BlueStacks shortcut on your desktop or Start menu.
- Click Run as Administrator.
- When prompted by UAC, click Yes.
💡 Optional Tip:
To always launch BlueStacks with admin rights:
- Right-click the shortcut > Properties > Compatibility tab
- Check “Run this program as an administrator”
- Click Apply and OK
🔥 Method 3: Reset Windows Firewall to Default
An overly strict firewall setting might be silently blocking BlueStacks.
✅ Steps:
- Open the Start Menu and search for
Windows Security. - Click on Firewall & Network Protection.
- Scroll down and click “Restore firewalls to default.”
- Click “Restore defaults” and then click Yes to confirm.
🔐 Don’t worry—this won’t disable your firewall, it just resets it to safe default settings.
🔗 Useful Resources


❓ Frequently Asked Questions (FAQ)
Q1: Does this issue occur only on Windows 11?
Answer: No. It can happen on Windows 10 too. The fix steps are the same for both versions.
Q2: Can antivirus software also block BlueStacks?
Answer: Yes. Some antivirus tools treat emulators like BlueStacks as threats. Try temporarily disabling your antivirus to test, and add BlueStacks as an exception if necessary.
Q3: Is my data lost when I reset the firewall?
Answer: No, resetting the firewall does not remove your apps or data. It only resets custom firewall rules.
Q4: Should I reinstall BlueStacks if nothing works?
Answer: That’s a last resort. Try all three methods first. If none work, uninstall BlueStacks, restart your PC, and then reinstall the latest version from the official site.
👉 Download BlueStacks Official
📝 Final Thoughts
The “You are offline” error in BlueStacks can be annoying, but it’s usually caused by simple system settings or permissions. By following the steps above, you should be able to get BlueStacks back online and running smoothly.
Remember: Always keep your BlueStacks emulator and system updated for the best performance.
If this helped you fix the issue, consider bookmarking this page for future reference or sharing it with others facing the same problem.
🏷️ Tags
BlueStacks, BlueStacks error fix, offline error, Windows 11 emulator fix, BlueStacks internet issue, fix BlueStacks Windows 10, run BlueStacks admin, BlueStacks proxy error, internet not working on BlueStacks
🔖 Hashtags
#BlueStacksFix #EmulatorError #Windows11 #InternetNotWorking #OfflineError #TechHelp #BlueStacksOffline #VPNIssues #ProxySettings #FirewallReset
Have you fixed the issue using these methods? Let us know your experience or questions in the comments!