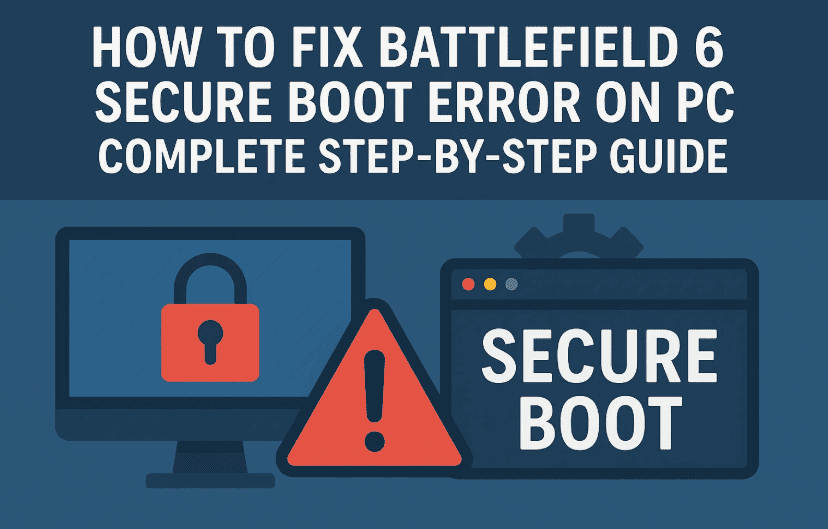
When you’re excited to launch Battlefield 6 only to be greeted by a “Secure Boot not enabled” error, it can be frustrating enough to make you consider throwing your mouse across the room. Don’t worry — we’ll fix it without any hardware-smashing.
This problem is related to your system’s Secure Boot setting and how your PC’s BIOS is configured. The fix involves checking your system information, ensuring your BIOS mode is correct, confirming your disk partition style, converting it if necessary, and finally enabling Secure Boot in BIOS.
In this detailed guide, we’ll walk you through each step slowly and clearly — with explanations so you know why you’re doing each action, not just what to click. Whether you’re a casual gamer or a PC enthusiast, you’ll be able to follow along.
Table of Contents
- What is Secure Boot and Why Battlefield 6 Needs It
- Step 1: Check Your Secure Boot State
- Step 2: Check BIOS Mode
- Step 3: Check Partition Style
- Step 4: Convert Disk from MBR to GPT (If Needed)
- Step 5: Enable Secure Boot in BIOS
- Common Problems and Fixes
- FAQ – Battlefield 6 Secure Boot Error
- Final Thoughts
Apart from just secure booth there are many other factors also that can affect the game preformance, do you know? Lets have them a look:-
- How to Fix the DirectX Function Error in Battlefield 6 — Step-by-Step Guide
- “Please Update Your Nvidia GeForce Driver” Error in Battlefield 6 – Step-by-Step Guide
- How to Fix Battlefield 6 Secure Boot Error on PC – Complete Step-by-Step Guide
- How to Fix the DirectX Function Error in Battlefield 6 — Step-by-Step Guide
- or you can check the complete Battlefield Game related articles here!
What is Secure Boot and Why Battlefield 6 Needs It
Before diving into the steps, it’s worth understanding what Secure Boot actually does.
Secure Boot is a security feature built into modern PCs that ensures only trusted software loads when your computer starts up. It prevents malicious programs (rootkits, bootkits, etc.) from hijacking the boot process before Windows loads.
For Battlefield 6, EA requires Secure Boot to be enabled for a simple reason — to prevent cheating software from loading before the game’s anti-cheat can detect it. Without Secure Boot, cheats can hide at a system level, making them very hard to detect.
In short: Secure Boot = safer boot process + less chance for cheaters to bypass the system.
Step 1: Check Your Secure Boot State
Let’s first see whether Secure Boot is already enabled.
- Press Windows + S on your keyboard to open the search bar.
- Type:
msinfo32and hit Enter. - This will open the System Information window.
- Scroll down and find Secure Boot State.
- If it says On — you’re already good for Secure Boot.
- If it says Off — you’ll need to enable it.
- If it says Unsupported — your hardware may not support Secure Boot.
While you’re here, also check BIOS Mode. This should say UEFI. If it says Legacy, you’ll need to switch — but that involves converting your system partition, which we’ll cover later.
Step 2: Check BIOS Mode
Battlefield 6 requires that your system is using UEFI mode, not the older Legacy BIOS.


- In the same System Information window:
- Look for BIOS Mode.
- If it says UEFI — good, move on to Step 3.
- If it says Legacy — you cannot enable Secure Boot until you switch to UEFI.
Switching from Legacy to UEFI without reinstalling Windows requires that your system drive uses the GPT partition style. That’s what we’ll check next.
Step 3: Check Partition Style
Now, let’s see if your system drive uses the correct partition style.
- Press Windows + S and search for Disk Management.
- Click on Create and format hard disk partitions.
- Find the disk where Windows is installed (usually Disk 0 with the C: drive).
- Right-click on the Disk # label (not the partitions) and select Properties.
- Go to the Volumes tab.
- Look for Partition style:
- If it says GUID Partition Table (GPT) — you’re good.
- If it says Master Boot Record (MBR) — you’ll need to convert it.
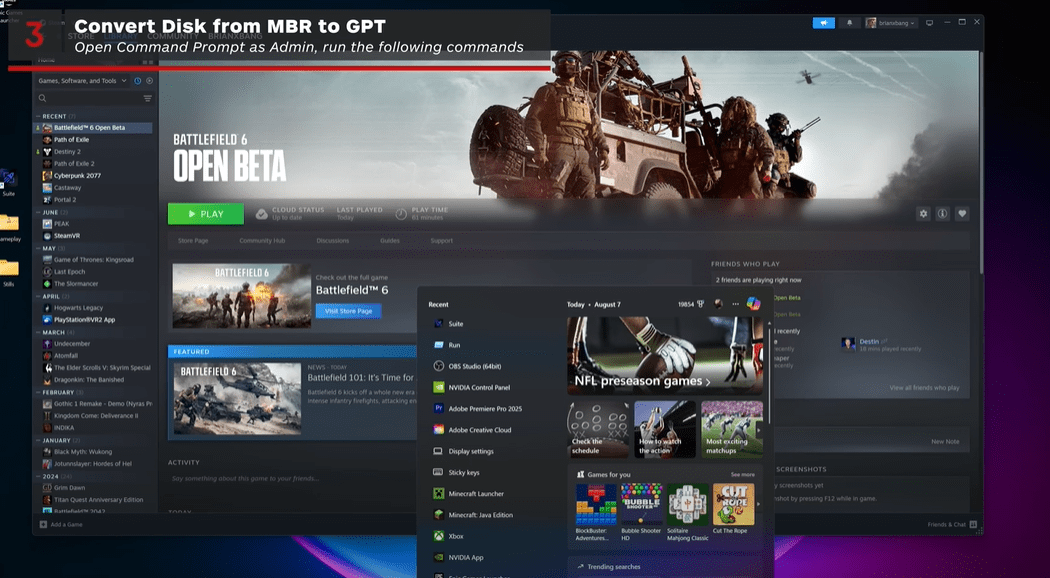
Step 4: Convert Disk from MBR to GPT (If Needed)
If your system drive is MBR, Secure Boot won’t work. We’ll need to convert it to GPT. Luckily, Windows has a built-in tool called MBR2GPT that can do this without deleting your data (though you should still back up your important files, just in case).
Warning:
This process is safe if done correctly, but there’s always a small risk of boot issues. Back up your files before continuing.
Validate the Disk
- Press Windows + S, type cmd, right-click Command Prompt, and choose Run as administrator.
- Type:
mbr2gpt /validate /disk:0 /allowFullOSReplace0with the disk number where Windows is installed (usually 0). - If validation passes, proceed to conversion.
Convert the Disk
- In the same Command Prompt window, type:
mbr2gpt /convert /disk:0 /allowFullOS - Once it completes, restart your PC.
After this, repeat Step 3 to confirm that the partition style now says GPT.
Step 5: Enable Secure Boot in BIOS
With GPT and UEFI mode confirmed, you can now enable Secure Boot.
Enter BIOS Setup
- Restart your PC.
- While it’s booting (before Windows loads), repeatedly press the correct key:
- F2 or Delete (most common)
- F12, Esc, or others (depends on your motherboard)
- Look for a message during boot like “Press DEL to enter setup” to confirm the right key.
Enable Secure Boot
- Once inside BIOS, navigate to the Advanced or Security section.
- Find Secure Boot and set it to Enabled.
- Check if there’s an Active status. If it says Not Active:
- Look for an option like Restore Factory Keys or Install Default Keys.
- Enable that, save, and reboot into BIOS again.
- After restoring keys, Secure Boot should be Enabled and Active.
- Save and exit BIOS.
Boot Back Into Windows
After enabling Secure Boot, Windows should load normally. Launch Battlefield 6 — the Secure Boot error should be gone.
Common Problems and Fixes
1. My BIOS doesn’t have Secure Boot options.
– Your motherboard may not support it. Check the manufacturer’s website for firmware updates.
2. I enabled Secure Boot but it still says Off in Windows.
– You may need to restore factory keys in BIOS or ensure Compatibility Support Module (CSM) is disabled.
3. After converting to GPT, Windows won’t boot.
– Boot into BIOS and make sure it’s set to UEFI mode, not Legacy.
FAQ – Battlefield 6 Secure Boot Error
Q: Does enabling Secure Boot affect game performance?
A: No, it only changes how your system boots, not your in-game FPS.
Q: Can I disable Secure Boot after launching Battlefield 6?
A: Technically yes, but the game may refuse to launch after updates or in multiplayer mode.
Q: Is this the same for Battlefield 2042?
A: Yes, both use similar anti-cheat requirements.
Q: Do I need TPM for Battlefield 6?
A: No, TPM is not required for the game — just Secure Boot.
Final Thoughts
Enabling Secure Boot might sound intimidating if you’ve never been inside your PC’s BIOS before, but it’s a straightforward process once you break it down step-by-step. More importantly, it’s not just a Battlefield 6 requirement — it’s also a valuable security feature that protects your PC against low-level malware.
Now that you’ve set it up, you can enjoy your game without those frustrating launch errors. And who knows — maybe this little BIOS adventure gave you more confidence to tweak other settings in the future.
Disclaimer:
Changing BIOS settings and converting partitions can cause boot issues if done incorrectly. Always back up important files before making changes. This guide is provided for informational purposes, and you follow it at your own risk.
Official Microsoft Documentation on MBR2GPT Tool:
https://learn.microsoft.com/en-us/windows/deployment/mbr-to-gpt
Tags: Battlefield 6 secure boot fix, enable secure boot windows 11, BIOS secure boot tutorial, fix battlefield pc errors, mbr2gpt guide, uefi mode setup, gaming pc bios settings
Hashtags: #Battlefield6 #SecureBoot #GamingPC #Windows11 #UEFI #PCGamingTips #MBR2GPT #GameFix