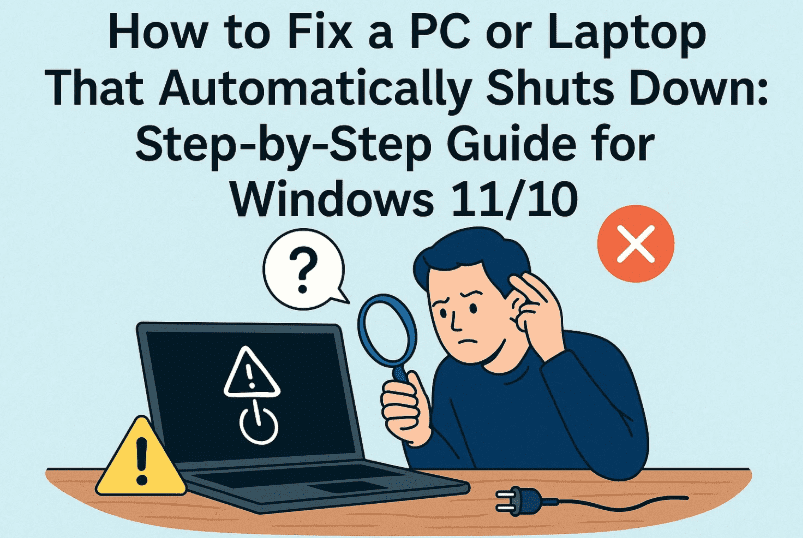
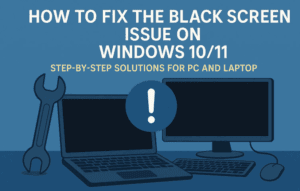
Unexpected shutdowns can be frustrating, especially when you’re in the middle of something important. If your PC or laptop is randomly turning off without warning, don’t panic—this article will walk you through multiple methods to fix the problem step by step. The issue could stem from either software misconfiguration or hardware faults. We’ll start by tackling the software-related causes and then move towards drivers and deeper system troubleshooting.
✅ Common Causes Behind Automatic Shutdowns
Before jumping into the solutions, here are some possible reasons why your system might be shutting down:
- Misconfigured power settings
- PCI Express link state errors
- Faulty or outdated drivers
- Windows image corruption
- System overheating
- Automatic restart triggered by crash recovery
Now let’s get to fixing it!
🛠️ Step 1: Adjust Power Settings in Control Panel
Let’s start by making sure your system’s power settings aren’t forcing a shutdown unnecessarily. Follow the steps below:
🔹 Open Control Panel Power Options
- Press
Windows + Sand type Control Panel. - Once open, switch the view to Large Icons from the top-right dropdown.
- Click on Power Options.
🔹 Modify Advanced Power Settings
Now that you’re inside Power Options:
- Click Change plan settings next to your selected power plan.
- Click Change advanced power settings.
In the new window:
- Expand Hard disk > Turn off hard disk after and set the value to Never.
- Expand PCI Express > Link State Power Management and set it to Off.
- Expand Display > Turn off display after and set it to Never.
- Click Apply and then OK.
💡 These settings ensure your PC doesn’t try to power down internal components, which might be misfiring or conflicting with drivers.
🛠️ Step 2: Disable Fast Startup (Optional but Helpful)
Sometimes, Fast Startup can cause issues when resuming from sleep or shutdown.
- Go back to Power Options.
- Click on Choose what the power buttons do.
- Click Change settings that are currently unavailable.
- Uncheck Turn on fast startup (recommended).
- Click Save changes.
Let’s move to the next important step, which involves system-level configuration.
🛠️ Step 3: Disable Automatic Restart on System Failure
This setting forces Windows to restart automatically after a crash, which may appear as a shutdown.
- Press
Windows + R, typesysdm.cpl, and press Enter. - Go to the Advanced tab.
- Under Startup and Recovery, click Settings.
- Uncheck Automatically restart.
- Click OK, then Apply, then OK again.
Now, if your PC crashes, you’ll be able to see the error instead of an instant reboot. This helps with diagnosing the issue.


🛠️ Step 4: Check System Logs with Event Viewer
Still not fixed? Time to investigate deeper.
🔍 Open Event Viewer
- Press
Windows + Sand search for Event Viewer. - Right-click it and choose Run as Administrator.
In Event Viewer:
- Go to Windows Logs > System.
- Use Filter Current Log… on the right.
- Choose Critical and Error to filter shutdown-related events.
Look for messages like:
“The system has rebooted without cleanly shutting down first.”
This might hint at overheating, power failure, or high CPU usage.
🛠️ Step 5: Use SFC and DISM to Repair System Files
Sometimes, corrupted system files or broken Windows images can cause abnormal shutdown behavior.
Run SFC (System File Checker):
- Open Command Prompt as Administrator.
- Type the following command:
sfc /scannow - Let it complete, then restart your PC.
Run DISM (Deployment Image Servicing and Management):
After the SFC scan:
- In the same Command Prompt, type:
DISM /Online /Cleanup-Image /RestoreHealth - Press Enter and wait until it finishes.
- Restart your system again.
🔧 These tools repair Windows system components and ensure stability.
🛠️ Step 6: Update BIOS and Drivers
If your drivers or BIOS are outdated, it could lead to instability or forced shutdowns.
🔍 Find Your Laptop’s Serial Number or Model
- Press
Windows + Sand type System Information. - Look for System Model or Serial Number.
Then:
- Visit your manufacturer’s official website (e.g., HP Drivers, Dell Drivers, Lenovo Drivers, etc.).
- Enter your serial number or model.
- Download and install the latest BIOS and chipset drivers.
⚠️ Ensure your laptop is plugged into a charger during a BIOS update to avoid permanent damage.
🛠️ Step 7: Final Solutions (If Nothing Works)
If you’ve tried everything and your system is still shutting down:
- Reset your PC: Go to Settings > System > Recovery and select Reset this PC.
- Clean Install Windows: Use a bootable USB and install a fresh version of Windows.
Make sure to backup your data first.
💡 Pro Tips to Prevent Overheating
Just before we wrap up, here are a few real-world suggestions:
- Place your laptop on a flat, hard surface (not on beds or cushions).
- Use a cooling pad or external fan.
- Clean the air vents and ensure proper airflow.
❓ Frequently Asked Questions (FAQs)
Q1: How do I know if my system is overheating?
A: Install a free tool like HWMonitor or Core Temp to monitor CPU temperatures. If they exceed 85–90°C consistently, it’s a sign of overheating.
Q2: Will BIOS update delete my data?
A: No, updating BIOS won’t delete your files. But improper BIOS updates can brick your system. Always use the official website and keep your laptop charged during the process.
Q3: My laptop shuts down only while gaming. Why?
A: This could be due to GPU overheating or power delivery issues. Clean your cooling fans, update your graphics drivers, and consider underclocking if needed.
📌 Tags & Hashtags
Tags: windows auto shutdown fix, windows 11 restarts automatically, BIOS update, fix overheating issue, sfc dism windows repair, event viewer logs, disable auto restart, power settings shutdown
Hashtags:
#Windows11 #Windows10 #ShutdownFix #OverheatingPC #BIOSUpdate #SystemCrash #SFCScan #DISMRepair #TechTips #LaptopFix
⚠️ Disclaimer:
This article is for educational and troubleshooting purposes. Updating BIOS or performing advanced configurations involves risk. Proceed with caution and always back up your data before major changes.
By following all these steps patiently, your PC or laptop should stop shutting down randomly. If the problem persists even after a clean install, then you might be dealing with a hardware issue such as a failing power supply unit (PSU), RAM, or motherboard, in which case it’s best to consult a technician.
Stay tuned to dtptips.com for more detailed troubleshooting and performance guides!


