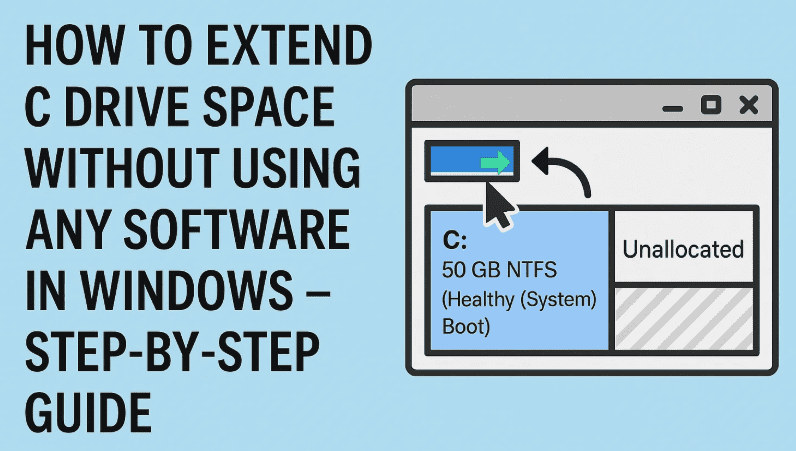
Running out of space on your C drive can cause your Windows PC to slow down, show storage alerts, or even prevent you from installing new software. Many users believe you need third-party tools to extend your system partition — but the good news is you don’t need any external software at all.
In this article, you’ll learn how to safely extend your C drive space using just the built-in Disk Management tool in Windows. We’ll also cover common issues and how to fix them. Let’s dive in!
🔧 What You’ll Learn in This Guide
- How to create a new partition from another drive (e.g., D:)
- How to move your data safely
- How to delete the extra partition to free up space
- How to expand the C drive using unallocated space
- How to fix the “Delete Volume” and “Extend Volume” greyed-out issue
🪟 Step-by-Step: Extend C Drive Without Any Software
🔹 Step 1: Backup Important Files (Optional but Recommended)
Before performing any disk operation, backup important data from the drive you plan to shrink or delete (e.g., D:). You’ll need to temporarily move some files.
🔹 Step 2: Open Disk Management
- Press
Win + Sand type Disk Management - Click on “Create and format hard disk partitions”
🔹 Step 3: Shrink D Drive to Create a New Partition
- Right-click on Drive D (or any drive with enough space).
- Choose “Shrink Volume…”
- A popup will ask how much space to shrink. You need to enter the value in MB.
💡 Tip: To shrink 25 GB, multiply:
25 x 1024 = 25600 MBEnter
25600in the shrink box.
- Click Shrink to create unallocated space.
🔹 Step 4: Create a New Partition from Unallocated Space
- Right-click on the unallocated space.
- Select New Simple Volume.
- Assign a Drive Letter (e.g., E:) and format the partition.
- Now move your data from Drive D to this new drive.
This step frees up your original Drive D, which we’ll delete next.
🔹 Step 5: Disable Paging on Drive D (Fix for Greyed-Out Delete Option)
Sometimes you’ll find the Delete Volume or Extend Volume option greyed out.
This usually happens if Windows paging (virtual memory) is enabled on the drive you’re trying to delete. To fix it:
- Search for “View advanced system settings” and open it.
- Click on the Settings button under the Performance section.
- In the new window, go to the Advanced tab and click on “Change” under Virtual Memory.
- Deselect “Automatically manage paging file size for all drives”
- Select Drive D and choose “No paging file”
- Click Set, then Apply and OK
- Restart your PC
🔹 Step 6: Delete Drive D
Once paging is turned off and data is backed up:
- Open Disk Management again
- Right-click on Drive D and select “Delete Volume”
- This will turn D into unallocated space
🔹 Step 7: Extend C Drive
Now that you have unallocated space right next to your C drive:


- Right-click on C Drive
- Choose “Extend Volume”
- Select the available unallocated space and confirm
✅ Congratulations! Your C drive is now extended without using any third-party tool.
🧾 FAQs
Q: What if Extend Volume is still greyed out?
A: The unallocated space must be adjacent to C drive in Disk Management. If it’s not, you’ll need to move partitions using third-party software like MiniTool Partition Wizard (optional).
Q: Is this process safe?
A: Yes, but always back up important files before resizing or deleting partitions.
Q: Can I do this on Windows 10 or Windows 8?
A: Yes, the same steps apply to Windows 10, 11, and 8.
💡 Final Tips
- Always move data before deleting a partition
- Never interrupt Disk Management operations mid-process
- Restart your system after applying changes to ensure all settings are updated
This method is perfect if you’re looking for a free, safe, and quick way to reclaim space on your system partition without downloading additional tools.
🔗 Related Tools (Optional, Only If Needed):
🏷️ Tags:
windows 11, extend c drive, disk management, no software, free method, partitioning, shrink volume, unallocated space, windows storage fix, c drive full
📢 Hashtags:
#Windows11 #CDRiveFull #ExtendPartition #DiskManagement #TechTips #StorageFix #NoSoftwareNeeded #FreeTechGuide
Have you tried extending your C drive using this method?
💬 Let us know in the comments if this worked for you or if you ran into any challenges — we’re happy to help!


