Exporting files is a crucial skill in CorelDRAW, whether you’re preparing artwork for clients or printing. This guide walks you through the steps to export your designs in various formats such as PNG, JPEG, and PDF, ensuring that your work is ready for any purpose. Let’s dive in!
Step 1: Open Your CorelDRAW File
Begin by opening the file you wish to export. If you’re starting from scratch, create or finalize your design, ensuring all elements are correctly placed and ready for export.
Step 2: Understand the Export Button
CorelDRAW offers two main buttons in the toolbar:
- Import: To bring external files into your project.
- Export: To save your design in a format suitable for sharing or printing.
Locate the Export button in the toolbar or navigate to File > Export from the menu.
Step 3: Select Your Export Format
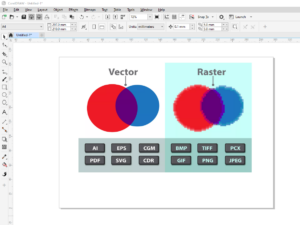
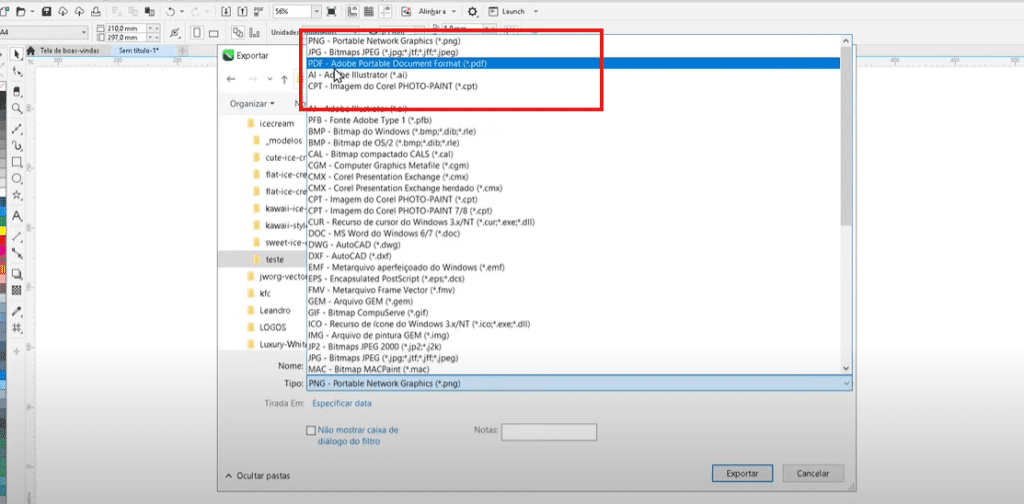
CorelDRAW supports multiple export formats, including:
- PNG: Ideal for transparent backgrounds.
- JPEG: Suitable for high-quality images with no transparency.
- PDF: Perfect for professional printing or sharing.
Other formats include AI, SVG, TIFF, PSD, and more. Choose the format based on your specific needs.
Step 4: Export as PNG
- Click the Export button and choose PNG from the format dropdown.
- Give your file a name and select the destination folder.
- In the export settings window:
- Ensure Transparency is checked if needed.
- Verify the resolution (e.g., 300 DPI for high-quality outputs).
- Leave other settings at their default for optimal results.
- Click OK to export your file.
Step 5: Export as JPEG
- Follow the same steps as PNG but select JPEG as the format.
- In the export settings:
- Choose the color mode (e.g., RGB for digital use, CMYK for printing).
- Set the quality to High or Maximum.
- Adjust other settings as required and click OK.
Step 6: Export as PDF
- Choose PDF from the format list.
- Name your file and click Export.
- In the PDF settings window:
- Configure the color profile and resolution based on the purpose (e.g., printing or sharing).
- For professional printing, adjust bleed, crop marks, and compression settings.
- Click OK to save the file.
Step 7: Verify Your Exported Files
Once exported, double-check your files:
- Open PNG or JPEG files to ensure the quality and transparency (if applicable).
- Open the PDF to confirm the layout and details are intact.
Additional Tips
- For PNG exports, select only the desired elements to avoid exporting unnecessary parts of the canvas.
- Use the highest resolution for printing and lower resolutions for web usage to optimize file size.
- Save your CorelDRAW project file (.CDR) as a backup before exporting.
By following these steps, you can confidently export your CorelDRAW designs in the appropriate format, ensuring they meet your or your client’s needs.
Tags: CorelDRAW, file export, PNG export, JPEG export, PDF export, design tips, CorelDRAW tutorials, graphic design workflow
Hashtags: #CorelDRAW #GraphicDesign #FileExport #PNG #JPEG #PDF #DesignTips #CorelDRAWTutorials


