If your computer doesn’t officially support Windows 11 due to an unsupported processor, missing TPM 2.0, or other outdated specs, you might be hesitant to upgrade directly from Windows 10. The good news is, you can still try out Windows 11 by dual-booting it with Windows 10. This method lets you test Windows 11 without deleting or affecting your current installation.
In this detailed guide, we’ll walk you step-by-step through how to dual-boot Windows 11 on any PC, whether it’s officially supported or not.
✅ What You’ll Need
- A computer currently running Windows 10
- A USB flash drive (minimum 8 GB, 16 GB or more recommended)
- Windows 11 ISO file
- Rufus software (for creating a bootable USB)
- A partitioning tool like EaseUS Partition Master or Disk Management
- Some patience and care while working with partitions and boot settings
🔧 Step-by-Step: Dual Boot Windows 11 with Windows 10
Step 1: Check If Your Hardware Can Run Windows 11
Even if your PC isn’t officially supported, it may still run Windows 11. Start by checking your processor and features:
- Download and install CPU-Z to check your processor’s capabilities.
- Ensure your CPU supports SSE4.2 (a necessary instruction set).
- Use the Windows PC Health Check app to verify compatibility (you can ignore the TPM and Secure Boot requirements for now).
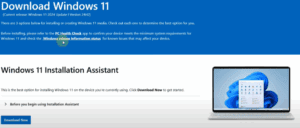
Step 2: Download Windows 11 ISO
- Go to Microsoft’s official Windows 11 download page.
- Scroll down to “Download Windows 11 Disk Image (ISO)”.
- Select “Windows 11 (multi-edition ISO)”, choose your language, and download the 64-bit version.
Step 3: Create a Bootable USB Drive with Rufus
- Download the latest version of Rufus.
- Insert your USB flash drive.
- Run Rufus as Administrator.
- In Rufus:
- Select your ISO file.
- Choose GPT as the partition scheme (important!).
- In the customization window, disable TPM and Secure Boot requirements.
- Check options to remove RAM limitations and Microsoft account requirement.
- Click Start and allow it to format the USB and create a bootable drive.
Step 4: Create a New Partition for Windows 11
You can do this using:
Option A: EaseUS Partition Master (Simpler)
- Install EaseUS Partition Master.
- Right-click your main drive (usually C:).
- Choose Resize/Move, and shrink it to create unallocated space (at least 64 GB recommended).
- Right-click the unallocated space and create a new partition for Windows 11.
- Click Apply.
Option B: Disk Management (Built-in)
- Right-click Start > Disk Management.
- Right-click your C: drive > Shrink Volume.
- Enter the amount of space to shrink (e.g., 65000 MB).
- Right-click the unallocated space > New Simple Volume > Assign a drive letter and format it.
Step 5: Boot from USB and Start Installation
- Restart your PC.
- Press the boot menu key (usually Esc, F9, F12, or F2, depending on your system).
- Select your USB drive from the boot menu.
- On the Windows setup screen, choose your language and click Next.
Step 6: Install Windows 11 on the New Partition
- When prompted to select a partition, DO NOT choose the one where Windows 10 is installed.
- Select the new partition you created earlier.
- If you encounter an error saying “Windows can’t be installed because the disk is not GPT”:
- You need to convert your disk from MBR to GPT.
Step 7: Convert Disk to GPT (If Required)
If you’re not using EaseUS Pro, you can do this with Command Prompt:
- Press Shift + F10 on the Windows setup screen to open CMD.
- Enter the following commands:
mbr2gpt /validate /allowFullOS mbr2gpt /convert /allowFullOS - Restart your computer and boot from USB again.
⚠️ Both your system drive and bootable USB should be in GPT format to avoid installation errors.
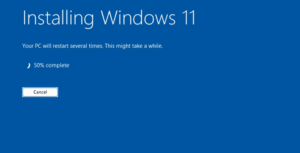
Step 8: Final Installation
- Boot from USB again after converting to GPT.
- Select the partition created for Windows 11.
- Complete the installation.
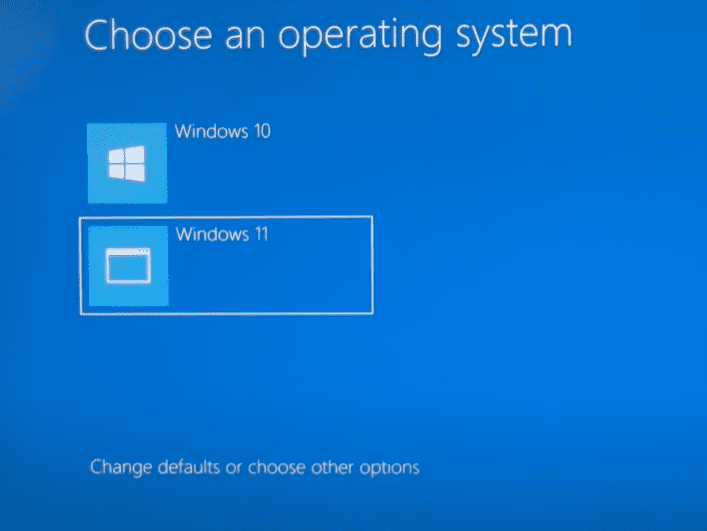
- Once done, you’ll see a dual boot screen when starting your PC where you can choose between Windows 10 and Windows 11.
📝 Troubleshooting Tips
- MBR/ GPT Errors: Always match the USB format and system partition format (GPT preferred).
- Insufficient Space: Windows 11 requires at least 52 GB for installation.
- Boot Menu Not Appearing: Enter BIOS/UEFI and ensure UEFI mode is enabled.
🎉 Done! Now You Can Try Windows 11 Safely
You’ve successfully installed Windows 11 alongside Windows 10. You can now explore the new features, check app compatibility, and decide if you want to switch completely in the future.
If you face any issues, you can always go back to Windows 10 without affecting your data.
📂 Tags
windows 11 dual boot, windows 10 and windows 11, unsupported pc windows 11, windows 11 installation, rufus gpt bootable, dual boot tutorial, mbr to gpt conversion, how to dual boot, create windows 11 partition, easeus partition master, bootable usb for windows 11
📢 Hashtags
#windows11 #dualboot #windows10 #unsupportedpc #rufus #bootableusb #mbrtogpt #techguide #windowsinstall #easeuspartitionmaster
Let me know if you want a downloadable PDF version or want this styled for a specific tech blog!