Drawing custom shapes like a rounded arrow in CorelDRAW is a simple process, thanks to its array of design tools. In this guide, you will learn how to create a rounded arrow from scratch, using basic shapes, converting it to curves, and refining it with the contour and smart fill tools.
Step 1: Create the Basic Arrow Shape
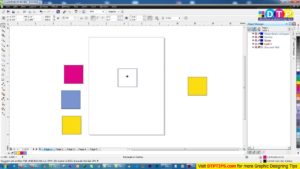
- Open CorelDRAW: Launch CorelDRAW and create a new document or open an existing one where you want to draw the arrow.
- Select the Arrow Shape:
- From the
Toolbar, choose the Common Shapes or Basic Shapes tool. - In the shape options, select the arrow icon.
- Hold down the
Controlkey as you click and drag to draw a perfect arrow.
This will give you the basic form of the arrow, but to customize it further, you’ll need to convert it into curves.
Step 2: Convert the Arrow to Curves
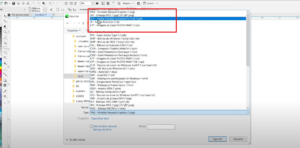
- Convert to Curves:
- Select the arrow you’ve just drawn.
- Go to the
Objectmenu at the top and choose Convert to Curves.
Converting it to curves allows for more customization and editing of the shape.
Step 3: Round the Corners
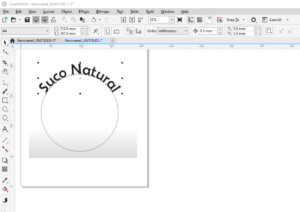
- Open the Corners Docker:
- To round off the sharp edges of your arrow, you’ll use the Shape tool.
- Open the
Windowmenu, go to Dockers, and choose Corners. (If the docker doesn’t work as expected, you can still manually adjust the shape.)
- Adjust the Nodes:
- Use the Shape tool to select all the nodes of the arrow.
- You might notice one side of the arrow has sharper corners, so reduce the size of the corners for a more rounded look.
- Set the corner rounding to approximately 0.15 to achieve a smooth curve.
Step 4: Add a Contour
To give the arrow a more polished appearance, add a contour to the outer edge.
- Apply Contour:
- With the arrow selected, go to the
Effectsmenu and select Contour. - In the Contour docker, set the contour to the outside and adjust the thickness. A value of around 0.35 inches should give you a nice result.
This will create an outer contour that mirrors the arrow shape with a consistent thickness.
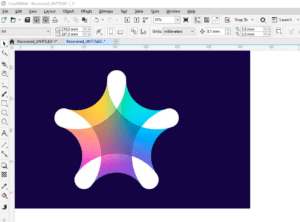
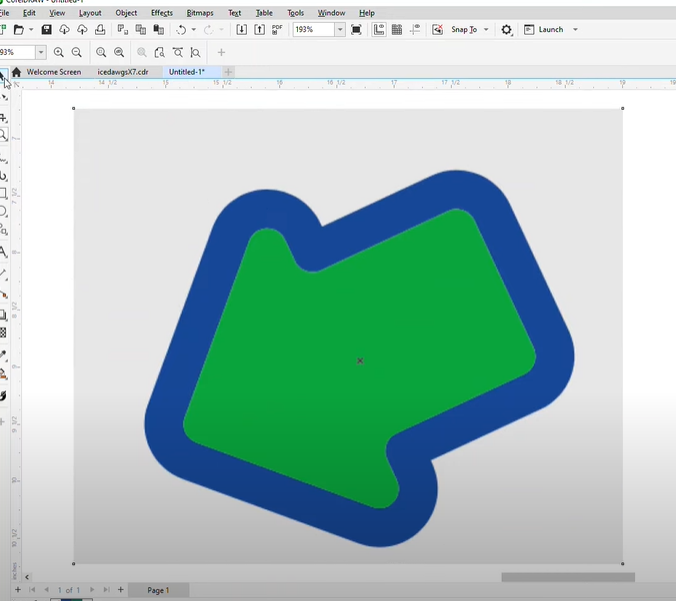
Step 5: Color the Arrow
Now that you have the shape ready, it’s time to color it using the Smart Fill tool.
- Use the Smart Fill Tool:
- Select the Smart Fill tool from the toolbar.
- Click inside the arrow shape to fill it with your chosen color.
- Customize the Color:
- If you want to match a specific color, you can use the Color Eyedropper tool.
- Click on a color from another object or part of the screen to sample it, then apply it to your arrow by clicking inside the shape.
Step 6: Remove the Outline
To ensure a clean, professional look, remove the outline around the arrow:
- Remove the Outline:
- Select the entire arrow by clicking on it.
- Right-click on the color swatch labeled
No Outlinein the color palette (this is typically a white box with a red slash through it).
This step ensures that your arrow will not have any unnecessary outlines, giving it a smoother appearance, especially for printing.
Step 7: Adjust Line Thickness (Optional)
If you want to modify the contour line thickness, you can always return to the Contour docker and make changes:
- Modify the Line Thickness:
- Select the contour and adjust the line thickness according to your preference. For instance, setting it to 0.2 will give you a thinner line.
Conclusion
Creating a rounded arrow in CorelDRAW is a straightforward process when you leverage the shape tools, curves, contour effects, and smart fill tool. By following these steps, you can create a custom, professional-looking arrow for your design projects. The flexibility of CorelDRAW’s tools also allows for further tweaking and customization to match your design needs.