Designing a custom plant stake in CorelDRAW can be a fun and creative project. In this tutorial, I’ll walk you through the process of designing a plant stake from scratch, including adding decorative elements like leaves and hearts. This guide focuses on using basic shapes, the Smart Fill tool, and other CorelDRAW features to create a simple but elegant design.
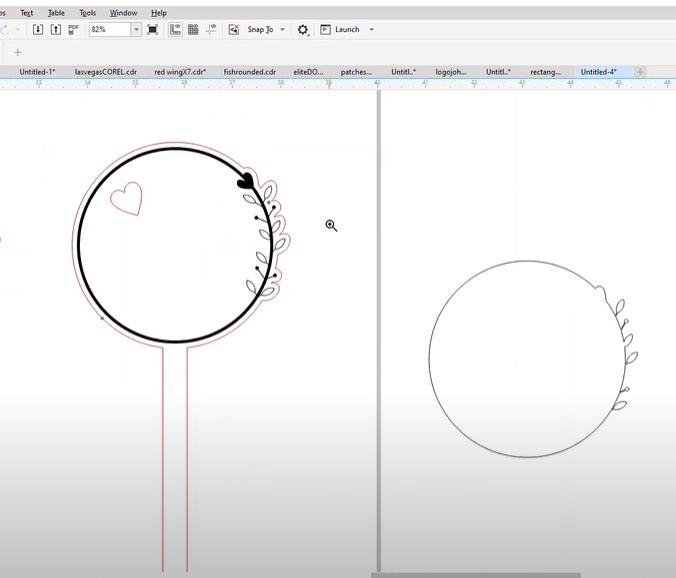
Step 1: Create the Plant Stake Shape
- Set up the page:
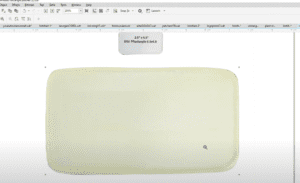
- Begin by creating a rectangle with a size that matches your desired plant stake dimensions. In this example, we’ll use a 4-inch width.
- Lock the ratio of your rectangle to maintain proportion.
- Outline and Shape:
- Convert the outline of the rectangle into an object by selecting
Object>Convert Outline to Object. - Left-click to remove the fill and right-click on a color to set the outline. This gives you a hollow stake shape with adjustable thickness.
Step 2: Adding Leaves to the Design
- Draw the Leaves:
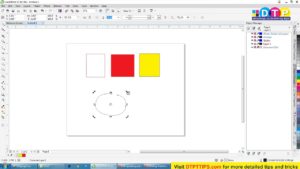
- Create a perfect circle by holding down the
Ctrlkey and dragging with the ellipse tool. - Copy the circle by pressing the
+key on your keyboard and moving the copy to the side. - Use the Smart Fill tool to fill the shape with color.
- Left-click to fill the shape and right-click to add an outline. You now have a leaf shape.
- Adjust the Leaves:
- Resize and manipulate the leaf shapes as needed. You can make duplicates and resize some to different widths for variety.
- Use the Convert to Outline feature to adjust the thickness of each leaf.
Step 3: Create the Leaf Stem
- Draw the Stem:
- Use the line tool to create a straight line, starting from the center of the leaf outward.
- Adjust the thickness of the line by converting it to an outline and refining it with the outline width tool.
- Combine the Leaf and Stem:
- Delete any overlapping lines between the leaf and the stem using the Virtual Segment Delete tool.
- Apply the Smart Fill tool to create a single, unified object.
- Duplicate the leaf and stem shape to add more leaves to your stake.
Step 4: Create a Decorative Heart
- Add a Heart Shape:
- Navigate to the Basic Shapes tool and select a heart shape from the options.
- Resize the heart to fit within your stake design and place it in the desired location.
- Customize the Heart:
- Convert the heart to curves (
Object>Convert to Curves) so you can manipulate the nodes and customize its appearance. - Adjust the shape of the heart to your liking by dragging the nodes.
Step 5: Fine-Tune and Duplicate Elements
- Arrange the Leaves:
- Use
Ctrl + Dto duplicate leaves and arrange them on both sides of the stake. You can mirror and rotate the leaves for variation. - Position the leaves naturally, ensuring they don’t overlap in odd places.
- Refine the Design:
- If any shapes or lines are too thick or too thin, adjust their width using the Outline tool.
- Ensure that all leaves, stems, and hearts are aligned correctly.
Step 6: Weld the Shapes Together
- Weld Elements:
- Select all parts of the design and use the Weld tool to merge overlapping objects into a single, cohesive shape.
- If some lines don’t weld correctly, use the Virtual Segment Delete tool to manually adjust and trim any unnecessary lines.
- Test the Weld:
- After welding, ensure that no parts of the design are cut off or misplaced. If needed, adjust the positions and repeat the weld process.
Step 7: Adding a Border Around the Design
- Create a Border:
- Use the Smart Fill tool to fill the entire design, creating a solid shape for your plant stake.
- Go to the Contour tool and add a contour around the shape with rounded corners. This will give the design a finished border.
- Break Apart and Adjust:
- Break the contour apart by selecting
Object>Break Contour Apartto manipulate the contour as a separate object. - Resize and refine the contour as needed.
Step 8: Final Adjustments and Saving the Design
- Make Final Tweaks:
- Zoom in and ensure all parts of the design are aligned perfectly. Adjust any remaining lines, shapes, or gaps as needed.
- Save Your Work:
- Once you’re satisfied with the design, save the file in your preferred format, such as CDR (CorelDRAW) for editing or PDF for printing.
Conclusion
With CorelDRAW’s powerful tools like Smart Fill, Weld, and Contour, designing a custom plant stake is not only achievable but fun. You can easily customize the design by adding different decorative elements such as leaves, flowers, or text. The key to a successful project lies in experimenting with shapes, outlines, and fills to create a beautiful and unique plant stake.
