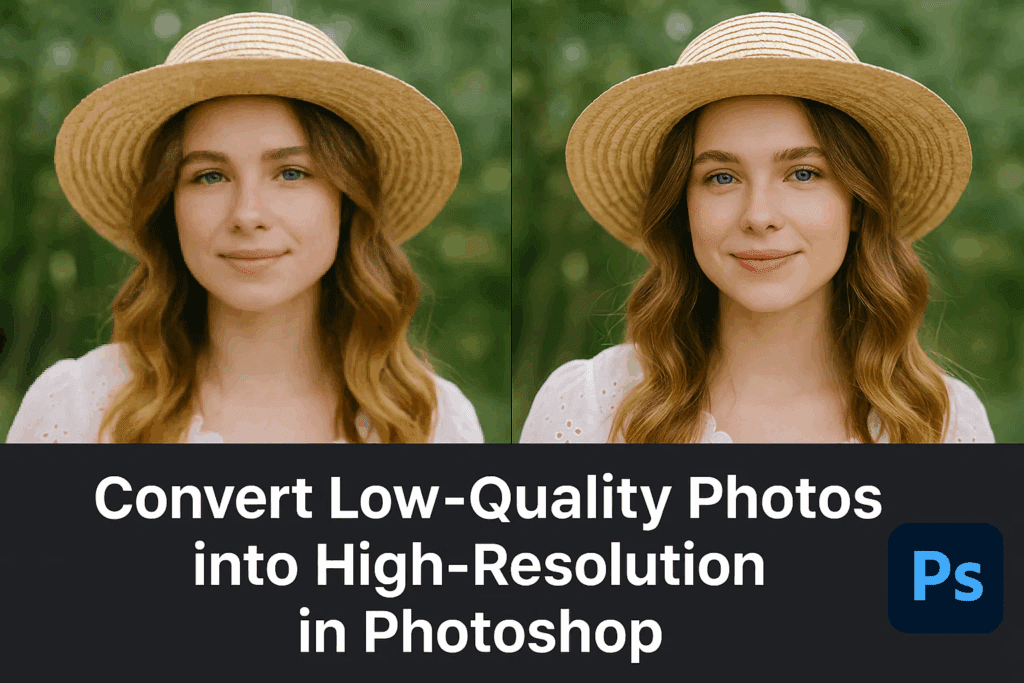
Do you have a low-resolution or pixelated image that you wish looked sharper and more professional? Fortunately, Adobe Photoshop provides a few powerful tools to enhance image quality — even if the original photo is blurry or of poor resolution.
In this tutorial, we’ll walk you through three easy steps to transform a pixelated or low-quality image into a high-resolution, clear photo using Photoshop. No need for plugins — all you need is Photoshop and a few simple adjustments.
💡 Note: This method works best for slightly pixelated or soft images. It won’t recover data from an extremely compressed image, but it can significantly enhance moderate low-quality photos.
🔧 Step 1: Enable and Use Preserve Details 2.0 Upscaling
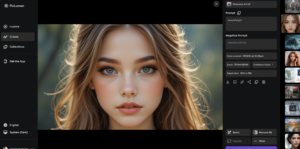
1.1 Open Your Image in Photoshop
- Launch Adobe Photoshop.
- Open the low-resolution image you want to enhance.
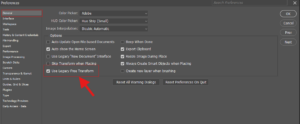
1.2 Enable ‘Preserve Details 2.0’ Upscaling
This powerful feature allows Photoshop to upscale images with much better clarity.
- Go to Edit > Preferences > Technology Previews (or press
Ctrl + K/Cmd + K). - In the Technology Previews panel, check the option “Enable Preserve Details 2.0 Upscale”.
- Click OK to save and close the Preferences dialog.
1.3 Resize the Image with Preserve Details 2.0
- Go to Image > Image Size.
- In the Resample dropdown, choose Preserve Details 2.0.
- Set the resolution to 300 pixels/inch.
- Adjust the width/height as needed (e.g., 2500 pixels width for better output).
- Click OK.
You should now see a sharper and more detailed version of your image.
🎨 Step 2: Retouch and Smooth Skin for Portraits
This step is optional but ideal for portraits to get a more refined, smooth look.
2.1 Duplicate the Background Layer
- Right-click on the Background layer in the Layers panel.
- Select Duplicate Layer twice — you’ll now have two duplicate layers.
Rename them for clarity:
- Smooth
- Sharpen
2.2 Apply Gaussian Blur to the “Smooth” Layer
- Select the Smooth layer.
- Go to Filter > Blur > Gaussian Blur.
- Set the Radius to 12 pixels, then click OK.
2.3 Desaturate the “Sharpen” Layer
- Select the Sharpen layer.
- Go to Image > Adjustments > Desaturate (or press
Ctrl + Shift + U).
2.4 Apply High Pass Filter
- Go to Filter > Other > High Pass.
- Set Radius to 3.9 pixels, then click OK.
2.5 Change Blending Mode to Overlay
- Set the Blending Mode of this layer from Normal to Overlay.
2.6 Group Layers and Mask
- Select both Smooth and Sharpen layers (
Ctrl + Click). - Press
Ctrl + Gto group them. - Add a mask to the group: hold
Altand click the Mask icon — this creates a black (hidden) mask.
2.7 Reveal Smooth Skin with Brush Tool
- Select the Brush Tool (
B), set foreground color to white (pressDfor default colors). - Use a soft brush and paint gently over the facial areas to reveal smooth skin.
- You can reduce the opacity of the group for a more natural look.
✨ Step 3: Apply Final Sharpening
This final step gives your image a professional-level finish.
3.1 Create a Merged Layer
- Click Create a New Layer icon in the Layers panel.
- Go to Image > Apply Image, then click OK.
This creates a flattened version of the current visible state on a new layer.
3.2 Apply Unsharp Mask
- With the new layer selected, go to Filter > Sharpen > Unsharp Mask.
- Use the following values:
- Amount: 100%
- Radius: 7 pixels
- Threshold: 8
- Click OK.
3.3 Apply Smart Sharpen (Optional for Extra Detail)
- Go to Filter > Sharpen > Smart Sharpen.
- Tweak the settings to your preference and click OK.
🧑🎨 Bonus: Eye Retouching (Optional for Portraits)
If you’re working with portraits and want to enhance the eyes:
- Create a new layer.
- Select the Brush Tool, use white as the foreground color, and reduce opacity to 10–20%.
- Carefully paint over the eyes to brighten them slightly.
- If needed, use the Eraser Tool with 0% hardness to correct any overpainting.
🖼️ Final Result
Using just these three steps, you’ve successfully:


- Upscaled a low-quality image using Preserve Details 2.0.
- Smoothed and sharpened facial features with precision.
- Enhanced final image sharpness for a professional look.
📝 Conclusion
Whether you’re restoring an old photo, resizing an image for print, or touching up a portrait, these steps will help you turn low-resolution photos into sharp, high-quality images in minutes using Photoshop.
This technique is especially useful for digital creators, designers, photographers, and anyone who regularly deals with low-quality images.
🔗 Software Link
- Download Photoshop: https://www.adobe.com/products/photoshop.html
⚠️ Disclaimer
The method described above is intended for educational and enhancement purposes. While it can improve the clarity of pixelated or low-res images, it does not generate new image data and may not perfectly restore extremely compressed or damaged images.
🔖 Tags
Depixelate Image, Convert Low to High Quality, Photoshop Tutorial, Image Upscaling, Smooth Skin Photoshop, High Resolution Conversion, Adobe Photoshop, Photo Editing Tricks, Low Res to High Res, Retouching in Photoshop, Graphic Design Tips, Unsharp Mask Photoshop, Smart Sharpen, Photoshop Preferences, Preserve Details 2.0
📢 Hashtags
#DepixelateImage #PhotoshopTutorial #ImageUpscaling #LowToHighResolution #PhotoEditing #PhotoshopTricks #Retouching #AdobePhotoshop #HighResolutionImage #SmartSharpen #UnsharpMask #GraphicDesign #PreserveDetails2_0
Let me know if you’d like this blog formatted for WordPress or InDesign, or need a thumbnail image for your post.