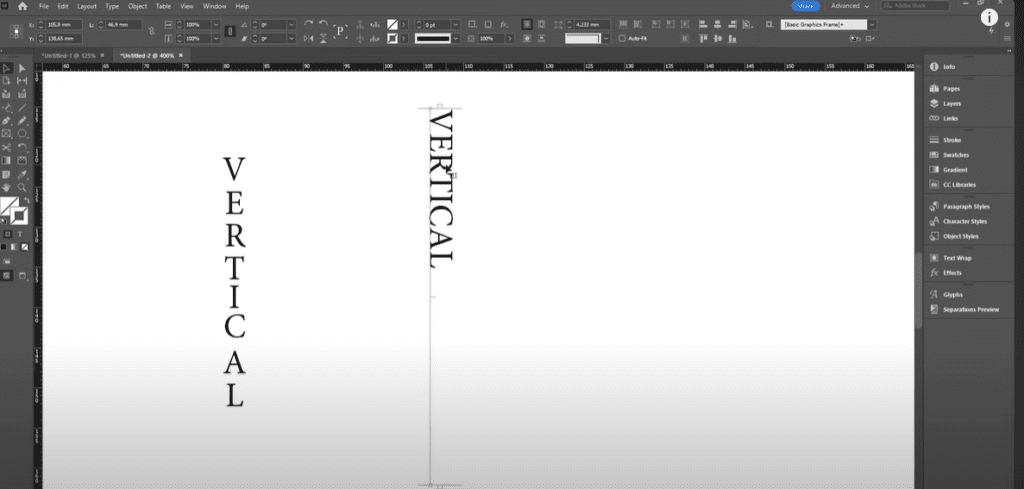
Creating vertical text in Adobe InDesign may seem a bit challenging at first compared to other design programs like Photoshop or Illustrator. However, with a few easy steps, you can achieve this effect seamlessly. This article walks you through the detailed process of creating vertical text using the Type on a Path tool in Adobe InDesign.
Step-by-Step Guide to Creating Vertical Text
Step 1: Prepare Your Workspace
- Open your Adobe InDesign document.
- Ensure the Toolbar is visible on the left-hand side of your workspace.
Step 2: Draw a Vertical Line
- Select the Line Tool:
- In the toolbar, locate the Line Tool. It might appear as a straight diagonal line.
- If it’s not visible, click and hold the Shape Tool to find it in the dropdown menu.
- Draw the Line:
- Click anywhere in your document and drag vertically to create a straight line.
- Remove both the Fill and Stroke properties from the line to make it invisible.
Step 3: Use the Type on a Path Tool
- Select the Tool:
- In the toolbar, locate the Type Tool. Right-click (or click and hold) to reveal additional options.
- Choose the Type on a Path Tool.
- Add Text to the Line:
- Hover over the vertical line you created. A small plus icon will appear.
- Click on the line and start typing. The text will follow the path of the line.
Step 4: Adjust the Text Orientation
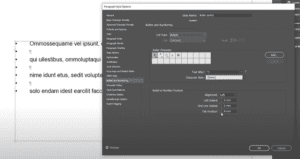
- Open Type on a Path Options:
- Select the line containing your text.
- Go to the menu bar, click Type > Type on a Path > Options.
- Change the Effect:
- In the Type on a Path Options panel, locate the Effect dropdown.
- Choose Stairstep from the list.
- Turn on Preview to see changes in real time.
- Apply Changes:
- Click OK to apply the effect. Your text should now be vertically aligned.
Step 5: Adjust Tracking and Alignment
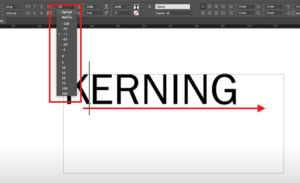
- Increase Tracking:
- Triple-click on your text to select all the characters.
- Go to the Character Panel and adjust the Tracking value to increase the spacing between letters until it looks visually appealing.
- Fix Alignment Issues:
- If the last character appears misaligned, use the Type Tool to insert an additional character (e.g., a dash) at the end of the text.
- Select the added character and remove its Fill so it becomes invisible.
Step 6: Refine and Finalize
- Review your vertical text and make any additional adjustments to font size, style, or color.
- You can edit the text anytime by simply clicking on the line and typing.
Why Use Vertical Text in InDesign?
Vertical text is a powerful design tool, especially in layouts for magazines, posters, or book covers. It adds a unique visual element that can draw attention to specific sections of your design.
Tips for Success
- Always enable Preview when making adjustments to see real-time changes.
- Use tracking carefully to ensure proper spacing without compromising readability.
- Experiment with different fonts and effects to match your design style.
Creating vertical text in Adobe InDesign might take a few more steps than in other tools, but mastering this technique can enhance your layout designs significantly. With practice, you’ll find it easy to incorporate vertical text into your projects.
Tags
Adobe InDesign, vertical text, type on a path, graphic design, InDesign tips, text formatting, design techniques, creative design, InDesign tutorials, typography tricks
Hashtags
#AdobeInDesign #VerticalText #GraphicDesign #TypographyTips #InDesignTutorial #CreativeDesign #DesignTechniques #TextFormatting


