Tables are an essential tool in many types of documents for organizing and presenting data clearly. This guide provides step-by-step instructions for creating, modifying, and decorating tables, converting text into tables, and optimizing tables to fit multiple pages in your document.

Step 1: Creating a Table
- Insert a Table:
- Open your document and select the text frame where you want to create the table.
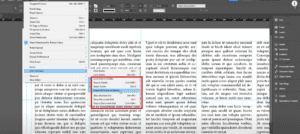
- Navigate to the Table menu and choose the option to Insert Table.
- Specify the number of rows and columns required.
- Adjust the Table Layout:
- To adjust the size of the entire table, use the Shift key while resizing. This ensures all columns and rows adjust proportionally.
- For individual cell adjustments, drag the border of a single cell.
Step 2: Adding and Managing Rows or Columns
- Inserting Rows or Columns:
- Select the cell adjacent to where you want the new row or column.
- Go to the Table menu, choose Insert, and specify whether you need rows or columns and their position (above, below, left, or right).
- Deleting Rows or Columns:
- Highlight the rows or columns to delete.
- From the Table menu, select Delete Rows or Delete Columns.
Step 3: Styling and Formatting Your Table
- Decorating Table Data:
- Highlight the table cells or columns to format.
- Use the Paragraph Settings for alignment (center, left, or right) and apply styles such as bold, italic, or uppercase.
- Adjusting Text Alignment in Cells:
- For vertical alignment, go to Cell Options and choose Top, Center, or Bottom Alignment.
- For horizontal alignment, use paragraph styles or alignment tools.
Step 4: Converting Text to a Table
- Prepare the Text:
- Arrange the data in a structured format, using a separator like tabs or commas for different columns.
- Convert to Table:
- Highlight the text and go to the Table menu.
- Select Convert Text to Table and choose the appropriate delimiter (tab, comma, etc.).
- Final Touches:
- Format and align the text within the table as needed.
Step 5: Converting a Table Back to Text
- Highlight the entire table.
- Go to the Table menu and select Convert Table to Text.
- Choose the separator for the text (e.g., tab or comma) and apply.
Step 6: Handling Large Tables
- Managing Overflow:
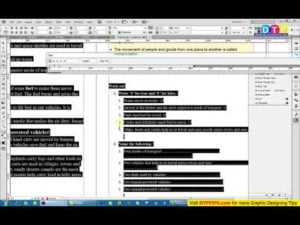
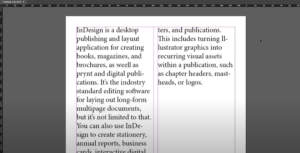
- If the table exceeds the page, link the text frame to a new page. Click the Overflow Indicator (+) and link it to the next text frame.
- To ensure continuity, enable the Header Row Repeat option from the Table Options menu. This will display the header row on every new page.
- Creating Headers and Footers:
- Highlight the first row to set as a header or the last row for a footer.
- Convert the row into a header or footer using the Table Options menu. Headers and footers appear consistently across linked text frames.
Step 7: Optimizing Table Design
- Fit Table to Text Frame:
- To ensure the table fits within the text frame without overflowing, use the Shift + Resize technique.
- Style the Table for Visual Appeal:
- Apply cell styles or table styles for consistent formatting.
- Adjust the padding, borders, and cell spacing to enhance readability.
Step 8: Troubleshooting Common Issues
- Editing Header or Footer Rows:
- Header and footer rows can only be edited in their parent frame. Double-click the header or footer to make changes.
- Preventing Text Overflow:
- Ensure the text frame size accommodates the table dimensions. Reduce column widths or row heights as needed.
By following these steps, you can create, format, and manage tables efficiently in your documents. Whether it’s for data presentation or aesthetic purposes, mastering tables ensures your document is both functional and visually appealing.
#TableCreation #DocumentFormatting #DataPresentation #HeaderRows #FooterRows #TableDesign #TextToTable #TableManagement #TableTips
Visited 41 times, 3 visit(s) today
