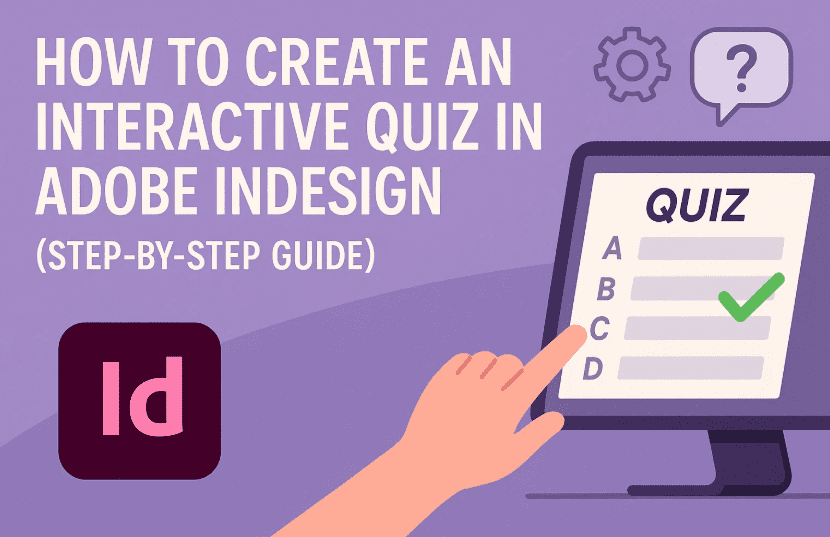
Creating engaging and interactive content can truly elevate your design game—especially if you’re a teacher, a designer, or just someone looking to add an element of interactivity to your digital work. One powerful tool for this purpose is Adobe InDesign. In this detailed tutorial, you’ll learn how to create a fully functional multiple-choice quiz using InDesign, complete with buttons, interactive feedback, and even export options for PDF or online publishing.
📃 Initial Document Setup
Let’s start from the beginning.
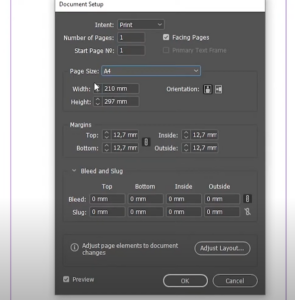
- Open Adobe InDesign and create a new document sized for a mobile layout (e.g., 1080x1920px).
- Create three pages in your document.
- Structure your layers into three main groups:
- Questions: Holds the quiz questions and answer choices.
- Answers: Holds the visual feedback after a user selects an answer.
- Content: Any supporting visual elements like backgrounds or instructions.
Pro Tip: Name your layers clearly to avoid confusion later when applying interactivity.
🖐️ Step 1: Create Question Buttons
We’re going to build multiple-choice question buttons.
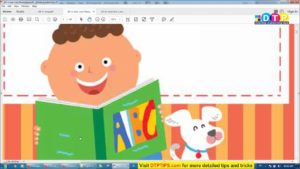
Let’s take the question: “What is the capital of Australia?” with the options: Sydney, Canberra, Melbourne, Brisbane.
- Select all four answer text frames.
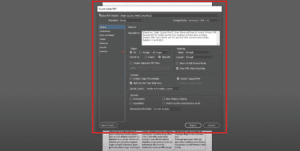
- Open Buttons and Forms panel (Window > Interactive > Buttons and Forms).
- With all four options selected, change their type to Button.
- Rename each button clearly:
- Sydney Question
- Canberra Question
- Melbourne Question
- Brisbane Question
This helps keep track of interactions cleanly.
🖐️ Step 2: Set Up Answer Feedback Buttons
Now let’s prepare what happens when a user selects an answer.
- Hide the Questions layer temporarily.
- Enable the Answers layer.
- Convert the answer frames into buttons using the same panel.
- Rename them as:
- Sydney Answer
- Canberra Answer
- Melbourne Answer
- Brisbane Answer
- Select all answer buttons and enable Hidden Until Triggered in the Buttons and Forms panel.
✨ Step 3: Add Interactivity (Show/Hide Buttons)
Time to link everything together. Let’s add logic for what happens when a question is clicked.
Example: Sydney Question
- Select the Sydney Question button.
- Set Event to On Release or Tap.
- Add an Action: Show/Hide Buttons and Forms.
- In the visibility list:
- Set Sydney Question to Hidden.
- Set Sydney Answer to Visible.
Repeat the same process for the other buttons:
- Canberra Question > Hide Canberra Question, Show Canberra Answer
- Melbourne Question > Hide Melbourne Question, Show Melbourne Answer
- Brisbane Question > Hide Brisbane Question, Show Brisbane Answer
↺ Step 4: Create a Reset Button
It’s helpful to add a reset button for users to try again.


- Create a text frame named Reset.
- Convert it to a button and name it Reset 1.
- Add Action: Show/Hide Buttons and Forms.
- Set to:
- Show all Question buttons.
- Hide all Answer buttons.
🔄 Step 5: Duplicate for New Questions
To build a longer quiz, simply copy and paste your existing set to a new page.
- Select all Question, Answer, and Reset buttons.
- Use Alt (Windows) or Option (Mac) to drag and copy to Page 2.
- Update the text content (e.g., change question to *”What is the currency of Japan?””).
- Rename all copied buttons:
- Ringgit Question / Answer
- Yuan Question / Answer
- Yen Question / Answer (correct one)
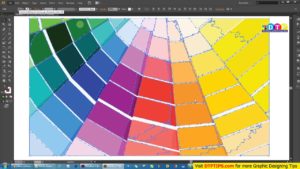
- Adjust color formatting for correct answers using the Swatches panel.
🔍 Previewing the Quiz
You can test everything using the EPUB Interactivity Preview panel.
- Open the panel (Window > Interactive > EPUB Interactivity Preview).
- Click Play to simulate user interaction.
- Test all buttons and reset features.
📄 Export Options
You can now share your quiz in two ways:
1. Export as Interactive PDF
- Go to File > Export.
- Choose Adobe PDF (Interactive).
- Save and open in Adobe Acrobat or Reader.
2. Publish Online
- Go to File > Publish Online.
- Click Publish to upload to Adobe’s server.
- Click View Document to test in a browser.
Works beautifully on desktop and mobile devices.
❓ FAQs
Q: Can I add scoring to the quiz?
A: Adobe InDesign alone doesn’t support scoring logic, but you can simulate feedback using multiple pages or scripted JavaScript in Acrobat.
Q: Will this work on all PDF readers?
A: For best results, use Adobe Acrobat Reader or view via Publish Online.
Q: Can I add audio or video?
A: Yes! InDesign supports multimedia embeds in interactive PDFs.
⚠️ Disclaimer
Interactivity relies heavily on Adobe Acrobat Reader or Publish Online. Not all PDF readers support advanced button actions.
📆 Final Thoughts
Building interactive quizzes in Adobe InDesign might seem like a lot of steps, but it’s an incredibly rewarding process once you get the hang of it. Whether you’re designing for education, client presentations, or interactive e-books, this technique opens a new dimension of user engagement.
Take your time with naming conventions and visibility settings—a single mismatch can cause broken interactivity. And don’t forget to preview often!
Now go create that quiz and make your designs come alive!
🏷️ Tags
interactive quiz, adobe indesign tutorial, buttons and forms, epub interactivity, create interactive pdf, digital quiz design, adobe acrobat, publish online, education design, indesign quiz export, multiple choice quiz, design for mobile, indesign interactivity, adobe pdf tools
🔖 Hashtags
#AdobeInDesign #InteractiveQuiz #InDesignTips #EPUB #DigitalDesign #InteractivePDF #DesignForLearning #ButtonsAndForms #PublishOnline #DesignTutorial #InDesignSkills #CreativeCloud