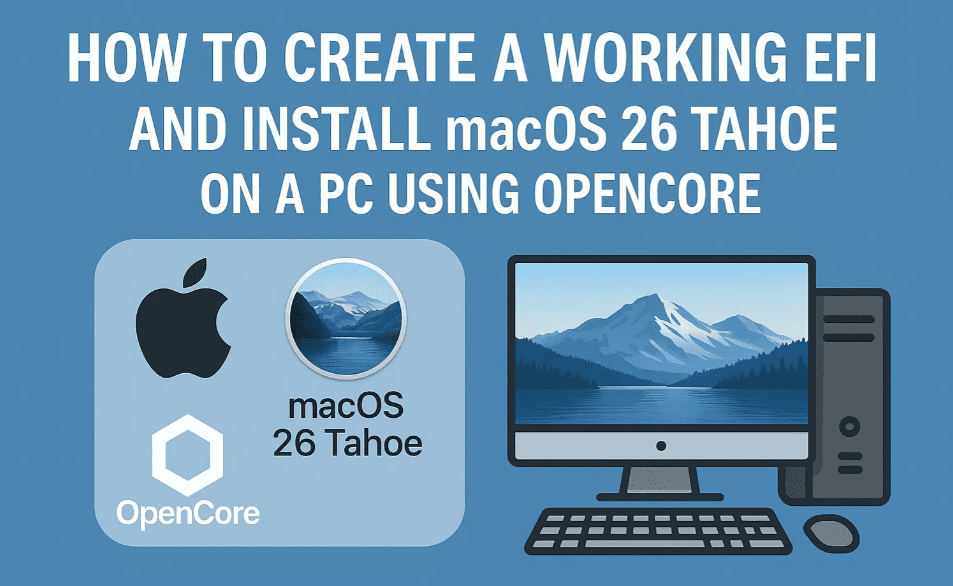
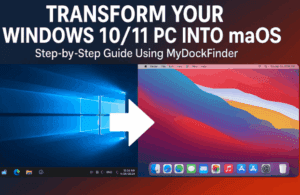
If you’ve ever wanted to run macOS on your PC, especially the latest macOS 26 Tahoe, this step-by-step guide is for you. In this article, we explain how to generate a fully functional EFI and install macOS on a Lenovo ThinkCentre mini PC using OpenCore Simplify, Balena Etcher, and other essential tools. This method is great for beginners who want to build a Hackintosh system without diving into the complex manual configurations of the Dortania OpenCore guide.
🖥️ System Used in This Setup
- Device: Lenovo ThinkCentre Mini PC
- CPU: Intel Core i3 (Skylake architecture)
- RAM: 16 GB
This guide is specifically optimized for systems using Skylake or newer Intel CPUs.
🧰 Tools & Software Required
Before you start, download the following utilities:
| Software | Purpose | Link |
|---|---|---|
| Balena Etcher | Create bootable USB | etcher.balena.io |
| OpenCore Simplify | Generate EFI config easily | GitHub – OpenCore Simplify |
| macOS 26 Tahoe .RAW file | macOS installer | Olarila macOS Tahoe |
| MiniTool Partition Wizard | Manage partitions, assign EFI drive letter | partitionwizard.com |
| Explorer++ | Access EFI partition in Windows | explorerplusplus.com |
🪛 Step-by-Step Installation Process
✅ Step 1: Create macOS Bootable USB Using Balena Etcher
- Plug in a 32 GB or larger USB drive (preferably USB 3.0).
- Launch Balena Etcher.
- Select Flash from File and choose the
.rawimage of macOS 26 Tahoe. - Select the USB drive as the target.
- Click Flash and wait (~25–30 minutes).
✅ Step 2: Create EFI Using OpenCore Simplify
- Download and extract OpenCore Simplify.
- Run the utility. If Python is not installed, it will install it automatically.
- When prompted, skip update (type
N) the first time. - Once restarted, press
Vto start setup. - Select:
1→ Start hardware scanE→ Export hardware report (takes 10–15 seconds)
- Select the macOS version:
- Type the index number for macOS 26 Tahoe (e.g.,
25).
- Type the index number for macOS 26 Tahoe (e.g.,
- Change SMBIOS to a supported model:
- Press
5→ Customize SMBIOS - Select iMac20,1 (
Index 22) – supported by macOS 26
- Press
- Press
6to build EFI. - Choose default value for audio (usually
13). - EFI folder will now be ready.
✅ Step 3: Mount EFI Partition on USB Drive
- Open MiniTool Partition Wizard.
- Locate your USB drive (check size e.g., 57 GB).
- Right-click the EFI partition → Select Change Drive Letter.
- Assign a drive letter (e.g.,
D:) → Apply.
Note: You cannot access EFI from Windows Explorer, hence:
✅ Step 4: Copy EFI Files Using Explorer++
- Launch Explorer++.
- Navigate to the assigned EFI partition.
- Delete all existing files.
- Copy the new EFI folder from OpenCore Simplify output.
- Paste it into the USB’s EFI partition.
✅ Step 5: BIOS Configuration
- Restart your system and enter BIOS (e.g., F1 for Lenovo).
- Under SATA settings, set mode to AHCI.
- Allocate 64 MB or 128 MB pre-allocated video memory under graphics settings.
- Disable Secure Boot under Security.
- Set Boot Mode to UEFI Only.
- Save changes and exit BIOS.
✅ Step 6: Boot from USB and Begin macOS Installation
- Plug in the USB and restart system.
- Press boot menu key (e.g., F12 for Lenovo).
- Select your macOS Installer USB.
- When OpenCore menu appears, choose the macOS Installer entry.
- Once you see Apple logo and loading bar, wait until macOS Recovery loads.
✅ Step 7: Install macOS 26 Tahoe
- Select your language → Next.
- Open Disk Utility:
- Select the target disk.
- Click Erase.
- Format: APFS, Name: any (e.g., “macos”).
- Close Disk Utility.
- Click Install macOS Beta.
- Agree to terms, select the formatted disk → Continue.
This process will reboot your system multiple times. Each time, boot from the USB and select macOS Installer until the full setup completes.
Once completed, the regular macOS boot entry will appear. Choose it, and your system will boot into macOS.
💡 Important Notes
- Always use the USB EFI drive until the full installation is complete.
- Post-installation, you can copy the EFI folder to your internal drive’s EFI partition for native boot (not covered here).
- If your USB ports don’t work, you may need to map them using USBToolBox (optional).
❓ FAQ
Q1: Can I use this EFI on a different system?
No. Always generate an EFI specific to your hardware using OpenCore Simplify.
Q2: Do I need macOS to create the installer?
No. All tools used here are Windows-compatible.
Q3: What if my Wi-Fi doesn’t work?
Use Ethernet or consider buying a macOS-compatible Wi-Fi card.
Recommended Accessories for macOS Setup or Everyday Use
If you’re working on a macOS Hackintosh build or planning to use your system for day-to-day productivity, here are some reliable and budget-friendly tech accessories that can enhance your experience:
- Entry-Level Budget Tablet (with Keyboard Support)
A great companion for media consumption or remote macOS access via apps.
👉 Samsung Galaxy Tab A9+ - Budget Wireless Mouse
Silent clicks and reliable wireless performance — ideal for quiet setups.
👉 Logitech M221 Silent Wireless Mouse - Bluetooth Keyboard for Android, Windows & macOS
Connect to multiple devices, including your Hackintosh, with one keyboard.
👉 Logitech K480 Multi-Device Bluetooth Keyboard - Low-Cost Android Smartphone
A handy secondary device for tasks like remote SSH, tethering, or file transfers.
👉 Redmi A3 4G Smartphone
Affiliate Disclaimer:
Some of the links above are affiliate links. If you make a purchase through them, we may earn a small commission at no extra cost to you. This helps support the website and allows us to keep creating detailed, free guides like this one. Thank you!


📌 Tags
Hackintosh, OpenCore, macOS 26, macOS Tahoe, EFI, Bootloader, USB Boot, Lenovo ThinkCentre, macOS on PC, OpenCore Simplify
📢 Hashtags
#Hackintosh #OpenCore #macOS26 #macOSTahoe #EFIBootloader #USBInstaller #LenovoHackintosh #OpenCoreSimplify #macOSonPC
⚠️ Disclaimer
This guide is intended for educational purposes only. macOS is a proprietary operating system by Apple Inc. and is licensed for use only on Apple hardware. Running macOS on non-Apple systems may violate Apple’s End User License Agreement. Proceed at your own discretion.