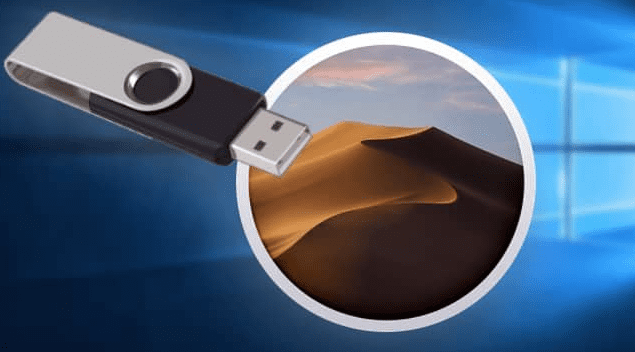
Need to reinstall macOS or fix system issues? A bootable USB installer is essential for macOS recovery, fresh installations, or troubleshooting. While Apple recommends using a Mac to create one, you can actually make a macOS bootable USB from Windows—here’s how.
In this guide, we’ll cover:
✅ Why You Need a macOS Bootable USB
✅ Prerequisites (USB, Disk Space, Tools)
✅ Step-by-Step Guide Using TransMac
✅ Booting from USB on a Mac
✅ Troubleshooting Common Issues
Why Create a macOS Bootable USB?
A bootable macOS USB lets you:
✔ Reinstall macOS (Sonoma, Ventura, Monterey, etc.)
✔ Fix startup issues (Corrupted OS, disk errors)
✔ Install macOS on unsupported Macs (Using patchers)
✔ Clean install (Remove bloatware, reset system)
⚠️ Note: This method works for Intel & Apple Silicon Macs, but requires a Windows PC for USB creation.
Prerequisites
Before starting, ensure you have:
- A USB drive (16GB+) – Will be erased, so back up data.
- macOS .DMG file (Download from Apple’s Archive)
- TransMac (Windows tool to write macOS to USB) – Download Here
- A Mac (To boot from the USB later)
Step 1: Prepare the USB Drive (Convert to GPT)
Since macOS requires GPT partitioning, we’ll format the USB correctly via Command Prompt:
- Connect the USB to your Windows PC.
- Open Command Prompt as Admin (
Win + X→ Terminal (Admin)). - Run these commands one by one:
   diskpart
   list disk
   select disk X (Replace X with your USB disk number)
   clean
   convert gpt
   create partition primary
   exit
✅ Verify: The USB should now be GPT-formatted.
Step 2: Download macOS .DMG File
- Visit the macOS Archive on Archive.org.
- Choose your macOS version (Sonoma, Ventura, Monterey, etc.).
- Important: Download a version equal to or newer than your Mac’s original OS.
- Example: If your Mac shipped with Big Sur (11.0), avoid Catalina (10.15).
- Wait for download (Files are large, ~12-16GB).
Step 3: Write macOS to USB Using TransMac
- Install TransMac (Run
tmsetup.exe→ Follow setup). - Run as Admin (Right-click → Run as Administrator).
- Right-click your USB → Restore with Disk Image.
- Select the .DMG file (macOS installer).
- Click OK → Wait (~30-60 mins).
⚠️ If blocked by Windows Defender:
- Temporarily disable real-time protection (
Windows Security → Virus & Threat Protection → Manage Settings).
Step 4: Boot Mac from USB
- Insert USB into the Mac.
- Power on → Hold
Option (⌥)(Intel) or Hold Power Button (Apple Silicon). - Select the USB drive from boot options.
- Follow on-screen instructions to install macOS.
Troubleshooting
❌ “Could not access disk media” → Disable antivirus & retry.
❌ Mac won’t boot from USB → Ensure GPT partitioning & USB compatibility.
❌ Installation fails → Verify macOS version compatibility.
Final Thoughts
Creating a macOS bootable USB from Windows is possible with TransMac. This method is perfect for:
✔ Emergency recovery (When no Mac is available)
✔ Clean macOS installations
✔ Fixing corrupted systems
🔗 Useful Links:


Tags:
macOS Bootable USB, Install macOS from Windows, TransMac Guide, macOS Recovery, Mac Troubleshooting
Hashtags:
#macOS #BootableUSB #Apple #TechGuide #MacTips


