Introduction
A drop cap is a design element often used at the beginning of paragraphs in books, magazines, or other documents to give a visually appealing touch. It enlarges the first letter (or several letters) of the paragraph and spans them across multiple lines. In this article, we’ll guide you step-by-step on how to create a drop cap in Adobe InDesign.
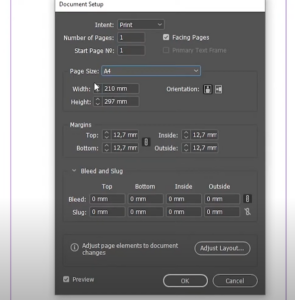
Step 1: Open Your InDesign Document
- Create or Open a Document:
- Begin by opening an existing document or creating a new one in Adobe InDesign.
- Insert some text into your layout to apply the drop cap.
Step 2: Select the Text
- Choose the Type Tool:
- Go to the Toolbar on the left side of the screen and select the Type Tool.
- Alternatively, use the keyboard shortcut T to activate the Type Tool.
- Click and Highlight:
- Click on the text frame containing your text, or directly highlight the paragraph where you want the drop cap to appear.
Step 3: Open the Paragraph Panel
- Access the Paragraph Panel:
- Navigate to the Window menu in the top toolbar.
- Select Type & Tables, then click Paragraph.
- You can also use the keyboard shortcut Ctrl + Alt + T to bring up the Paragraph Panel.
Step 4: Apply the Drop Cap
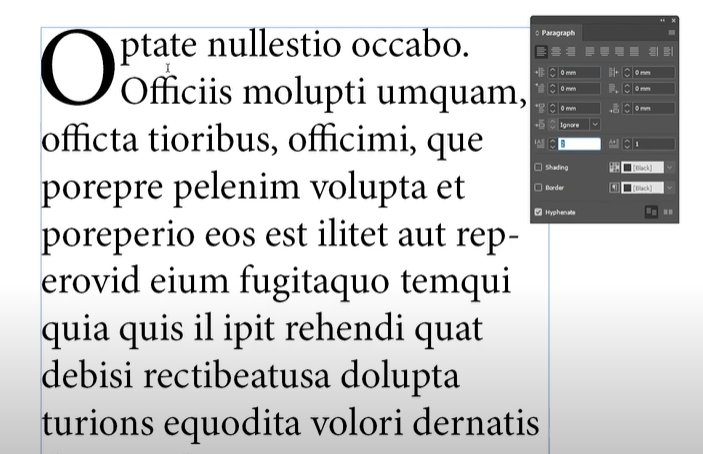
- Set the Number of Lines for the Drop Cap:
- In the Paragraph Panel, locate the section for drop cap settings at the bottom.
- Find the Drop Cap Number of Lines option.
- Click the up arrow next to it to increase the number of lines the drop cap will span. For example, setting it to “2” makes the drop cap span two lines, while setting it to “3” spans three lines.
- Set the Number of Characters for the Drop Cap:
- Next to the lines setting, you’ll see an option for the number of characters included in the drop cap.
- Increase the value if you want more than one character in the drop cap (e.g., setting it to “3” includes the first three characters of the paragraph).
Step 5: Customize the Drop Cap
- Adjust the font style, size, or color of the drop cap using the Character Panel or directly through the toolbar options.
- Experiment with these settings until you achieve the desired look for your drop cap.
Step 6: Finalize the Design
- Once satisfied with the drop cap, close the Paragraph Panel.
- Review your layout to ensure the drop cap integrates seamlessly with the overall design.
Conclusion
Creating a drop cap in Adobe InDesign is an easy and effective way to add a touch of elegance to your text layouts. With just a few steps, you can customize the size, lines, and characters for your drop cap to suit your design needs. By mastering this feature, you can enhance the professionalism of your designs effortlessly.
Hashtags: #AdobeInDesign #GraphicDesign #DropCap #TypographyTips #InDesignTutorial


