If you’re planning to install Windows 11 (WS1) on your PC or laptop, this article will walk you through the entire process. We’ll cover everything from downloading necessary files to creating a bootable USB drive and installing the operating system. Let’s dive in!
Step 1: Download the WS1 ISO File
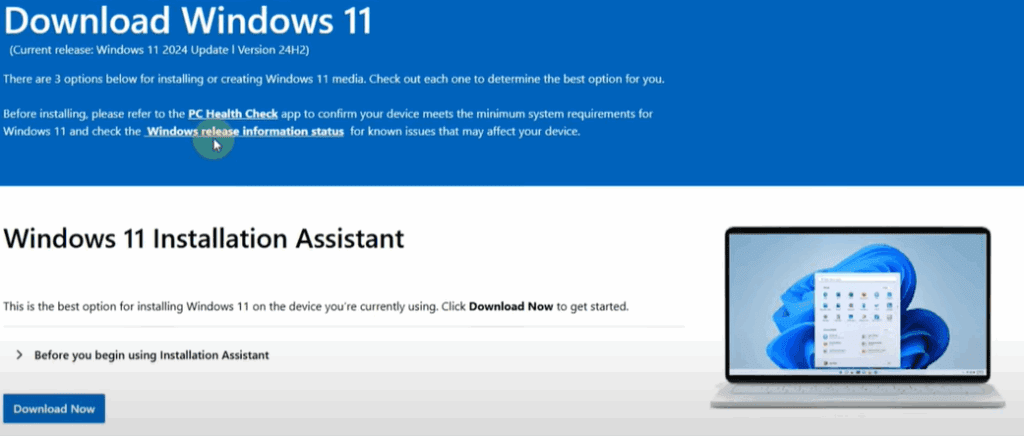
- Open your preferred browser.
- Search for “WS1 download site” or directly visit www.microsoft.com.
- On the Microsoft website, scroll down to find the WS1 Disk Image section.
- Select WS1 as the version you want to download.
- Choose English International as the language, confirm, and proceed.
- Download the 64-bit version. The file size should be around 5.4 GB.
- Save the ISO file safely on your system.
Step 2: Download Rufus Software
- Again, open your browser.
- Search for “Rufus download.”
- Click on the first link that appears, usually the official Rufus site.
- Scroll down and download the latest version of Rufus (for example, Rufus 4.5 or similar).
Step 3: Prepare Your Tools
Before proceeding, make sure you have:
- The WS1 ISO file you downloaded.
- The Rufus software.
- A USB flash drive (minimum 8GB recommended).
Step 4: Create a Bootable USB Drive
- Plug in your USB flash drive.
- Open the Rufus software (select ‘No’ if it asks to check for updates).
- In Rufus:
- Select your USB device.
- Under the Boot Selection, click SELECT and choose the WS1 ISO file.
- Select the correct Partition Scheme:
- Open Computer Management → Disk Management.
- Right-click your system drive (usually C:), click Properties, then Volumes.
- Check the Partition Style:
- If it’s MBR (Master Boot Record), choose MBR in Rufus.
- If it’s GPT (GUID Partition Table), choose GPT.
- Click Start after ensuring both file system and partition settings are correct.
- Untick any extra options if shown, then click OK to begin creating the bootable USB.
- Wait until the process is complete. Your bootable USB drive is now ready!
Step 5: Prepare for Installation
Before moving forward:
- Backup important files from your C: Drive because it will be formatted during installation.
- Take note of the Total Space and Free Space of your C: Drive to easily identify it during installation.
Step 6: Boot from USB
- Turn off your PC or laptop.
- Turn it back on and immediately press the Boot Menu Key.
- Common keys are F9, F10, F11, F12, ESC, or DEL depending on your device’s brand.
- In the Boot Menu, select your USB drive.
- Press any key when prompted to start the WS1 installer.
Step 7: Begin the WS1 Installation
- Select your preferred language, time, and currency format (e.g., English (India)).
- Click Next and then Install Now.
- If prompted for a product key:
- Enter it if you have one.
- Otherwise, click I don’t have a product key.
- Choose the Windows 11 edition you want to install (preferably Windows 11 Pro).
- Accept the license terms and click Next.
Step 8: Select Drive and Install
- Choose Custom: Install Windows only (advanced).
- In the list of drives:
- Carefully select the C: Drive based on the space you noted earlier.
- Format the C: Drive before proceeding.
- Click Next to start the installation.
- The installation process may take about 30 minutes.
Step 9: Complete Setup
Once Windows 11 installation is complete:
- Your PC will restart.
- Follow the setup instructions:
- Select your region (e.g., India).
- Customize other settings as per your preference.
Congratulations! You now have a fresh installation of Windows 11 (WS1) on your system. Remember to reinstall necessary drivers and software after installation.
Important Tips:
- Always backup important files before formatting.
- Ensure you select the correct partition style (MBR or GPT) for a smooth installation.
- Keep your Windows activation key handy.
Tags:
Windows 11 Installation, WS1 Installation Guide, Bootable USB Creation, Rufus Tutorial, Create Windows Bootable USB, MBR vs GPT, Windows Setup Guide, Windows Boot Menu, Install Windows from USB, Windows ISO Download, Windows 11 Pro Installation, Laptop Windows Install
Hashtags:
#Windows11 #WindowsInstallation #BootableUSB #TechGuide #InstallWindows11 #WS1 #CreateBootableUSB #RufusTool #WindowsSetup #LaptopSetup #Windows11Pro