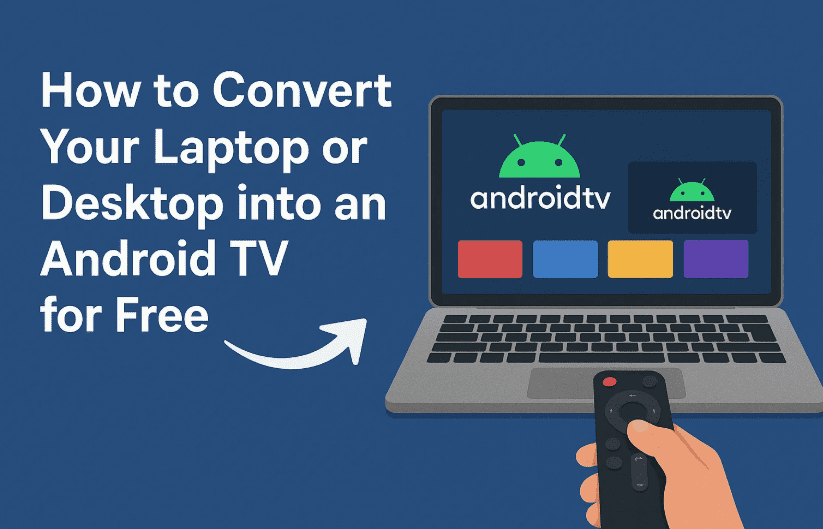
Have you ever wished your old laptop or desktop could function just like an Android TV? Imagine having access to your favorite streaming apps, Google Assistant, and even games — all running directly on your PC screen, controlled by your keyboard, mouse, or even a remote app on your phone.
Well, it’s not only possible, but it’s also free — and in this guide, I’ll walk you through the exact steps to transform your computer into a fully functional Android TV system using a USB drive.
We’re going to use a bootable Android TV 9 ISO and install (or run it live) on your machine. The process is surprisingly straightforward, but it does involve some technical steps — so follow along carefully, and make sure you read all warnings before proceeding.
Why Would You Want Android TV on a PC?
Turning your PC into an Android TV can be incredibly useful:
- Repurpose an old laptop or desktop as a media streaming center.
- Access Android apps and games on a big screen without buying an actual smart TV.
- Enjoy smooth YouTube, Prime Video, and Play Store apps optimized for TV use.
- Use your phone as a remote to control the interface.
What You’ll Need
Before we begin, here’s what you must prepare:
- A USB drive (minimum 4GB, recommended 8GB or higher).
- A laptop or desktop PC with USB boot capability.
- Android TV 9 ISO file (links below).
- Rufus (Windows) or BalenaEtcher (Windows/macOS/Linux) to create the bootable USB.
- Internet connection (for downloads and updates).
- Optional: An external keyboard/mouse or game controller.
Download the Required Files
We’ll need two main downloads — the Android TV 9 ISO file and a bootable USB creation tool.
Android TV 9 ISO
This is the operating system image we’ll install. There are a few download sources:
- Direct Link (Mega.nz) – Download Here
- Alternate SourceForge Link – Download Here
- Android-x86 Official Site – Download Here
Tip: If one link is slow or unavailable, try the alternates.
Bootable USB Creation Tools
You can choose either of these tools:
- Rufus (Windows) – Download Here
- BalenaEtcher (Windows/macOS/Linux) – Download Here
Step 1: Create a Bootable Android TV USB
Let’s start by turning your USB drive into a bootable Android TV installer.
- Insert Your USB Drive
Use a USB with at least 4GB capacity (8GB or more recommended). Remember — all data on this drive will be erased. - Open Rufus or BalenaEtcher
- If using Rufus:
- Select your USB drive from the “Device” dropdown.
- Click SELECT and choose the Android TV ISO file you downloaded.
- Keep the Partition Scheme as MBR (for most PCs) or GPT if your BIOS requires it.
- File system: FAT32.
- Click Start and confirm when warned about data deletion.
- If using BalenaEtcher:
- Click Flash from file and choose the ISO.
- Select your USB drive.
- Click Flash.
- If using Rufus:
- Wait for Completion
This may take a few minutes. Once done, safely eject the USB.
Step 2: Boot From the USB
Now we’ll boot your PC from the Android TV USB.
- Insert USB into the Target PC
If you want to test before installing, you can run Android TV in “Live” mode without affecting your current OS. - Access Boot Menu
Restart your PC and press the key for the boot menu (usually Esc, F2, F10, F12, or Del — it will appear on screen during startup). - Select the USB Drive
Choose your USB as the boot device. - Choose a Mode
You’ll see a blue menu with several options:- Android TV (Run without installing)
- Android TV Portable Mode
- Installation Mode (to install permanently)
- Laptop Mode (for output to an external monitor)
Step 3: Installing Android TV on a PC
If you’ve chosen the Installation option, here’s what to do:


⚠️ Disclaimer: Installing Android TV on a drive will erase existing data. Back up everything important first.
- Select Installation Target
Choose the correct partition or dedicated disk. Be 100% sure you’re selecting the right one. - Format as ext4
This is critical — without ext4 formatting, Android TV won’t boot. - Install EFI GRUB2
Say Yes when asked. This will let you boot Android TV. - Reboot
After installation, reboot and boot again from USB (if necessary) to select Android TV from the boot menu.
Step 4: First-Time Setup
Once Android TV boots for the first time:
- Select your preferred language.
- Name your device (e.g., “Living Room TV”).
- Connect to Wi-Fi or plug in a LAN cable.
- Sign in with your Google account.
- Tip: If you get stuck in a Google login loop, boot into TWRP recovery (if available) and factory reset.
Step 5: Apply the Home Fix
If your Home screen breaks after an update:
- Follow the community’s “Fix Home” method (varies by build — check download page instructions).
- Do this immediately after setup to prevent issues.
Step 6: Optimize Performance
If video playback is slow:
- Go to Settings → Device Preferences → Display → 3D Settings → Force Hardware Acceleration.
What Works and What Doesn’t
✅ Working Features:
- YouTube
- Prime Video (tablet version required)
- Play Store
- Google Assistant
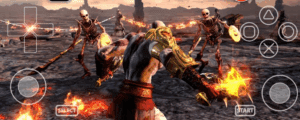
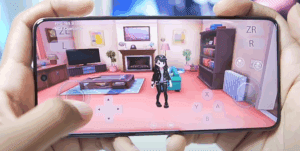
- Games
- Spotify
- Wi-Fi
- Bluetooth
- USB devices
- HDMI/VGA Output (Laptop Mode for some notebooks)
- SD Card support
- Game controllers (USB & Bluetooth)
❌ Known Bugs:
- Chromecast built-in: Not working.
- Home may break if updated (requires Home Fix).
- USB Debugging (Wireless ADB): Not working.
- Netflix ATV: No longer works.
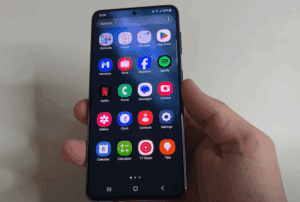
Using a Phone as a Remote
You can install the Android TV Remote app from the Play Store on your phone, connect it to the same Wi-Fi as your PC running Android TV, and control the interface like a real smart TV remote.
Q&A: Common Issues
Q1: Can I dual-boot Android TV with Windows?
Yes — but you’ll need to install Android TV on a separate partition and ensure GRUB is set up correctly. It’s easier if you use the live mode from USB when you just want to watch TV.
Q2: My PC doesn’t boot from USB. What should I do?
Check BIOS/UEFI settings. Enable “USB Boot” and disable “Secure Boot” if necessary.
Q3: How do I fix a black screen after boot?
Try Laptop Mode, use an external monitor, or check display settings in Device Preferences.
Q4: Why can’t I install Netflix ATV?
The official Android TV build for x86 has lost Netflix ATV support. You may still use the mobile/tablet APK.
Disclaimer
Installing or running Android TV from USB involves system-level changes if you choose the installation route. Always:
- Backup important data before formatting drives.
- Use the correct partition to avoid wiping your main OS.
- Understand that this is an unofficial port — bugs and missing features are expected.
Final Thoughts
With just a USB drive and a bit of setup time, you can turn your PC into a fully functional Android TV — perfect for media streaming, gaming, or even light app usage on a big screen. While some features like Chromecast and Netflix ATV don’t work, the majority of TV-optimized apps run beautifully.
Tags: android tv pc installation, convert pc to android tv, bootable android tv usb, android tv iso download, android tv on laptop, rufus android tv setup, balenaetcher android tv, android tv x86 installation, laptop mode android tv
Hashtags: #AndroidTV #PCtoTV #TechGuide #BootableUSB #StreamingPC #AndroidX86 #MediaCenter #TechDIY


