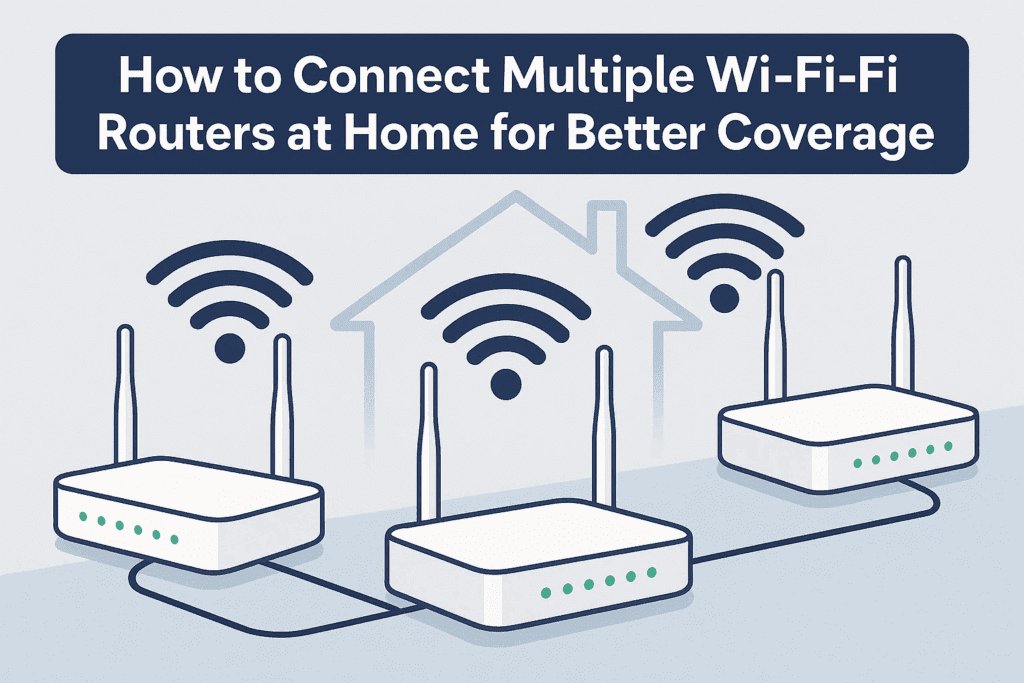
Having weak Wi-Fi signals in certain areas of your home? The solution is simple: connect multiple Wi-Fi routers to extend coverage seamlessly. In this guide, we’ll walk you through setting up additional routers to work alongside your ISP-provided router—without conflicts or complicated configurations.
Why Use Multiple Wi-Fi Routers?
- Eliminate dead zones (basement, attic, backyard).
- Improve speed & stability by reducing congestion.
- Reuse old routers instead of buying expensive mesh systems.
How It Works
Instead of relying on a single router, we’ll:
- Configure additional routers as access points (APs).
- Connect them via Ethernet (recommended) or wirelessly (less reliable).
- Ensure all routers share the same network without IP conflicts.
Step-by-Step Setup Guide
Step 1: Gather Your Equipment
- Primary Router (ISP-provided, already connected to the internet).
- Secondary Router(s) (old routers you want to repurpose).
- Ethernet cables (for wired connections).
Step 2: Check Your Primary Router’s IP Settings
- Connect your laptop to the ISP router via Ethernet.
- Open Command Prompt (Windows) or Terminal (Mac/Linux) and type:
ipconfig
Look for “Default Gateway” (e.g., 192.168.0.1). This is your router’s IP.
- Access the router’s admin page by entering the IP in a browser.
- (No need to log in; just verify the IP is correct.)
Step 3: Configure the First Additional Router (Basement Wi-Fi)
- Factory reset the secondary router (press the reset button for 10+ seconds).
- Connect it to your laptop via Ethernet (LAN port, not WAN/Internet port).
- Access its admin page (usually
192.168.0.1or192.168.1.1).
- Default login is often admin/admin (check the router label).
- Change the router’s IP address to avoid conflicts:
- Go to LAN settings → Change IP to
192.168.0.2(if primary is192.168.0.1). - Save & reboot.
- Set up Wi-Fi name (SSID) & password:
- Go to Wireless Settings → Name it (e.g., “Basement Wi-Fi”).
- Set a strong password (e.g., “Basement123”).
- Disable DHCP (to prevent IP conflicts):
- Go to DHCP settings → Turn it OFF.
- Connect the secondary router to the primary router:
- Use an Ethernet cable (LAN port to LAN port).
- Do not use the WAN/Internet port!
Step 4: Repeat for Additional Routers (Attic Wi-Fi, etc.)
For each extra router:
- Factory reset.
- Change IP (e.g.,
192.168.0.3for the third router). - Set Wi-Fi name & password.
- Disable DHCP.
- Connect via Ethernet to any existing router (LAN to LAN).
Step 5: Test & Optimize
- Connect devices to each router’s Wi-Fi and check internet speed.
- Place routers strategically for best coverage.
- Avoid wireless bridging (it reduces speed; wired is best).
Why Not Use Wireless Repeaters?
While possible, wireless repeating has drawbacks:
- Slower speeds (halves bandwidth).
- Unstable connections (interference, signal loss).
- Not ideal for gaming/streaming.
Stick to wired connections for reliability!
Final Tips
✅ Use different Wi-Fi names (SSIDs) for each router (e.g., “Basement,” “Attic”).
✅ Set the same Wi-Fi password for seamless roaming.
✅ Prioritize Ethernet connections for stability.
Tags
Wi-Fi, Home Networking, Router Setup, Internet Speed, Dead Zones, ISP, Ethernet, Wireless Access Points
Hashtags
#WiFiSetup #HomeNetwork #TechTips #InternetSpeed #RouterHack #DeadZoneFix
Need help? Drop a comment below! 🚀
Disclaimer: This guide assumes basic networking knowledge. Incorrect settings may disrupt your internet connection. Always secure your Wi-Fi with strong passwords.