Gradients can bring depth and vibrancy to your designs in Adobe InDesign. Customizing gradient colors is a straightforward process that lets you personalize your designs to match your creative vision. Here’s a detailed step-by-step guide to changing the colors of a gradient in Adobe InDesign.
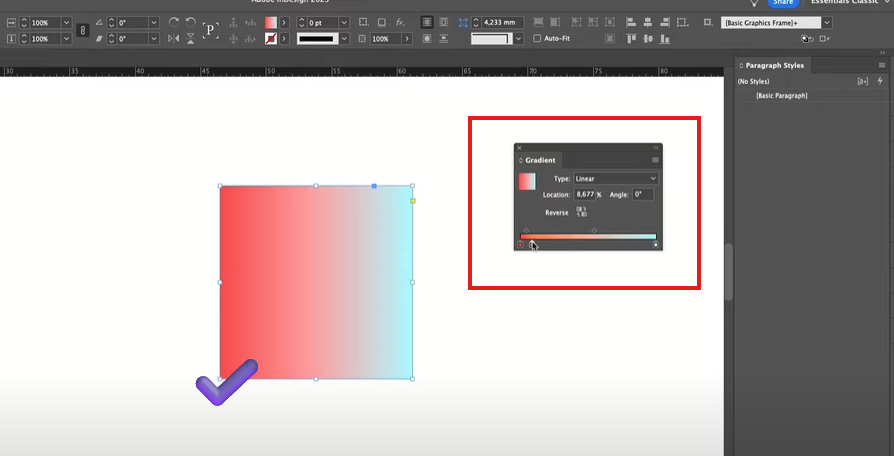
Step 1: Open the Gradient Panel
- Open your Adobe InDesign document with the gradient element (e.g., a box or text) you wish to edit.
- To access the Gradient Panel, navigate to the top menu bar and click on Window > Color > Gradient.
- If the Gradient Panel is not already visible, this action will display it on your workspace.
Step 2: Apply a Gradient
- If your object does not already have a gradient applied:
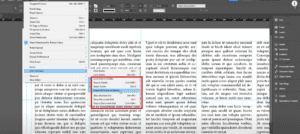
- Right-click on the object.
- Choose Apply Gradient from the context menu.
- Alternatively, select the object and click the gradient swatch in the Gradient Panel to apply the default gradient.
Step 3: Adjust the Existing Colors
- The Gradient Panel will display the current colors in your gradient. By default, it may show white and black color stops at either end of the gradient slider.
- To change these colors:
- Click on a color stop (a small square under the gradient slider).
- Go to the Fill option in the toolbar or Control Panel.
- Double-click to open the Color Picker and select your desired color.
- Repeat the process for the other color stop.
Step 4: Add More Colors to the Gradient
- To make your gradient more dynamic, you can add additional color stops:
- Click anywhere under the gradient slider to add a new color stop.
- Select the new stop and adjust its color using the Fill option or Color Picker.
- You can add as many color stops as needed to create complex gradients.
Step 5: Adjust Color Placement
- To control the distribution of colors in your gradient:
- Drag the color stops along the gradient slider to adjust their position.
- Use the diamond-shaped markers above the gradient slider to fine-tune the midpoint between two colors.
Step 6: Experiment with Gradient Types
- The Gradient Panel allows you to switch between two gradient types:
- Linear Gradient: Creates a straight transition between colors.
- Radial Gradient: Creates a circular gradient effect.
- Use the dropdown menu in the Gradient Panel to toggle between these gradient types.
Step 7: Adjust the Gradient Angle
- To change the direction of your gradient, modify its angle:
- Enter a specific value in the Angle Field in the Gradient Panel.
- Experiment with different angles to achieve your desired effect.
Why Use Custom Gradients?
Custom gradients allow you to:
- Enhance visual appeal by adding depth and texture.
- Create a unique design that aligns with your brand or theme.
- Experiment with colors to evoke specific emotions or aesthetics.
Conclusion
Changing the colors of a gradient in Adobe InDesign is a powerful way to elevate your design projects. With just a few steps, you can customize gradients to match your creative ideas and enhance your visual compositions.
Tags
Adobe InDesign, gradient editing, gradient color change, InDesign gradients, customizing gradients, design tips, graphic design, Adobe tutorials, gradient panel, InDesign techniques
Hashtags
#AdobeInDesign #Gradients #DesignTips #GraphicDesign #AdobeTutorials #CustomGradients #InDesignBasics #CreativeDesign


