Introduction
Adobe InDesign offers powerful tools to manage and style text, including the ability to change fonts efficiently. Whether you’re designing a book, flyer, or magazine, knowing how to adjust fonts is essential for creating visually appealing layouts. This guide provides a step-by-step explanation of how to change fonts in Adobe InDesign.
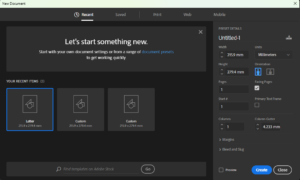
Step 1: Create and Select Text
- Create a Text Box
- Open your InDesign document.
- Select the Type Tool (T) from the toolbar or press the
Tshortcut key. - Click and drag on the canvas to create a text box.
- Add Text
- Type some text into the box or paste pre-written content.
- Scale the text box, if necessary, to make the text easily visible.
- Select the Text
- To select the entire text, click inside the text box and press
Ctrl + A(Windows) orCmd + A(Mac). - Alternatively, use your mouse to highlight specific portions of the text.
- To select the entire text, click inside the text box and press
Step 2: Change the Font
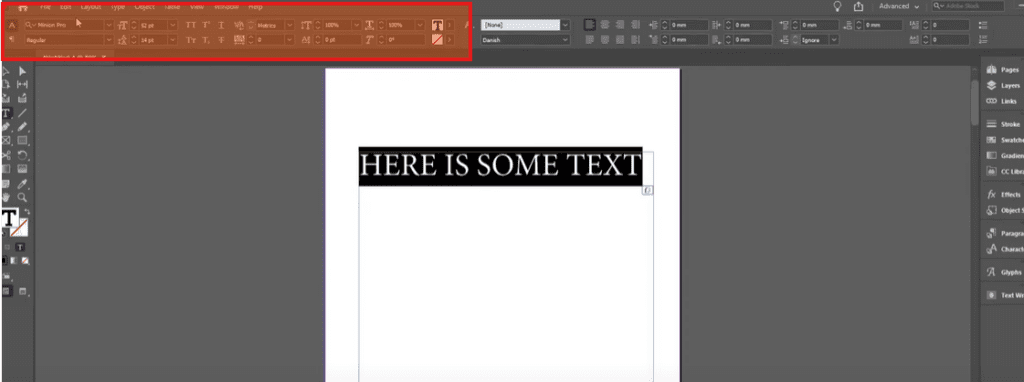
- Locate the Font Options
- Look for the Control Panel at the top of the InDesign workspace.
- The current font will be displayed, typically set to a default like “Minion Pro.”
- Select a New Font
- Click the dropdown arrow next to the font name.
- A menu will appear, displaying all the fonts installed on your computer.
- Preview Fonts
- Scroll through the font list to preview how each font looks applied to your selected text.
- The changes will update in real time as you hover over different fonts.
- Apply the Font
- Click on the desired font to apply it to your text.
- For example, select “Bodoni” for a classic serif look.
Step 3: Adjust Font Properties
- Change Font Weight
- With the text still selected, locate the dropdown menu beneath the font name in the Control Panel.
- Use this menu to adjust the thickness (e.g., Bold, Light, Italic).
- Modify Text Size
- In the same Control Panel, adjust the text size by entering a value in the Size box or using the up/down arrows.
- Explore More Options
- To access additional text styling tools, go to Window > Type & Tables > Character or press
Ctrl + T(Windows) orCmd + T(Mac). - The Character Panel allows you to refine text size, tracking, kerning, and more.
- To access additional text styling tools, go to Window > Type & Tables > Character or press
Step 4: Change Fonts for Specific Text Portions
- Select Specific Text
- Highlight the part of the text you want to style differently.
- Repeat Font Selection Steps
- Use the font dropdown to choose a new font or weight specifically for the selected portion.
- This is useful for emphasizing titles, headings, or keywords.
Step 5: Verify the Changes
- Switch to Selection Tool
- Press
Vto activate the Selection Tool, allowing you to see the text box without the editing cursor.
- Press
- Review the Layout
- Ensure that the chosen fonts and styles fit the design aesthetics of your document.
Additional Tips
- Font Installation: Ensure the fonts you want to use are installed on your system before opening InDesign.
- Consistent Styling: Use Paragraph Styles and Character Styles to maintain consistency across your document.
- Font Preview: Enable live font preview under Preferences to see changes as you scroll through the font list.
Conclusion
Changing fonts in Adobe InDesign is a straightforward yet impactful way to enhance your designs. By following these steps, you can easily experiment with various font styles and properties to create a professional and polished layout. Refer back to this article whenever you need a refresher on customizing fonts in InDesign.
#AdobeInDesign #Typography #FontChange #InDesignTutorial #GraphicDesign #TextStyling #DesignTips #CreativeSuite #dtptips