Changing fonts across an entire Adobe InDesign document can be a time-consuming task if done manually. However, Adobe InDesign provides an efficient way to replace all fonts in your document with just a few clicks. This article will walk you through the step-by-step process to change all fonts at once in Adobe InDesign.
Steps to Change All Fonts at Once in Adobe InDesign
- Open Your Document
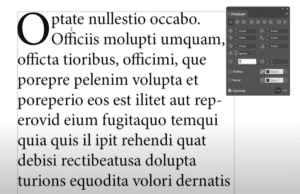
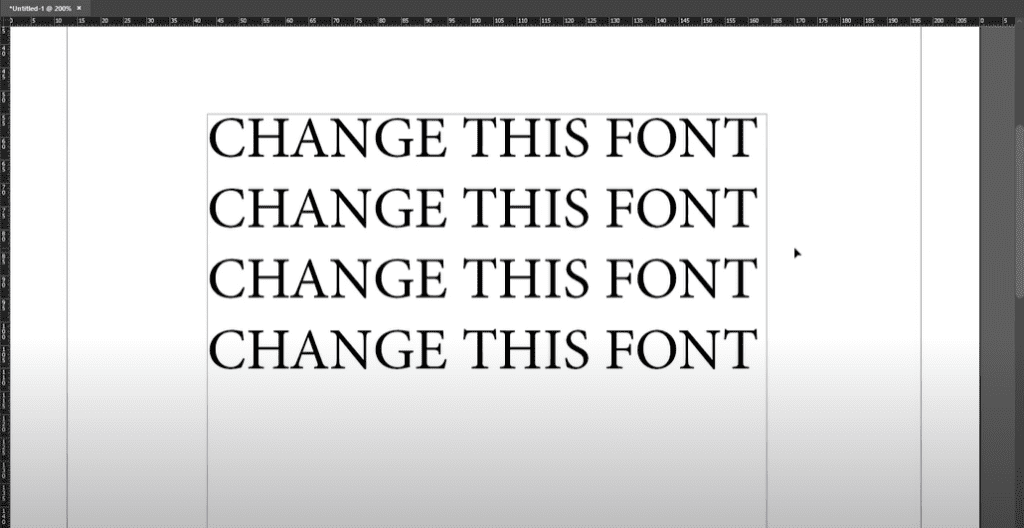
Start by opening your InDesign document. Ensure you have some text already written to follow along with the steps. - Access the Fonts Used
The first step is to check the fonts currently in use within your document. For this example, let’s assume the text is set in the font Minion Pro. - Navigate to the ‘Find/Replace Font’ Panel
- Go to the top menu bar and select Type.
- From the dropdown menu, choose Find/Replace Font.
This will open the ‘Find/Replace Font’ panel, where all fonts used in your document are listed.
- Identify Fonts in Use
In the ‘Find/Replace Font’ panel, you will see a list of all fonts currently used in your document. For this example, let’s assume the document uses only Minion Pro Regular. - Select the Font to Replace
- Click on the font you want to replace from the list (e.g., Minion Pro Regular).
- In the Replace With section, choose the new font family you want to use.
- Choose the New Font
- In the Font Family dropdown, select the desired font. For instance, you can choose Helvetica.
- Next, go to the Font Style dropdown and select a style, such as Bold or Regular, depending on your preference.
- Apply the Changes
- After selecting the new font family and style, click on the Change All button.
InDesign will automatically replace all instances of the selected font in your document with the new font you have chosen.
- After selecting the new font family and style, click on the Change All button.
- Review the Changes
- Observe that the font throughout your document has been updated.
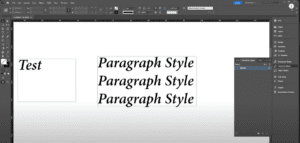
For example, all text that was previously Minion Pro Regular is now replaced with Helvetica Bold.
- Observe that the font throughout your document has been updated.
- Make Additional Font Changes (If Needed)
- If you want to replace another font or modify the newly applied font, repeat the process.
- Select the new font to replace, choose the replacement, and click Change All again.
- Finalize and Save
- Once you are satisfied with the font replacements, click on Done to close the ‘Find/Replace Font’ panel.
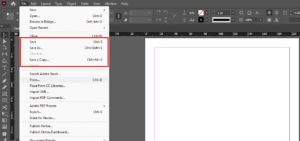
- Save your document to preserve the changes.
Summary
Using the ‘Find/Replace Font’ feature in Adobe InDesign is a quick and effective way to replace fonts across your entire document. This method eliminates the need to manually update each text box, saving significant time and effort.
By following the steps outlined above, you can easily manage font consistency in your designs. Whether you’re creating brochures, magazines, or any other type of document, this feature ensures a seamless workflow.
Tags
Adobe InDesign, Font Replacement, Find and Replace Font, Design Tips, Adobe Tips, InDesign Workflow, Typography, Graphic Design
Hashtags
#adobeindesign #indesigntutorial #typographytips #fontreplacement #designworkflow #graphicdesign

