Introduction
Centering text in Adobe InDesign, whether horizontally, vertically, or both, is an essential skill for creating balanced and visually appealing layouts. This guide explains how to easily center text in InDesign using built-in tools and shortcuts.
Step 1: Create and Select Text
- Create a Text Box
- Open your InDesign document.
- Select the Type Tool (T) from the toolbar or press
Ton your keyboard. - Click and drag to create a text box on the canvas.
- Add Text
- Type or paste your desired text into the text box.
- Resize the text box or increase the text size to make it easier to see your work.
- Select the Text
- Use the Type Tool to click inside the text box.
- Press
Ctrl + A(Windows) orCmd + A(Mac) to select all the text.
Step 2: Center Text Horizontally
- Locate the Alignment Options
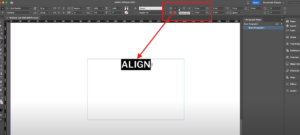
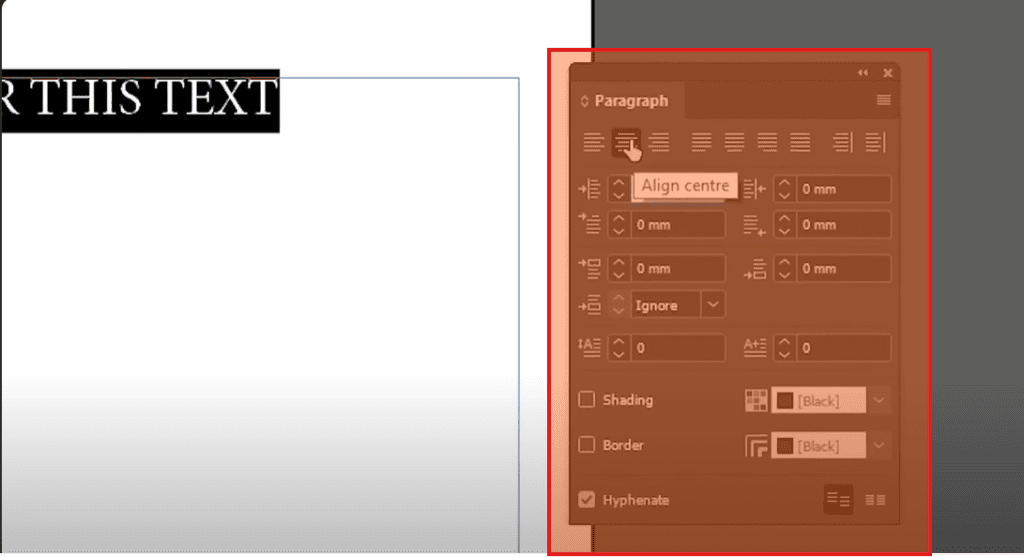
- With the text selected, go to the Paragraph Panel in the top menu.
- If you don’t see the Paragraph Panel, enable it by going to Window > Type & Tables > Paragraph or pressing
Ctrl + Alt + T(Windows) orCmd + Option + T(Mac).
- Choose Horizontal Center Alignment
- In the Paragraph Panel, select the Center Alignment option (represented by three centered horizontal lines).
- Alternatively, use the shortcut
Ctrl + Shift + C(Windows) orCmd + Shift + C(Mac) to center align the text horizontally.
- Verify Horizontal Centering
- The text will now be horizontally centered within the text box.
Step 3: Center Text Vertically
- Open Text Frame Options
- Select the text box with the Selection Tool (V).
- Right-click the text box and choose Text Frame Options from the context menu.
- Alternatively, press
Ctrl + B(Windows) orCmd + B(Mac) to open the Text Frame Options window.
- Adjust Vertical Justification
- In the Text Frame Options dialog box, go to the Vertical Justification section.
- Change the alignment setting from Top to Center.
- Check the Preview box to see the changes in real time.
- Apply and Close
- Click OK to apply the changes.
- The text is now vertically centered within the text box.
Step 4: Combine Horizontal and Vertical Centering
- By combining the horizontal and vertical centering methods, you can center your text perfectly in the middle of the text box.
- If you resize the text box later, the text will automatically adjust to remain centered.
Additional Tips
- Dynamic Alignment: Centering text both horizontally and vertically ensures it stays proportional even if the text box is resized.
- Alignment Flexibility: If you need the text to remain vertically centered but left-aligned horizontally (or any other combination), you can mix and match alignment options.
- Keyboard Shortcuts: Mastering shortcuts like
Ctrl + Shift + Cfor horizontal centering andCtrl + Bfor Text Frame Options can save time.
Conclusion
Centering text in Adobe InDesign is a simple yet effective way to enhance your designs. Whether for posters, flyers, or layouts, this technique ensures your text is perfectly aligned. Use the steps above to achieve professional results, and refer back to this article anytime you need guidance.
#AdobeInDesign #Typography #TextAlignment #InDesignTips #GraphicDesign #CreativeDesign #CenterText #TextStyling #dtptips
Visited 230 times, 1 visit(s) today
