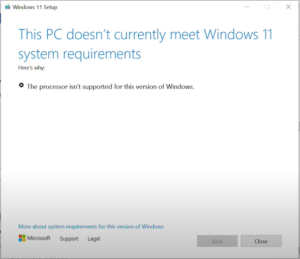
Microsoft continues to enforce the use of Microsoft accounts during Windows 11 setup, making it increasingly difficult for users who prefer a local administrator account. If you’re installing or reinstalling Windows 11 and want to bypass the Microsoft account login, this step-by-step guide explains how to do it using two effective commands.
This updated method works for Windows 11 as of April 2025, and it’s especially useful if previous methods like entering a dummy email (e.g., no@thankyou.com) no longer work due to Microsoft’s security patches.
Why Bypass the Microsoft Account Login?
Many users prefer a local account to:
- Maintain better privacy
- Avoid unnecessary syncing or telemetry
- Set up systems for offline use or testing purposes
- Create a simplified environment without account verification steps
If you are one of those users, follow the guide below to set up Windows 11 with a local administrator account.
✅ Steps to Bypass Microsoft Account Sign-in in Windows 11 (2025)
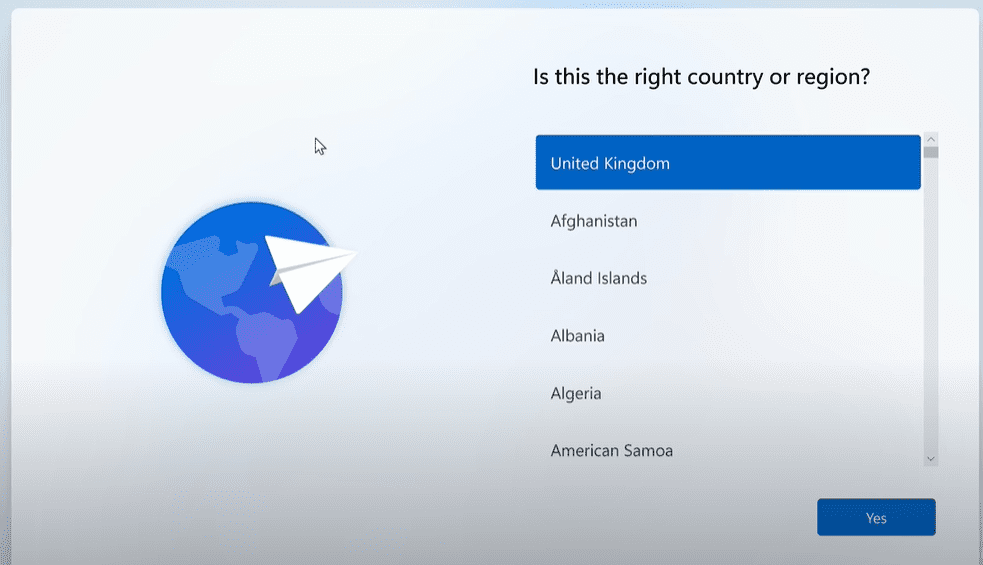
Step 1: Begin Windows 11 Setup
- Insert your Windows 11 installation media (USB or ISO) and boot your system.
- Proceed through the initial setup screens.
- Choose your country and keyboard layout. Skip adding a second layout when prompted.
Step 2: Allow Windows to Check for Updates
- Windows will attempt to check for and install any available updates.
- The system might restart automatically after installing updates. Let it complete this process.
Step 3: Reaching the “Connect to a Network” Screen
Once updates are done, you’ll be prompted to connect to a network. This is the point where Microsoft typically forces the online sign-in requirement.
Step 4: Launch Command Prompt (First Time)
- Press Shift + F10 (or Shift + Fn + F10 on some laptops) to open Command Prompt.
- Click inside the Command Prompt window to make sure it’s active.
- Type the following command exactly:
OOBE\BYPASSNRO - Hit Enter.
- Your system will restart and return to the setup process again.
Step 5: Re-select Region and Name Device
- Once the system restarts, choose your region and keyboard layout again.
- Assign a device name when prompted.
You’ll return to the network connection screen, but now with more options available due to the previous command.
Step 6: Launch Command Prompt Again
- Press Shift + F10 again to reopen Command Prompt.
- In the new Command Prompt window, type:
ipconfig /release - Press Enter.
This command releases your network IP address, effectively disconnecting you from the internet—even if you’re connected via Ethernet or Wi-Fi.
Step 7: Continue Setup Without Internet
- Close the Command Prompt window.
- Click on “I don’t have internet”.
- Then click “Continue with limited setup”.
Step 8: Create a Local Account
- Enter your preferred username (e.g., “test”).
- You can set a password if you wish or leave it blank.
- Complete the rest of the setup as usual.
Summary
Using a combination of the OOBE\BYPASSNRO command and the ipconfig /release network command, you can bypass the forced Microsoft account login during Windows 11 installation. This method has been tested and confirmed to work as of April 2025.
Important Notes
- These commands are not harmful and are part of the legitimate Windows setup environment.
- Microsoft may patch or change this behavior in future builds.
- This method works for both Windows 10 and Windows 11, but steps may vary slightly between versions.
Disclaimer
This article is intended for educational purposes only. Bypassing certain setup procedures may lead to a limited user experience or prevent you from using some Microsoft services such as OneDrive, Microsoft Store sync, or cloud-based backups. Use this method only if you understand and accept those trade-offs.
Tags
windows 11 setup, microsoft account bypass, local account windows 11, bypass microsoft sign in, windows 11 april 2025, oobe bypass nro, windows setup without internet, offline windows installation, command prompt windows 11
Hashtags
#Windows11 #MicrosoftAccount #LocalAccount #WindowsSetup #TechGuide #BypassMicrosoft #OfflineWindows