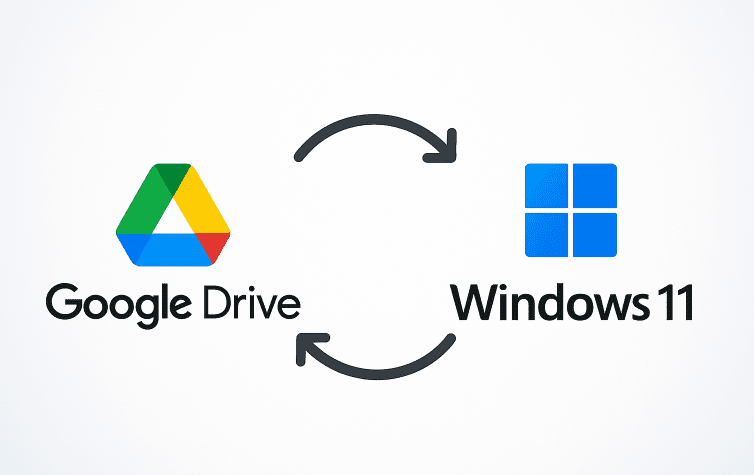
In the digital era, keeping your files backed up and in sync across devices is essential. Google Drive is one of the most trusted cloud storage solutions, but many users only access it through a web browser. Did you know you can install Google Drive for Desktop on your Windows 11 PC to automatically sync your files? This method ensures that any changes on your PC or in Google Drive are updated instantly on both ends without manual intervention.
In this thorough guide, I’ll take you through every step — from downloading the app to understanding sync options, setting preferences, and troubleshooting common issues. Whether you’re new to Google Drive or a casual user, by the end you will be able to maintain an efficient, automatic syncing setup between your Windows 11 PC and Google Drive.
Why You Should Automatically Sync Google Drive with Windows 11
Automatic syncing of your Google Drive files on Windows 11 offers many benefits:
- Instant backup and recovery: Secure your important documents and photos in the cloud without thinking about it.
- Offline accessibility: By syncing files locally, you can work and access your data even without an internet connection.
- Space management: Choose between streaming (saving disk space) or mirroring (local copies) based on your storage availability.
- Seamless collaboration: Share and update files instantly with co-workers or family members.
- Cross-device convenience: Your files stay updated across all devices linked to your Google account.
By setting this up, you eliminate the headache of manually uploading or downloading files constantly.
Step 1: Download Google Drive for Desktop on Windows 11
Ready to get started? The first step is downloading the official Google Drive for Desktop app.
- Open any browser (such as Chrome, Microsoft Edge, or Firefox) on your Windows 11 PC.
- Type “Download Google Drive for Desktop” into the search bar.
- Click the official Google support page link (Google Drive for Desktop).
- Scroll down to the download section.
- Choose the Windows version and click the Download button.
- Wait for the download to complete.
Pro Tip: Be sure to download only from Google’s official site to avoid malware or corrupted software.
Step 2: Install and Sign In to Google Drive for Desktop
Once the file downloads:
- Open the installer and follow the on-screen instructions.
- When prompted, sign in using your Google account credentials. This authenticates your PC with your cloud storage.
- After signing in, you’ll be presented with two syncing options: Stream files or Mirror files.
Step 3: Decide Between “Stream” and “Mirror” Syncing Options
Understanding these modes is crucial for the best file syncing experience:
- Stream files:
- Files only exist in the cloud initially, appearing as placeholders in File Explorer.
- Opens/downloads the file on-demand, saving local storage space.
- Best for users with limited hard drive space or those who mostly work online.
- Mirror files:
- All files are stored both locally and in the cloud.
- Offers full offline access — you can open and edit files anywhere, anytime.
- Recommended if your PC has ample storage or you want constant offline availability.
For full offline accessibility and immediate syncing, select Mirror files. This ensures files are synced in both directions—any change on PC or cloud updates the other automatically.
Step 4: Customize Your Sync Preferences
Now comes the part where you tell Google Drive exactly which folders to sync:
- Click the Google Drive icon in your taskbar (bottom right near the clock).
- Click the gear icon (Settings), then Preferences.
- In the Preferences window, click Computers in the sidebar.
- Click Add folder, then browse and select the folders on your PC to keep synced.
- Enable the sync toggle for each folder you want.
- Save your settings.
Why Customize Folder Sync?
By specifying folders, you control which files sync automatically without wasting bandwidth or disk space on irrelevant files. For instance, syncing your Documents and Desktop folders could cover most of your essential work files.


Step 5: Confirm Your Files Are Syncing Automatically
Testing is crucial to ensure things are working smoothly:
- Add or create a new file in one of your synced folders on your PC.
- Look for the small sync icon (two arrows in a circle) on the file, indicating syncing.
- Then, open Google Drive online and verify if the file appears there.
This test confirms your setup is working, giving you real-time syncing peace of mind.
Troubleshooting Common Sync Issues
If you run into problems, try these fixes:
- Internet connection: Make sure you have a stable internet connection. Syncing stalls without it.
- Pause and resume syncing: Right-click the Google Drive icon > Pause Sync > wait a moment > Resume Sync.
- Re-login: Sign out and back into Google Drive to refresh authentication.
- Free up disk space: Especially important if using Mirror mode.
- Keep the app updated: New updates fix bugs and improve performance.
Frequently Asked Questions (FAQs)
Q: Can I sync multiple folders?
A: Yes, add as many folders as you want under Preferences > Computers.
Q: What happens if I delete a synced file on my PC?
A: It deletes from Google Drive and other synced devices, but you can recover it from Google Drive’s Trash for a limited time.
Q: Will syncing consume lots of bandwidth?
A: Only when uploading or downloading changes. Mirror mode uses less bandwidth than constant streaming.
Q: Can other users on the PC access my Google Drive?
A: If they log into your Windows or Google account, yes. Use password protection and separate Windows accounts if needed.
Real-World Use Cases
- Students: Keep school notes and projects synced and backed up.
- Working professionals: Securely share and backup work files.
- Families: Sync photos, documents, and shared files safely.
- Freelancers: Manage large creative files across different devices.
Final Words
Setting up Google Drive for Desktop syncing on your Windows 11 computer makes managing your files effortless. With automated, continuous syncing, you don’t have to remember uploading or downloading files. Your data stays safe, accessible, and up to date across devices.
Follow this guide carefully, and you’ll gain a seamless sync experience—saving time and headaches in file management.
Important Disclaimer
Always download Google Drive for Desktop from the official Google website to avoid security risks. Use Google Drive in accordance with its Terms of Service and Privacy Policy.
Useful Links
Tags & Hashtags
Tags: Google Drive, Windows 11, file sync, cloud storage, file backup, automatic sync, Google Drive for Desktop setup, productivity tips
Hashtags: #GoogleDrive #Windows11 #CloudStorage #FileSync #Backup #Productivity #TechTips


