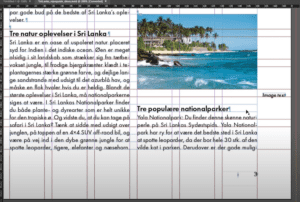
Text alignment is a crucial part of creating visually appealing and professional layouts in Adobe InDesign. Whether you’re designing a flyer, brochure, or magazine, understanding how to align text properly ensures your content looks polished and easy to read. In this article, we’ll guide you step-by-step on how to align text in Adobe InDesign.
Why Text Alignment Matters
Text alignment impacts the readability and overall design of your document. Properly aligned text:
- Enhances the visual balance of your layout.
- Helps readers navigate your content effortlessly.
- Contributes to a clean and professional look.
Steps to Align Text in Adobe InDesign
1. Insert and Select Text
Begin by creating a text box:
- Open your document and select the Type Tool (T) from the toolbar.
- Draw a text box in your layout.
- Type or paste the text you want to work with.
Next, highlight the specific text you wish to align by clicking and dragging over it.
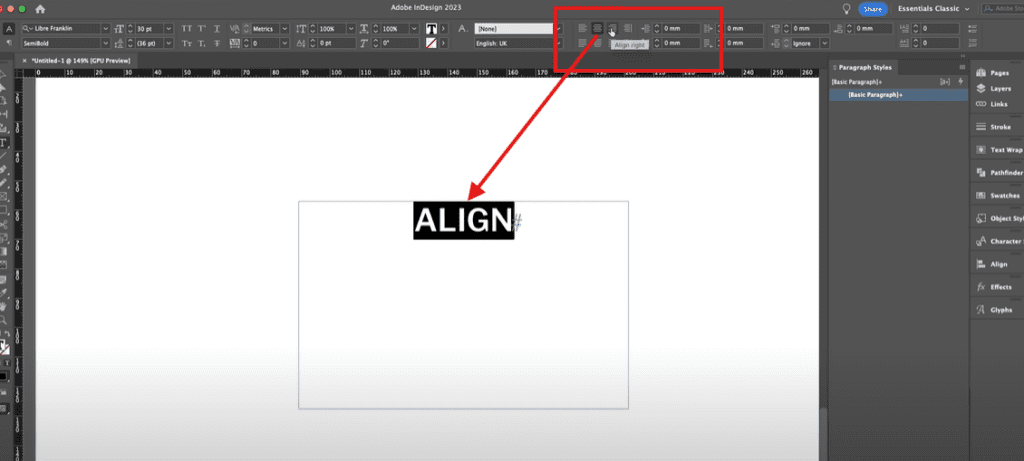
2. Locate the Alignment Options
Alignment settings are found in the Control Bar at the top of the workspace:
- Ensure the Text Tool is active, as this displays text-specific controls.
- Look for the alignment options in the Control Bar. They typically include:
- Align Left: Aligns text to the left margin of the text box.
- Align Center: Centers text within the text box.
- Align Right: Aligns text to the right margin of the text box.
3. Apply Alignment
Once your text is selected, click on the desired alignment option in the Control Bar:
- Align Left: Click the left-align icon to align text to the left. This is the default alignment for most designs.
- Align Center: Click the center-align icon to position text evenly in the middle of the text box.
- Align Right: Click the right-align icon to align text to the right side of the text box.
4. Adjust Text Box Size if Necessary
The text aligns relative to the size of the text box. If you resize the text box, the alignment will adjust accordingly. To modify the text box size:
- Use the Selection Tool (V) to select the text box.
- Drag the handles to resize while maintaining the alignment settings.
Pro Tips for Text Alignment
- Justified Text: For body text in columns or paragraphs, consider using the Justify alignment options. These spread text evenly across the width of the text box.
- Baseline Grid: Use the baseline grid to ensure consistent alignment across multiple text boxes or columns.
- Shortcuts: Familiarize yourself with alignment shortcuts to speed up your workflow:
- Command/Ctrl + Shift + L: Align Left
- Command/Ctrl + Shift + C: Align Center
- Command/Ctrl + Shift + R: Align Right
Conclusion
Aligning text in Adobe InDesign is a simple yet vital skill for creating professional designs. By using the alignment tools effectively, you can enhance the readability and visual appeal of your projects. Experiment with different alignment options to see what works best for your design.
Tags and Hashtags
Tags: Adobe InDesign, Text Alignment, Graphic Design, InDesign Tips, Typography
Hashtags: #AdobeInDesign #TextAlignment #TypographyTips #InDesignTutorial #GraphicDesignTips
