Introduction
Adobe InDesign is a powerful tool for designing layouts, and adding shapes is an essential part of creating visually engaging designs. Whether you’re working on a brochure, flyer, or other design projects, knowing how to add and customize shapes will help you create professional and appealing visuals. This article will guide you through the process of adding shapes in Adobe InDesign.
Step 1: Access the Shape Tools
- Open Your Document:
Start by creating or opening an InDesign document. - Select the Shape Tool:
- In the Toolbar on the left side of the screen, find the Rectangle Tool.
- You can also use the keyboard shortcut M to quickly select it.
Step 2: Choose the Shape Type
- Right-click for More Shape Options:
- Right-click on the Rectangle Tool to reveal more shape options. You’ll see three tools:
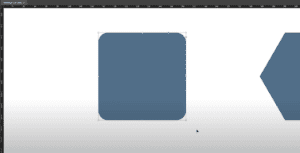
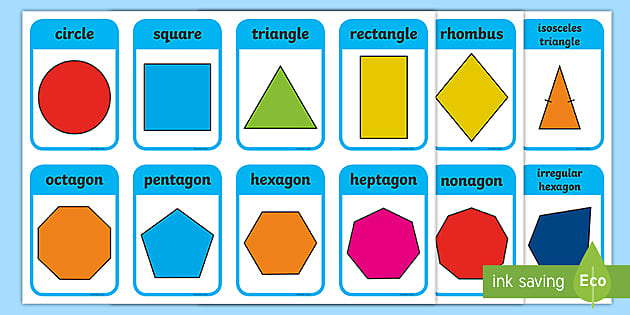
- Rectangle Tool (for rectangles and squares)
- Ellipse Tool (for circles and ellipses)
- Polygon Tool (for polygons, including triangles)
- Right-click on the Rectangle Tool to reveal more shape options. You’ll see three tools:
- Select Your Desired Shape:
- Choose the Ellipse Tool if you want to create an ellipse or circle. You can also select the Polygon Tool or Rectangle Tool based on your design needs.
Step 3: Customize the Shape
- Choose a Color:
- Before creating the shape, select the color for your shape by clicking on the Fill Color box in the Toolbar. This will open the color options.
- Choose your preferred color. For example, you might select a bright color for better visibility in your design.
- Optionally, remove the stroke (outline) by clicking the None option in the Stroke box.
Step 4: Create the Shape
- Click to Set Dimensions:
- After selecting your shape tool, click on the Artboard. A panel will appear, allowing you to manually enter the width and height of the shape.
- For example, you can set the width and height to 10 millimeters for a small circle. After entering the values, press OK to create the shape.
- Drag to Create the Shape:
- Alternatively, click and drag on the artboard to create the shape.
- Hold down the Shift key while dragging to maintain a proportional shape (such as a perfect circle or square). Release the mouse button when you’re satisfied with the size.
Step 5: Create Other Shapes
- Switch Between Shape Tools:
- If you want to create a different shape (e.g., a rectangle or polygon), simply return to the Rectangle Tool, Ellipse Tool, or Polygon Tool by right-clicking on the selected tool and choosing the one you need.
Conclusion
Adding shapes in Adobe InDesign is simple and intuitive. Whether you’re creating circles, rectangles, or polygons, these basic tools will help you enhance your designs. By selecting your preferred shape, customizing it with colors, and adjusting its size, you can create dynamic layouts for your projects.
Hashtags: #AdobeInDesign #GraphicDesign #InDesignTutorial #ShapesInDesign #DesignTips
