Introduction
Bullet points are a fantastic way to organize information in a clean and structured manner. In Adobe InDesign, adding bullet points to your text can be accomplished efficiently using the Paragraph Styles feature. This method ensures consistency across your document and saves time. In this article, we’ll guide you step-by-step on how to add and customize bullet points in Adobe InDesign.
Step 1: Set Up Your Text
- Open your InDesign document and add or select the text where you want to apply bullet points.
- Highlight all the text lines you want to style as a list.
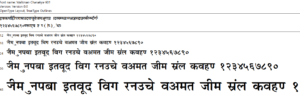
- Format your text:
- Choose a font (e.g., Arial).
- Set the style (e.g., Regular).
- Adjust the font size as needed for better visibility.
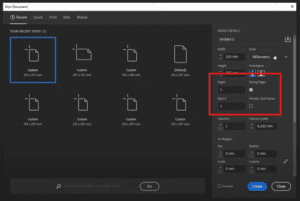
Step 2: Create a Paragraph Style
- Open the Paragraph Styles Panel from the right-hand menu or via Window > Styles > Paragraph Styles.
- Click the three-line menu in the panel and choose New Paragraph Style.
- Name the style (e.g., “Bullet Points”).
- Ensure the Apply Style to Selection checkbox is checked.
- Click OK to save the style.
Your paragraph style is now created and applied to your selected text.
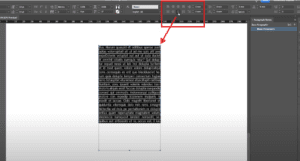
Step 3: Enable Bullet Points
- Double-click on the newly created paragraph style to open the Paragraph Style Options window.
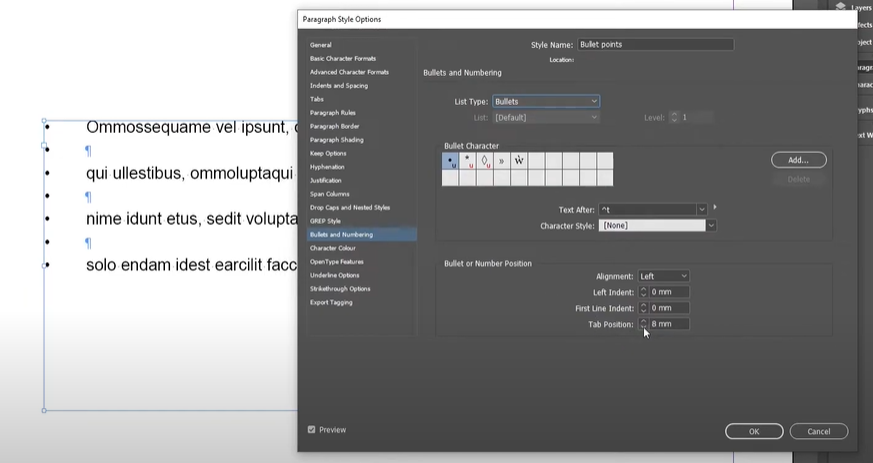
- Navigate to Bullets and Numbering from the left-hand menu.
- Under List Type, select Bullets.
- You’ll see the bullet points automatically applied to your text.
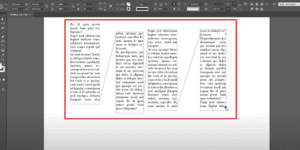
Step 4: Adjust the Bullet Formatting
- If the bullet points seem too far from the start of the text, adjust the Tab Position setting:
- Change the value to
2 mm,3 mm, or a suitable number based on your layout. - Press OK to save the changes.
- Change the value to
- To remove any unwanted empty lines between text, simply delete them.
Step 5: Customize the Bullet Character
- To change the default bullet symbol, go back to the Paragraph Style Options window.
- Under Bullets and Numbering, find the Bullet Character section.
- Click Add to open the Glyphs Menu.
- Scroll through the available glyphs and select a new symbol, such as a line, arrow, or decorative character.
- Click Add, then OK, to make the new bullet symbol available.
- Select the new bullet symbol from the list and press OK to apply it to your text.
Step 6: Final Adjustments
- Review your text to ensure the bullet points and spacing look good.
- If further adjustments are needed, revisit the Paragraph Style Options and tweak the settings.
- Once satisfied, your bullet points are ready, and the style can be reused throughout the document.
Conclusion
Using Adobe InDesign’s Paragraph Styles for bullet points allows for quick customization and consistent formatting across your document. Whether you’re working on a brochure, report, or any design project, this approach ensures a polished and professional look.
Hashtags: #AdobeInDesign #InDesignTips #GraphicDesign #TextFormatting #BulletPoints #DesignTutorials