Adding a border to an image in Adobe InDesign enhances its visual appeal and helps it stand out in your layout. This guide walks you through the process of adding and customizing borders, allowing you to create the desired look for your designs.
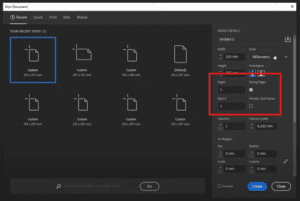
Step 1: Open Your Adobe InDesign Document
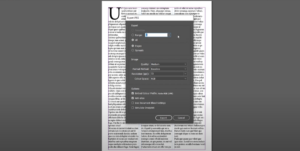
Begin by opening the document containing the image you want to edit. Ensure that the image is properly placed in your layout.
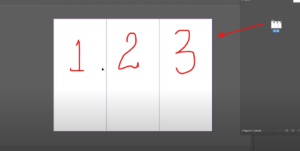
Step 2: Select the Image
- Use the Selection Tool (shortcut: V) from the toolbar to click on the image you wish to add a border to.
- Make sure the image frame is active, as borders are applied to the frame itself.
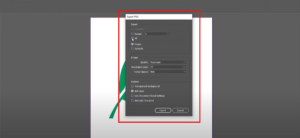
Step 3: Access the Stroke Panel
To add a border:
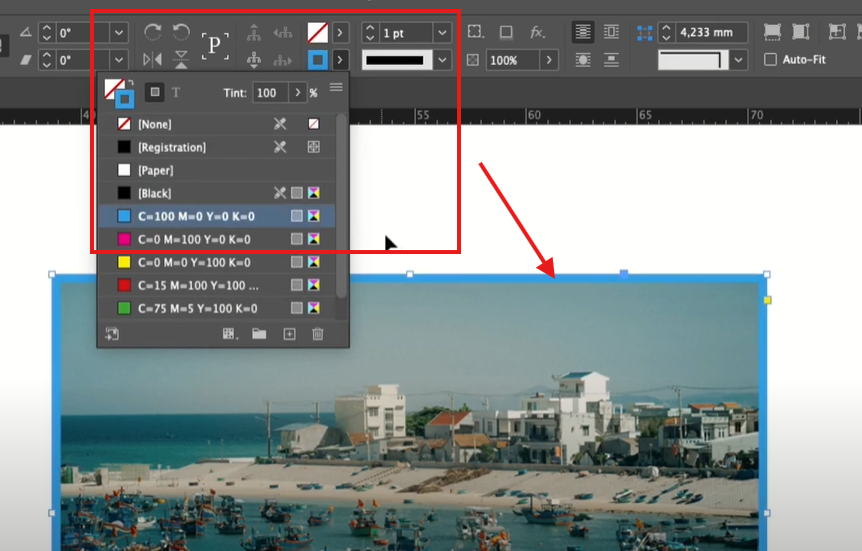
- Go to the top control bar and locate the Stroke option.
- If you don’t see the Stroke panel, you can enable it by navigating to Window > Stroke.
Step 4: Choose a Border Color
- In the Stroke panel, look for the Color section.
- Select a color for the border. For example, you can choose a blue border to make the image stand out.
- Once the color is selected, the border will appear around your image frame.
Step 5: Adjust the Stroke Weight
- With the Stroke panel open, adjust the Stroke Weight to increase or decrease the border’s thickness.
- Use the arrow buttons or enter a specific value to customize the weight.
Step 6: Align the Border
- Under the Stroke panel, locate the Align Stroke options.
- Choose one of the following:
- Align Stroke to Center (default): Places the border equally on both sides of the frame’s edges.
- Align Stroke to Outside: Positions the border outside the frame.
- Align Stroke to Inside: Positions the border inside the frame.
Step 7: Customize the Border Corners
- In the Stroke panel, go to the Join section to modify the corner style of the border.
- Options include:
- Miter Join: Creates sharp corners.
- Round Join: Creates rounded corners.
- Bevel Join: Creates beveled (flat-edged) corners.
- Select the option that best fits your design needs.
Step 8: Experiment with Additional Options
- Adobe InDesign provides various stroke styles, such as dashed or dotted lines, in the Stroke panel.
- Experiment with these styles to add a creative touch to your borders.
Conclusion
Adding and customizing borders in Adobe InDesign is straightforward and offers endless possibilities for enhancing your design. By following these steps, you can create unique and visually appealing image frames that suit your project’s style. Take the time to explore the Stroke panel’s options to make your designs truly stand out.
Tags: Adobe InDesign, image borders, stroke panel, design tips, graphic design, InDesign tutorial, customize borders, layout design, border alignment, InDesign features
Hashtags: #AdobeInDesign #ImageBorders #GraphicDesign #InDesignTutorial #DesignTips #CustomizeBorders #LayoutDesign #InDesignFeatures