Introduction
Adding a background color to your design in Adobe InDesign is a simple yet effective way to enhance your layout. Whether you’re creating a single-page document or a multi-page spread, InDesign offers tools to customize your background effortlessly. This guide will walk you through each step to create and manage background colors in your documents.

Step 1: Create a New Document
- Open Adobe InDesign.
- Go to File > New > Document or press the shortcut
Ctrl + N(Windows) /Cmd + N(Mac). - Specify the width and height for your document.
- Click Create to open a blank document.
Step 2: Create the Background
To add a background color:
- Select the Rectangle Tool:
- Locate the Rectangle Tool in the tools panel or press the shortcut
M.
- Locate the Rectangle Tool in the tools panel or press the shortcut
- Draw the Background Box:
- Click and drag from the top-left corner of your page to the bottom-right corner, covering the entire page.
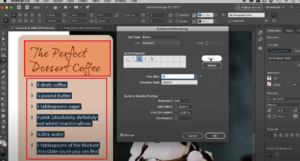
- Choose a Color:
- With the rectangle still selected, double-click the Fill Color box in the tools panel.
- In the Color Picker window, adjust the hue, saturation, and brightness to select your desired color.
- Click OK to apply the color.
Step 3: Lock the Background
To prevent accidental edits or deletions:
- Right-click on the rectangle and select Lock, or press
Ctrl + L(Windows) /Cmd + L(Mac). - The background layer is now locked, ensuring it remains intact while you work on other design elements.
Step 4: Add Text Over the Background
- Select the Type Tool:
- Choose the Type Tool (
T) from the tools panel.
- Choose the Type Tool (
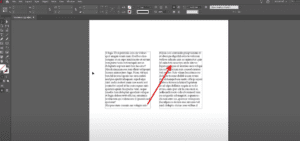
- Create a Text Frame:
- Click and drag to create a text box over the background.
- Insert Text:
- Add placeholder text or type your content.
- Customize Text Color:
- Highlight the text and change the color to ensure it contrasts with the background (e.g., white text on a dark background).
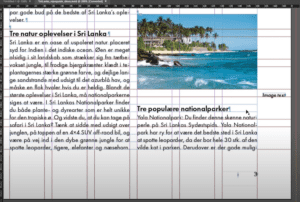
Step 5: Apply Background Color to Multiple Pages
Option 1: Manually Copy the Background
- Select the background rectangle on the first page.
- Press
Ctrl + Cto copy andCtrl + Vto paste it onto additional pages. - Position the rectangle correctly on each page.
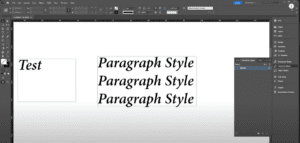
Option 2: Use Master Pages for Consistency
- Copy the Background:
- Select the rectangle and press
Ctrl + Xto cut it.
- Select the rectangle and press
- Open Master Pages:
- Go to the Pages Panel and double-click the master page.
- Paste the Background:
- Press
Ctrl + Vto paste the rectangle onto the master page.
- Press
- Apply Master Pages:
- Assign the master page to all desired pages.
- Any changes to the master page background will automatically reflect across all linked pages.
Step 6: Edit or Remove the Background
To make changes:
- Unlock the background by pressing
Ctrl + Alt + L(Windows) /Cmd + Option + L(Mac). - Select the rectangle and adjust the color, size, or delete it as needed.
For master page backgrounds:
- Navigate back to the master page in the Pages Panel.
- Edit the rectangle directly.
- Changes will update automatically on all associated pages.
Conclusion
Adding a background color in Adobe InDesign is a straightforward process that can significantly enhance your design. Whether you’re working on a single-page flyer or a multi-page booklet, leveraging tools like the Rectangle Tool and Master Pages ensures consistency and flexibility.
#AdobeInDesign #InDesignTips #GraphicDesign #BackgroundColor #DesignTools #CreativeDesign