This macro is used to create Guides and Cut Marks around a shape, object or even a page. This can also be used to add Denseitometer Scale, Colour Calibration Bars, Height and Width Grey Bar and Registration Marks along with Crop Marks.
Download Guides and Crop Marks Maker – CorelDraw MacroHow to use Guides and Crop Marks Maker CorelDraw Macro
- Download this macro from the above given link and install.
- If you don’t know how to install a macro read this post.
- Open a document in which you want to add guides or crop marks.
- Run this macro from Macro Manager or Scripts Panel… (depending which version of software you are using) … to get the following screen.
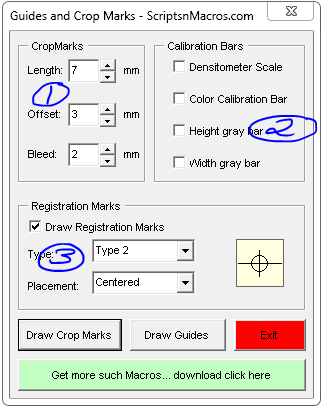
- Step 1:
- At length decide the length of the cutting lines.
- Offset is used to create a gap between the design and cutting lines.
- Bleed, use this setting to set the part of the design you want to be chopped with cutting lines for the binder.
- Step 2: These several settings can be checked to add these parameters along with the crop marks.
- Step 3: If you need registration marks you can add these settings as well.
- Clink on Draw crop marks.
To draw guides select and shape and click Draw Guides. If none is selected it will add guides around the page.
For visual steps watch this video below :
For any suggestion or any feature please use our forum section…
Hope this macro fullfills what you are looking for. Now, how about some more macros for CorelDraw, which will just not only enhance your productivity, but also makt things easier for you.
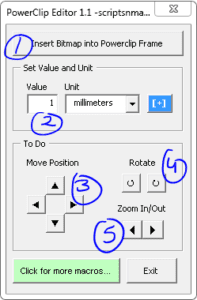
- Best Macro for Coreldraw Powerclip Editor – Crop and manage images easily
- QR Code Wizard Macro for CorelDraw
- Edit Bitmap Files from CorelDRAW 2024 to Photoshop Using VBA Macro
- Convert Text and Objects to Curve – CorelDraw Macro
- Convert Text into Curves – CorelDraw Macro
Visited 1,268 times, 3 visit(s) today


Hello – is it possible to adjust the default settings of this really helpful macro – I just want to tweak it a little so I don’t have to change the settings every time I use it.