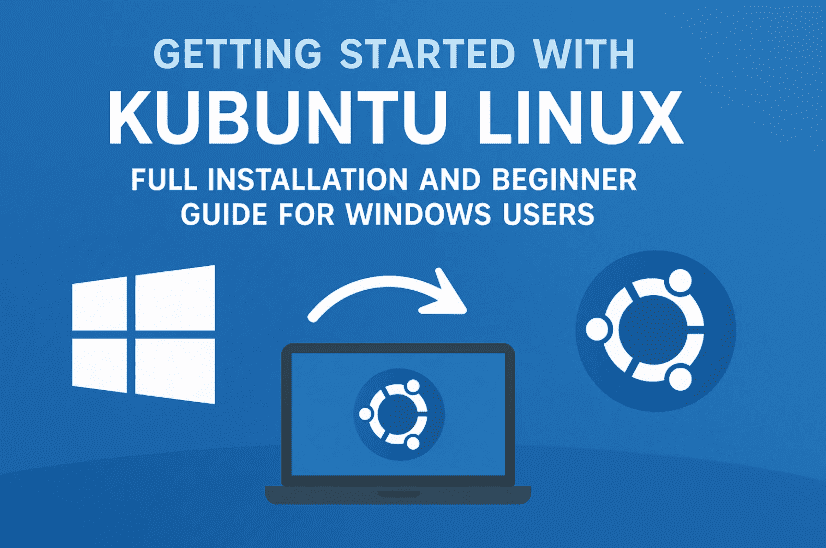
Are you tired of Windows 11 or just curious about trying a more customizable, privacy-respecting operating system? If you want something that feels familiar but offers more control, Kubuntu Linux might be your perfect match.
In this guide, we’ll walk you through everything — from downloading and installing Kubuntu to exploring its user interface, installing apps (even Windows ones!), and adjusting key settings. Whether you want to test it out temporarily or fully switch over from Windows, you’ll find all the steps right here.
🎯 Perfect for: Windows users looking for a smooth Linux experience with a desktop that includes a taskbar, system tray, and start menu-style launcher.
🔗 Where to Download Kubuntu
You can download the latest ISO from the official site:
👉 https://kubuntu.org/getkubuntu/
📦 What You Need Before Installation
Let’s start with some prep work. Here’s what you’ll need:
- A USB flash drive (8GB or larger)
- A PC or laptop
- Rufus or Balena Etcher to create a bootable USB
Download the Kubuntu ISO and use your preferred tool to make a bootable USB stick.
🚀 Step-by-Step Kubuntu Installation Guide
Once your bootable USB is ready, restart your PC and boot from the USB (change boot order in BIOS if needed). You’ll see a countdown with options. Select the first option: Try or Install Kubuntu.
Here’s what happens next:
1. Try Kubuntu Without Installing (Optional)
- This lets you test Kubuntu in Live mode without touching your hard drive.
- No files are saved — it’s temporary and runs entirely in memory.
- Great way to check Wi-Fi, display, touchpad, and performance.
2. Start the Full Installation
If you’re ready to install:
- Click on Install Kubuntu on the welcome screen.
- Select your language and keyboard layout.
- Choose Normal Installation (includes browser, office apps, etc.) or Minimal Installation if you want a lightweight setup.
- Connect to Wi-Fi if not already connected.
💽 Disk Setup Options
Here’s where it gets important. You can:
- Erase Disk (Recommended only if you don’t need existing data or OS)
- Manual partitioning (For advanced users or dual boot setups)
- Install alongside Windows (if available, Kubuntu will offer this automatically)
💡 Tip: If you’re dual-booting, shrink your Windows partition from inside Windows first. Then install Kubuntu into the free space.


👤 User Account Setup
Now you’ll create a user:
- Choose your name and username
- Set your computer name (hostname)
- Pick a secure password
- You can also choose auto-login (not recommended for shared machines)
Once done, confirm installation settings and hit Install Now. It’ll ask for final confirmation — click Continue.
⏳ The installation usually takes 10–15 minutes.
🔄 First Boot & Initial Setup
After installation:
- Remove the USB when prompted
- Hit Enter to reboot into your new system
You’ll be greeted by a modern, clean desktop using the KDE Plasma interface.
Let’s explore it a bit…
🖥️ Getting Familiar with Kubuntu’s Interface
Kubuntu’s KDE desktop offers a Windows-like experience:
Key Features:
- Taskbar (called “panel”)
- Start menu (app launcher)
- System tray with notifications and update icons
- Widgets you can add and customize
- Dolphin file manager (similar to Windows File Explorer)
- Built-in apps like Firefox, LibreOffice, and Thunderbird
Right-clicking the desktop opens up options to change wallpapers, sort icons, or access desktop settings.
The taskbar can be customized:
- Change position (top, left, right, bottom)
- Add widgets like system monitor or clipboard
- Adjust transparency, width, and height
⚙️ System Settings Overview
Kubuntu’s settings app resembles Windows Settings and includes:
- Display & resolution
- Keyboard/mouse configuration
- Power management
- Default apps
- Language & region
- Date/time
- Software updates
- Startup apps
- KDE Connect (link your Android phone)
🛒 Discover: The App Store for Kubuntu
Kubuntu comes with Discover, a software manager like the Microsoft Store.
From here, you can:
- Browse apps by category (internet, multimedia, games, etc.)
- View app ratings and descriptions
- Install or uninstall apps with one click
- Update all packages from a single interface
It even offers Plasma add-ons and system tweaks.
🍷 Bonus: Running Windows Apps with Wine
Kubuntu supports Wine, which lets you install some Windows .exe apps directly.
Steps:
- Install Wine via Discover or command line
- Download a Windows app like 7-Zip
- Right-click the installer and choose Open With → Wine
- Complete installation as if on Windows
- Find the installed app under Applications
⚠️ Not all Windows apps will work flawlessly — but many lightweight tools and older software do.
❓ Frequently Asked Questions
Q: Can I dual-boot Kubuntu and Windows?
Yes, just use manual partitioning or free space on your drive. Don’t forget to back up first.
Q: Is Kubuntu suitable for beginners?
Absolutely. It’s one of the most Windows-like Linux distributions and perfect for new users.
Q: Does Kubuntu support software updates?
Yes. You can update via the Discover app or terminal using sudo apt update && sudo apt upgrade.
Q: Is there antivirus on Linux?
Most home users don’t need one. Linux is more secure by design and has fewer threats.
🏷️ Tags:
Kubuntu installation, Linux for beginners, KDE Plasma, Wine on Linux, Windows alternative, dual boot Linux, Discover app store, Linux customization, open source OS, 7zip on Linux
📢 Hashtags:
#Kubuntu #LinuxForBeginners #DualBoot #KDEPlasma #LinuxSwitch #OpenSourceOS #WineLinux #LibreOffice #LinuxTutorial #DiscoverAppStore
⚠️ Disclaimer: This guide is for informational purposes. Always back up your data before modifying partitions or installing a new OS. Some software may have limited compatibility via Wine.
Ready to ditch Windows and explore the world of Linux with comfort and customization? Kubuntu is a great place to start. Give it a try in Live mode, and if it feels right — go ahead and install it permanently. You might never look back!