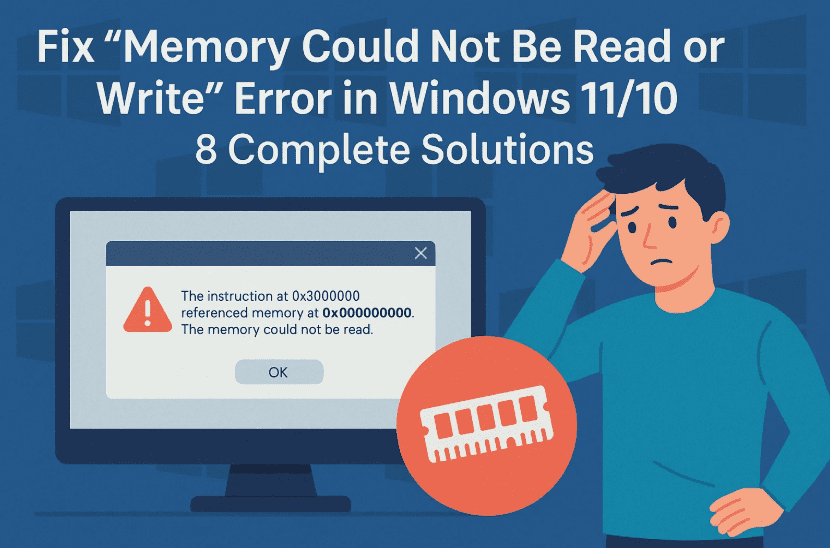
Are you getting an annoying error message like:
“The instruction at 0x00000000 referenced memory at 0x00000000. The memory could not be read or written”?
This typically pops up during shutdown, restart, launching heavy apps, or even opening a browser. If this sounds familiar — you’re in the right place.
This error generally indicates that a process or application tried to access memory it shouldn’t, or the memory it’s trying to use is corrupted. Causes may include:
- Corrupt system files
- Faulty RAM or storage
- Software conflicts
- Malware
- Insufficient virtual memory
In this guide, we’ll walk through 8 detailed methods to fix the “Memory Could Not Be Read or Write” error on Windows 11 and Windows 10. Each method is explained step-by-step with no shortcuts — just clear, effective solutions.
🔧 Step 1: Perform a Clean Boot to Disable Conflicting Services
Let’s start with the most common culprit: third-party services or startup programs. These often conflict with system processes and trigger memory errors.
Here’s how to do a clean boot:
- Press
Windows + R, typemsconfig, and hit Enter. - In the System Configuration window, go to the Services tab.
- Check “Hide all Microsoft services” (very important).
- Click Disable all.
- Go to the Startup tab and click Open Task Manager.
- Disable every startup app by right-clicking and selecting Disable.
- Close Task Manager, click Apply, then OK in System Configuration.
- Restart your PC.
🎯 This will boot your system with only essential services. If the error disappears, you’ve confirmed it’s being caused by third-party software.
🛠️ Step 2: Repair System Files with SFC and DISM
Corrupted system files are a major cause of memory access violations. Let’s scan and fix them.
Run SFC (System File Checker):
- Press
Windows + S, type cmd. - Right-click Command Prompt and choose Run as Administrator.
- Type the following command and press Enter:
sfc /scannow - Let it complete 100%. This will fix any broken or missing core files.
Run DISM (Deployment Imaging and Servicing Management):
After SFC, run this to restore system health:
- In the same Command Prompt window, enter:
DISM /Online /Cleanup-Image /RestoreHealth - Wait for the process to finish.
- Once done, restart your PC.
💡 These tools work together to clean up and fix corrupted Windows files without affecting your data.
🧹 Step 3: Run CHKDSK to Scan Disk for Errors
Bad sectors or file system errors can cause memory-related crashes too. Let’s check and fix them.
Run CHKDSK:
- Open Command Prompt as Administrator.
- Type:
chkdsk C: /f /r(Replace C: with your Windows drive if different.) - Press Y when prompted to schedule the scan.
- Restart your computer.
🛠️ On reboot, Windows will scan your drive for file system errors and bad sectors and attempt to fix them.
🧪 Step 4: Run Windows Memory Diagnostic Tool
Faulty RAM is a common but overlooked reason behind this error. Time to test it.


To check RAM health:
- Press
Windows + S, type Windows Memory Diagnostic, and hit Enter. - Choose “Restart now and check for problems”.
- Your system will reboot and run memory tests automatically.
- Once it restarts, results will appear after login or can be viewed in Event Viewer > Windows Logs > System.
🔍 If errors are found, consider replacing the defective RAM stick.
🗃️ Step 5: Increase Virtual Memory (Paging File)
When physical RAM runs out, Windows uses virtual memory (a reserved portion of the hard disk). If not enough is allocated, you might see memory-related errors.
Adjust virtual memory:
- Press
Windows + S, type View advanced system settings. - Under Performance, click Settings.
- Go to the Advanced tab, then click Change under Virtual memory.
- Uncheck “Automatically manage paging file size for all drives”.
- Select your C: drive (Windows installed drive).
- Choose Custom Size:
- Initial size = Value shown as Recommended.
- Maximum size = 1.5 to 2x your RAM.
- Click Set, then OK. Restart your computer.
💾 This gives Windows more space to manage memory overflow, especially during heavy tasks or gaming.
🛡️ Step 6: Scan for Malware or Virus Infection
Malware can interfere with memory processes and cause access errors. Running a full system scan is essential.
Scan with Windows Security:
- Press
Windows + S, type Windows Security, open it. - Click Virus & Threat Protection.
- Select Scan Options.
- Choose Full Scan, then click Scan now.
🦠 This will check all files, folders, and even external drives. Use third-party antivirus software like Malwarebytes for deeper scanning if needed.
🔁 Step 7: Perform System Restore (If the Issue Started Recently)
If the error began after a recent Windows update or driver install, System Restore can take your system back to a stable state.
Perform a system restore:
- Press
Windows + S, type Recovery, and open it. - Click Open System Restore.
- Select a restore point from a date before the error started.
- Follow prompts to restore your PC.
🕰️ This will not affect your personal files, but it will undo system-level changes, drivers, and updates.
🔍 Step 8: Identify Software Conflicts or Problematic Drivers
In rare cases, a recently installed application, driver, or browser extension might be the culprit.
What you can do:
- Uninstall recently installed software from Control Panel > Programs & Features
- Roll back GPU drivers from Device Manager > Display Adapters > Driver > Roll Back
- Keep all device drivers updated using Windows Update or the manufacturer’s website
📌 Tools like Autoruns from Microsoft can help identify startup conflicts too.
🙋 Frequently Asked Questions
Q1. What causes the “Instruction at 0x00000000” error on shutdown?
This usually results from faulty RAM, corrupt system files, or third-party services trying to access protected memory.
Q2. Can outdated drivers cause this error?
Yes. Incompatible or corrupted GPU/audio/network drivers can cause memory access violations.
Q3. Will a system restore delete my files?
No. System Restore rolls back system settings and drivers only. It won’t affect personal documents or downloads.
Q4. Should I replace my RAM if Windows Memory Diagnostic shows errors?
Yes. Faulty RAM is a hardware issue that software can’t fix. Replacing it is the only permanent solution.
✅ Final Words
So far, we’ve done a great job covering every major fix for the “Memory Could Not Be Read or Write” error in Windows 11 and 10. Whether it’s caused by corrupted files, driver conflicts, bad RAM, or malware — the methods above will help you eliminate the root cause step by step.
If nothing works after trying all 8 steps, it may be time to consult a hardware technician for deep-level diagnostics.
Tags: memory could not be read error, Windows 11 memory error, instruction at 0x00000000, fix memory access violation, memory write error windows, dism sfc fix, RAM test windows, virtual memory error fix
Hashtags:
#MemoryError #Windows11Fix #InstructionAt0xError #RAMDiagnostics #DISM #SystemRestore #CHKDSK #VirtualMemoryFix #MalwareScanWindows
Disclaimer:
This article is intended for troubleshooting and educational purposes only. Performing disk, registry, or memory-level operations always carries risk — back up your important data before proceeding. dtptips is not responsible for any data loss or system damage resulting from the steps provided. Always download tools from official websites.


