Adobe InDesign is a powerhouse for creating professional layouts, and mastering its tools can elevate your designs significantly. In this article, we’ll explore five essential layout tips that every InDesign user should know. From adding column rules to text frames to working with PSD layers and creating nested styles, these tips will enhance your workflow and creativity.
1. Adding Column Rules to Text Frames
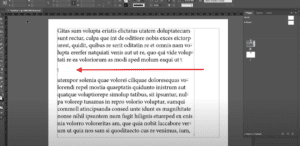
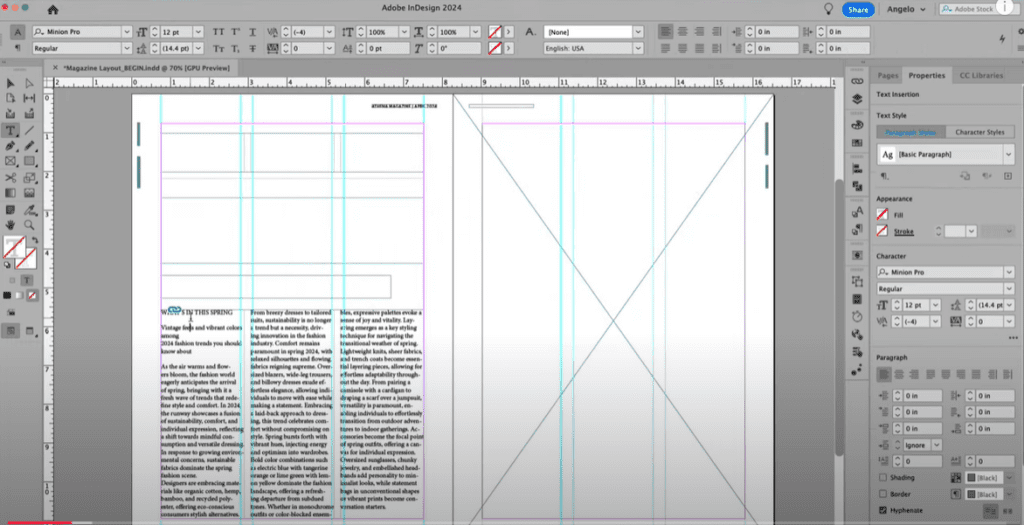
Column rules help visually separate columns of text within a frame, improving readability and aesthetic appeal. Here’s how to apply them:
- Insert Text into a Frame
- Create a text frame on your layout (e.g., an A4 magazine spread).
- Go to
File > Place, select your text document, and click Open to import the text.
- Adjust Text Content
- Cut and paste titles and subtitles into designated frames. Format the text as required.
- Enable Column Rules
- With the text frame selected, go to
Object > Text Frame Options(or double-click while holding Alt/Option). - Adjust the gutter width (e.g., 0.3125).
- Under the Column Rules tab, check Insert Column Rule.
- Set the weight (e.g., 0.25 pt for a clean hairline) and offset (e.g., 0.0625).
- With the text frame selected, go to
- Finalize Text Formatting
- Select all text (
Ctrl+A/Command+A) and format it with your preferred font, size, and spacing. - Disable hyphenation in the Properties panel for a cleaner look.
- Select all text (
2. Sampling Colors with the Color Theme Tool
Add cohesive colors to your layout by sampling them from an image:
- Place an Image
- Drag an image into your layout from your CC Libraries or
File > Place.
- Drag an image into your layout from your CC Libraries or
- Use the Color Theme Tool
- Select the tool (eyedropper with swatches icon). Hover over the image and click to generate a palette.
- Choose a color theme (e.g., Bright) and add it to your Swatches panel.
- Apply Colors
- Select text or elements in your layout and apply sampled colors for a unified theme.
3. Creating Drop Cap Nested Styles
Nested styles combine typography effects for dynamic text presentation:
- Create Paragraph and Character Styles
- Highlight the text, go to
Window > Styles > Paragraph Styles, and create a Body Text style. - Select the first letter of a paragraph, create a new Character Style (e.g., orange color).
- Highlight the text, go to
- Apply a Drop Cap
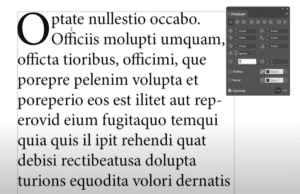
- In the Paragraph Style options, set a drop cap to span three lines.
- Under Nested Styles, assign the Character Style to the first character only.
- Test the Style
- Toggle between the new styles to ensure proper application.
4. Using Object Layer Options for PSD Files
PSD files allow flexibility when working with layered images:
- Place a PSD File
- Import a PSD into your layout.
- Adjust Layer Visibility
- Duplicate the image (
Ctrl+C/Command+CandShift+Alt+Ctrl+V/Shift+Option+Command+V). - Right-click the top layer, go to Object Layer Options, and enable/disable specific layers.
- Duplicate the image (
- Enhance the Layout
- Adjust the frame boundaries to reveal or hide specific elements for creative effects.
5. Applying Select Subject Text Wrap
Ensure images don’t obstruct your text by wrapping around the subject:
- Select Subject in the Image
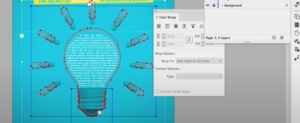
- With the image selected, go to the Text Wrap panel.
- Wrap Around Subject
- Choose the Select Subject option to automatically detect the subject in the image and wrap text around it.
- Refine the Wrap
- Adjust offsets and wrap boundaries to ensure text remains readable.
Conclusion
These five tips streamline your design process, allowing you to produce polished layouts efficiently. Experiment with these features to unlock InDesign’s full potential!
#AdobeInDesign #DesignTips #GraphicDesign #InDesignTutorial #CreativeTools #TypographyTips
