Hello everyone!
Today, I’m going to walk you through a step-by-step guide on how to selectively image folders from a large, unstable drive without having to image the entire drive. This method is particularly useful when working with drives that have a lot of bad sectors, like a 6TB expansion drive, where imaging the whole drive would take too much time and may cause further damage.
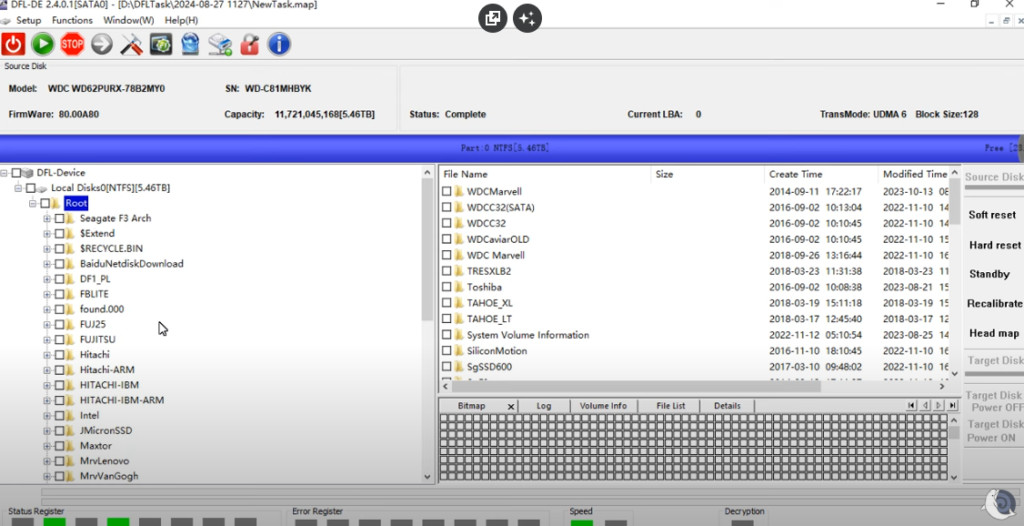
We’ll be using the Dolphin Data Recovery Software to extract specific folders instead of the entire drive.
Why Selective Imaging is Necessary
When you’re working with a large drive, such as a 6TB expansion drive, and only need a few folders, imaging the entire drive can be unnecessary. Not only would it take a lot of time, but if the drive has bad sectors or is unstable, this process could damage the drive further and lead to permanent data loss.
In these situations, selective imaging allows you to extract only the essential files or folders, minimizing the risk of damaging the source drive. This is especially important if the drive has a lot of bad sectors and you want to avoid further head damage.
Step-by-Step Guide: Selectively Imaging Folders
- Enter the File Extraction Interface
Begin by entering the file extraction interface of the Dolphin Data Recovery Software. Here, you can view all the files and folders on the expansion drive. Let’s say you only need to recover two folders from the drive. Select those folders from the interface. - Assess the Drive’s Condition
If the expansion drive is in a stable condition, you can easily recover the selected files without any issues. However, if the drive is unstable or has multiple bad sectors, directly extracting files can worsen the condition of the drive and cause more bad sectors. This is where selective imaging comes in handy. - Using File Image for Unstable Drives
When dealing with an unstable drive, it’s crucial to protect the source drive. The solution is to create a file image of the selected folders only. Here’s how:- Mark Selected Files: In the Dolphin software, you need to mark the two folders you want to image. Select the files or folders and mark them for imaging.
- Choose a Target Drive: Next, you’ll need to select a target drive where the imaged data will be saved. You can create a virtual hard disk (VHD) to use as your target drive. Once created, select this VHD as the destination for the file image.
- Start the Imaging Process
Once you’ve marked the folders and set the target drive, the software will begin preparing the file image. You can track the progress of the file marking process in real time through the software interface. Wait for the marking process to complete.The software will prompt you to mark the files as “valid data”—select Yes to proceed. The file marking process helps the software identify the data that needs to be imaged. - Review File Size and Continue
Once the software has marked the selected folders, it will display the size of the files. For example, if the two folders contain about 4MB of data, this is the only amount you’ll be imaging—saving you time and effort compared to imaging the entire 6TB drive. - Configure Disk Image Settings
After marking the files as valid, go to the disk image settings. Configure the settings to image only the selected data sectors. You can simply configure it for “Data Only” sectors. Once done, click Start to begin the imaging process. - Monitor and Complete the Imaging Process
The software will now start imaging the two selected folders to the target drive (in this case, the VHD). You can monitor the status as the process runs. Once completed, your selected folders will be safely imaged without affecting the rest of the drive.
Key Considerations
- For Unstable Drives: This selective imaging method is particularly useful when the drive has bad sectors and is unstable. By imaging only the necessary folders, you avoid further damage to the source drive.
- For Stable Drives: If the drive is stable with only minor issues, you can directly recover the selected files by right-clicking and choosing the recovery option. Selective imaging is only necessary when the drive is at risk of permanent data loss.
Final Thoughts
Selective imaging is a crucial process when dealing with unstable drives, as it protects both the source drive and the data you need. Using Dolphin Data Recovery Software, you can easily image only the essential folders, ensuring that your recovery process is safe and efficient.
I hope this guide helped you understand how to selectively image folders from an unstable drive. Thank you for reading, and feel free to check out our other guides for more data recovery tips.
#FileRecovery #DataRecovery #SelectiveImaging #DolphinDataRecovery #BadSectors #DriveRecovery #DataExtraction #VHD #UnstableDrive #DataLossPrevention