In this tutorial, we will create a graphic that resembles colorful wooden boards stacked on top of each other using CorelDRAW’s polygon tools, skewing, and interactive fill effects. This is a great way to explore geometric design while adding a 3D feel to your project. While you may not need to create this exact design, it can spark inspiration for similar creations in your work.
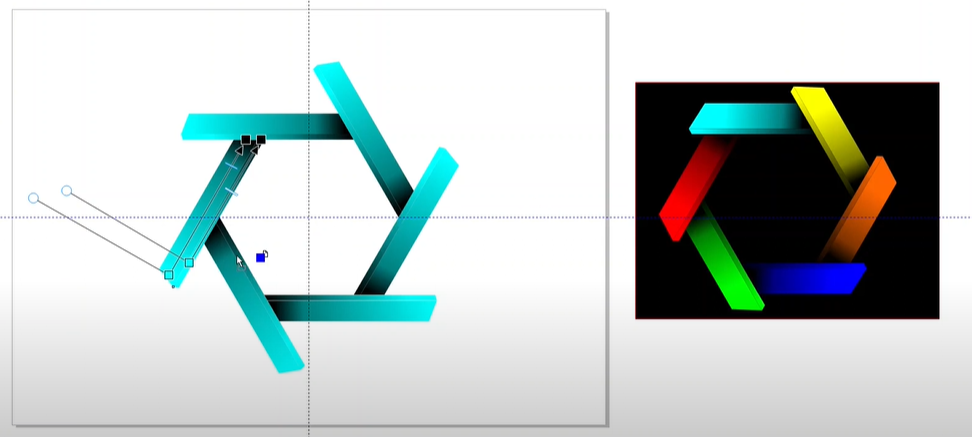
Steps to Create a Stacked Wooden Board Design:
1. Start with a Polygon:
- Begin by selecting the Polygon tool and creating a six-sided polygon. It doesn’t matter what size you start with, as it can be adjusted later.
- Center the polygon by pressing P to place it at the center of the page.
- Rotate the polygon by 30 degrees to get it into a working position.
2. Create the Rectangles:
- Use the Rectangle tool to draw a rectangle starting from one side of the polygon and extending well past its boundary.
- Next, skew the rectangle by double-clicking it and adjusting the skew handles until the rectangle aligns as desired. This skew will give the effect of the board being placed at an angle.
3. Add Guiding Lines:
- To make sure your design is aligned properly, draw a two-point line from a corner of the rectangle, holding down Ctrl to keep it straight.
- Position this line as needed to guide your design, ensuring that all elements are aligned to give a natural stacked appearance.
4. Trimming and Deleting Extra Lines:
- Once the guiding lines are set, use them to trim and shape your rectangle. Remove any unnecessary lines by selecting and deleting them to clean up the design.
- Use the Smart Fill tool to fill the remaining shape with a light blue color. This will create the base for one of the wooden boards.
5. Align the Design to the Center of the Page:
- To keep the design organized, center it on the page. You can use guidelines to help position the design or press Alt + P to access page alignment options.
- Rotate the design using a specific value based on your page size (e.g., for a 28×40-inch page, rotate it by 20 x -14 to maintain proper placement).
6. Duplicate and Rotate the Board:
- Once you have the first part of the design, group it by pressing Ctrl + G. Then use Ctrl + D to duplicate the group.
- Rotate the duplicated shape by 60 degrees and repeat the process to create multiple boards stacked in a circular pattern. Continue duplicating and rotating until you have a complete stacked effect.
7. Applying Interactive Fills:
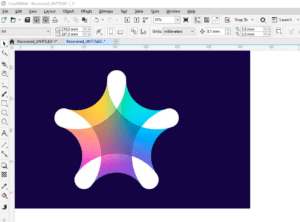
- Use the Interactive Fill tool to add depth and dimension to your boards. Swipe across each board and add gradient fills, with dark colors like black for shadows and lighter colors to simulate highlights.
- Adjust the fill on each board to give it a wood-like appearance. You can use a variety of colors to enhance the effect, such as dark blue, green, red, and yellow.
8. Finishing Touches:
- Once all the boards are rotated and colored, you can delete any extra lines, such as the red hairline outlines, to clean up the final design.
- If desired, place a black background behind the design to make the gradient colors pop, giving it more depth and a polished look.
This technique allows you to explore skewing, pattern duplication, and interactive fills to create a cool stacked-board effect that can be used for various creative projects.
#CorelDRAW #GraphicDesign #PolygonShapes #SkewEffect #InteractiveFill #VectorArt #CreativeDesign #DesignTips
Visited 64 times, 1 visit(s) today

