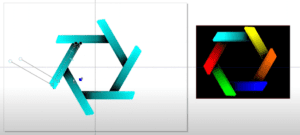
In this CorelDRAW tutorial, we will create a cool geometric pattern that looks like stacked cubes or triangular shapes. This pattern is simple to design with a few easy steps, and you can easily modify it to fit your creative style. Let’s walk through the process step by step.
Steps to Create the Geometric Cube-Like Pattern:
1. Start with a Six-Sided Polygon:
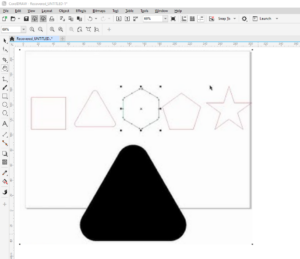
- Select the Polygon tool and create a six-sided polygon.
- Hold Ctrl to keep the polygon proportions and press P to center it on the page.
2. Add Guiding Lines:
- Use the Two-Point Line tool to draw a line from the top node of the polygon and press P to center it as well.
- Duplicate the line by pressing Ctrl + D, then rotate it by 30 degrees. Repeat Ctrl + D three more times to create a set of guiding lines radiating from the center.
3. Measure and Adjust the Design:
- Use the Parallel Dimension tool to measure the distance between nodes. For example, if the distance is 10.24 units, set your nudge factor to this value for accurate adjustments.
- Duplicate the six-sided polygon using Ctrl + D and nudge it upwards by the measured distance to align with the guide lines.
4. Trim and Delete Extra Segments:
- Use the Virtual Segment Delete tool to trim away unnecessary parts of the polygon where the shapes intersect with the lines.
- Once trimmed, group the entire shape by pressing Ctrl + G to move it out of the way temporarily.
5. Fill the Shapes Using Smart Fill:
- Use the Smart Fill tool to fill in selected sections of the pattern. For instance, choose three areas to fill with a light color like blue.
- Once filled, nudge these pieces out of the way for further styling.
6. Apply Interactive Fill for Depth:
- Select the filled sections and apply the Interactive Fill tool. Swipe across to add gradients, then switch to elliptical fill and adjust the gradient to make it appear centered.
- Add a dark color on the inside or outside to create shadow and depth. Adjust the fill as needed to achieve a 3D look.
7. Create Additional Parts of the Pattern:
- Repeat the process with additional shapes, adding more Interactive Fills with varying colors (e.g., black, yellow, or blue) to enhance the visual contrast.
- Group each set of shapes by selecting them and pressing Ctrl + G.
8. Rotate and Duplicate for Full Pattern:
- Center your grouped object using Alt + C to place the rotation point in the center.
- Duplicate the group using Ctrl + D and rotate it by 60 degrees. Continue duplicating and rotating until you have a full circular pattern.
9. Fine-Tuning the Pattern:
- Adjust the size of the pattern by grouping everything and resizing it proportionally. Lock the aspect ratio before resizing for even scaling.
- Change the nudge distance to match the new size and duplicate the entire pattern, nudging it horizontally to form a seamless pattern.
10. Final Touches:
- Group everything together, press Ctrl + G, and center the design on the page.
- If needed, create a rectangle around the pattern, aligning it to the center to give the design a clean boundary.
- Use the Intersect function to create a pattern within the rectangle, trimming excess parts.
The Final Result:
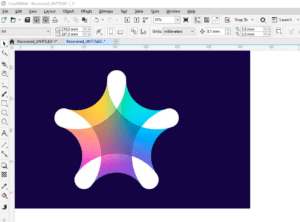
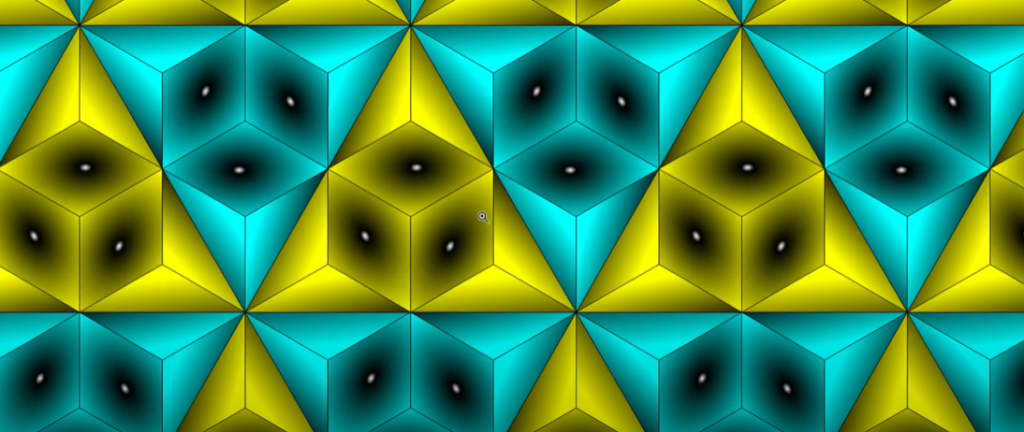
The resulting pattern should look like a combination of cubes and triangles, with intricate details and a three-dimensional appearance. This design can be adapted with various colors and fills, allowing for countless creative possibilities.
#CorelDRAW #GeometricDesign #3DEffect #PolygonShapes #InteractiveFill #VectorArt #DesignTips #CreativePatterns
Visited 83 times, 1 visit(s) today
